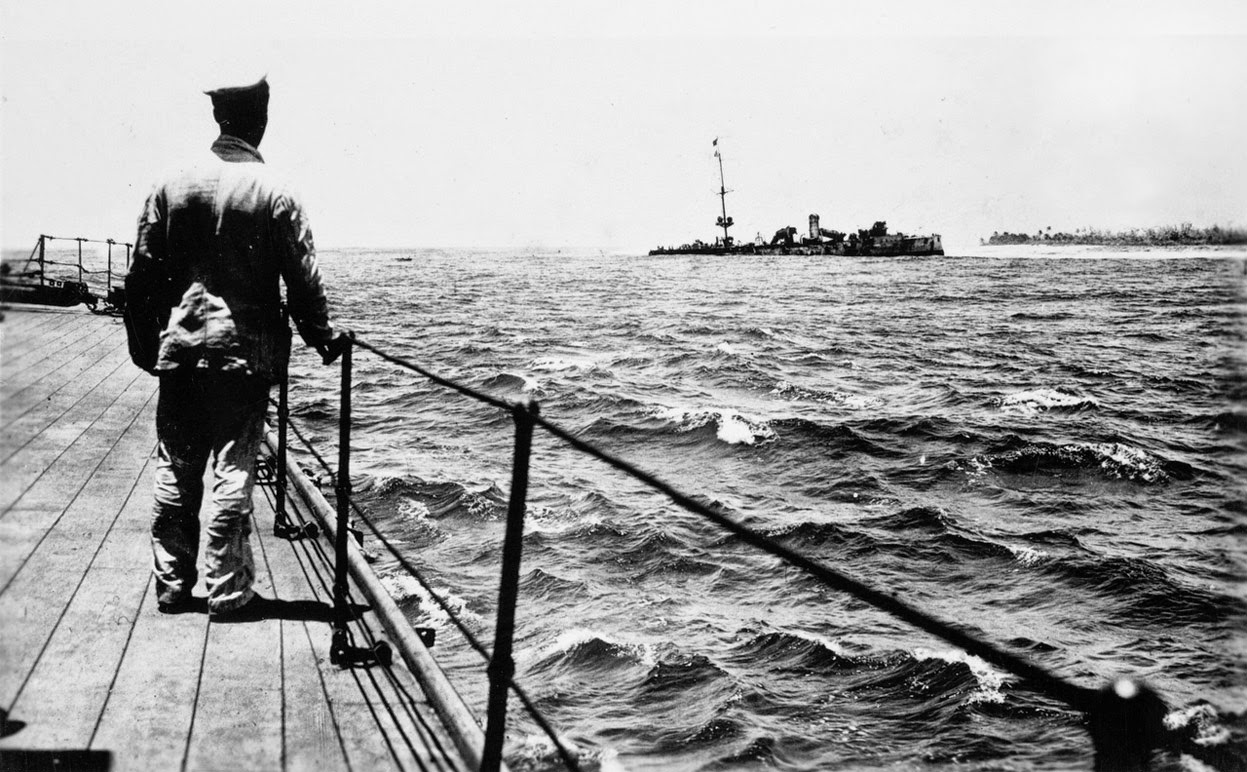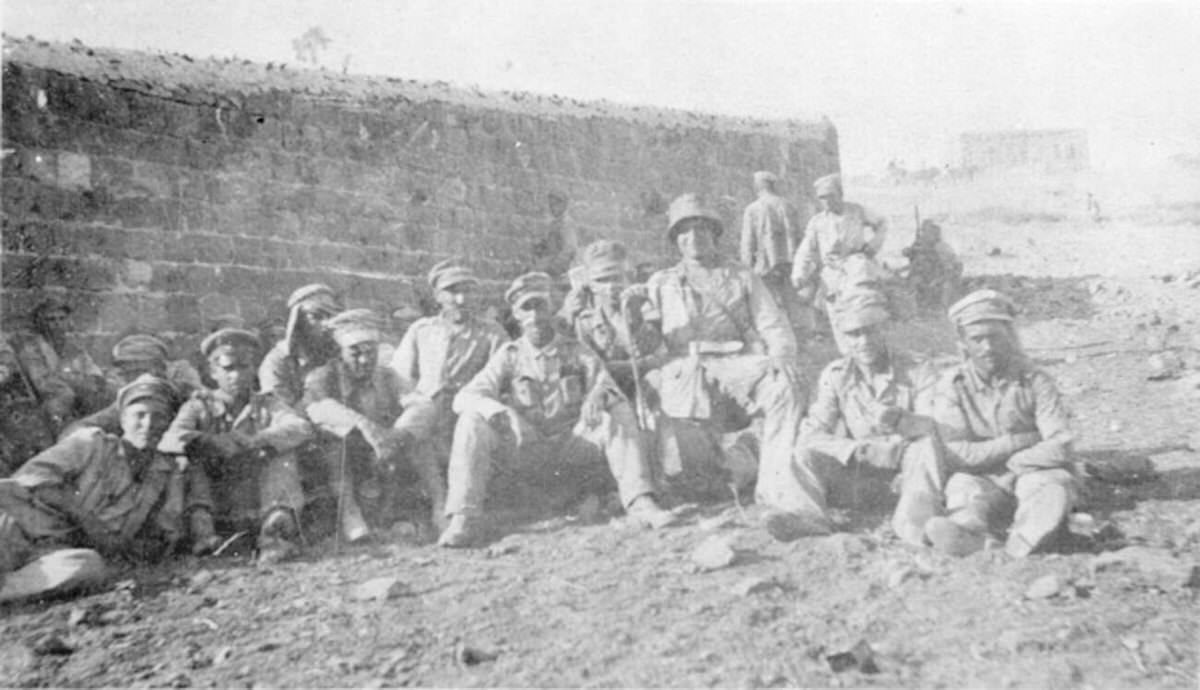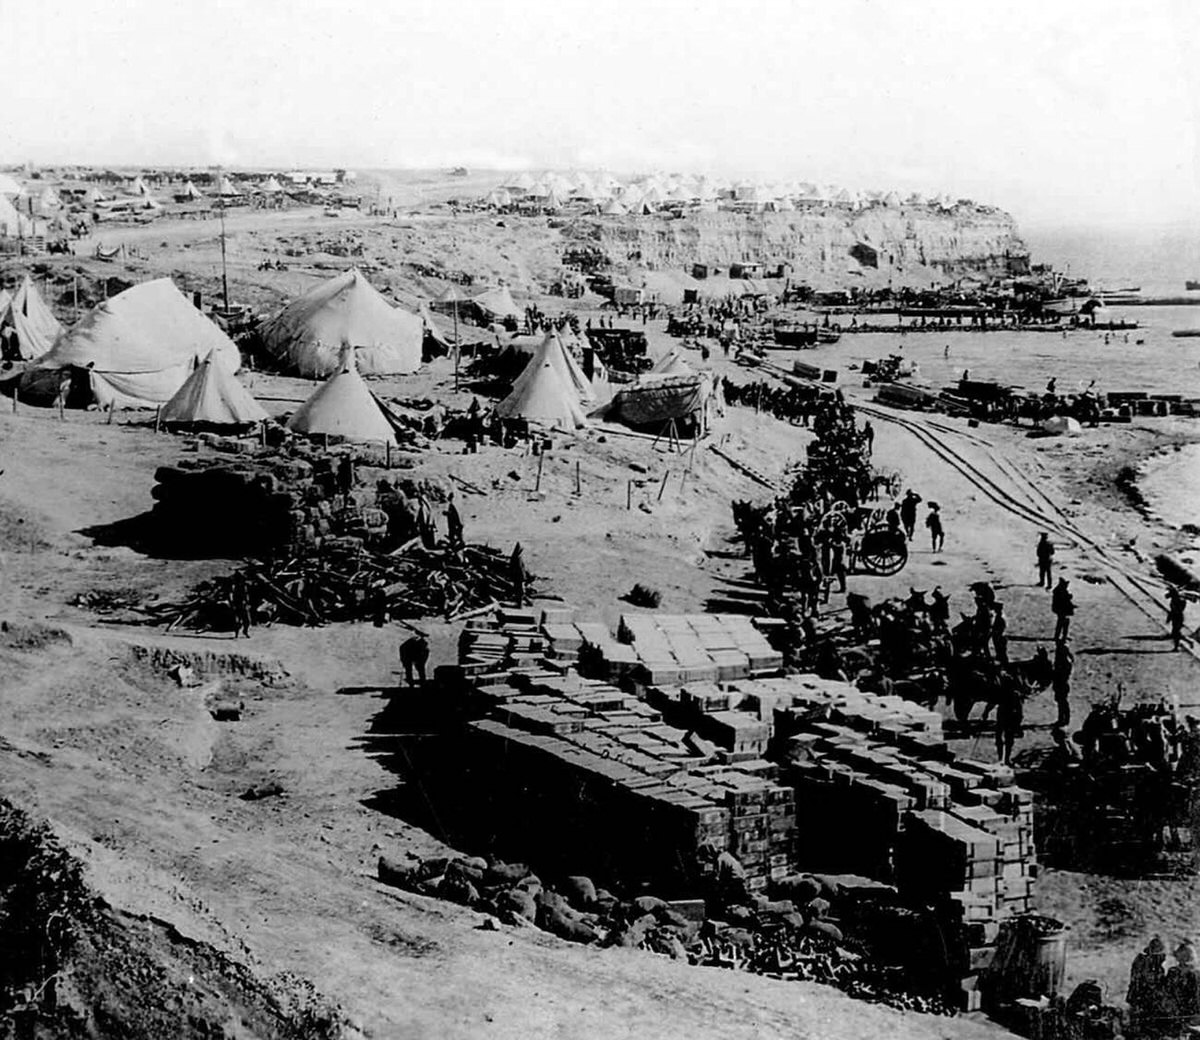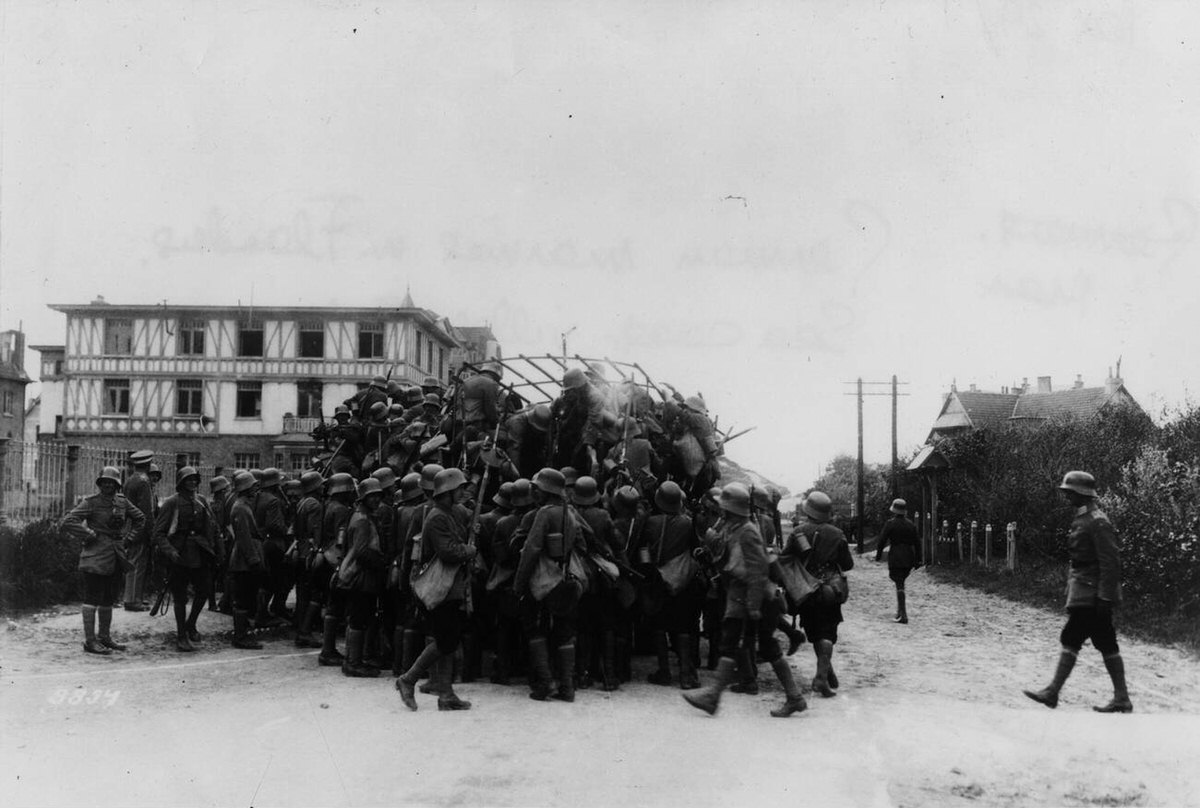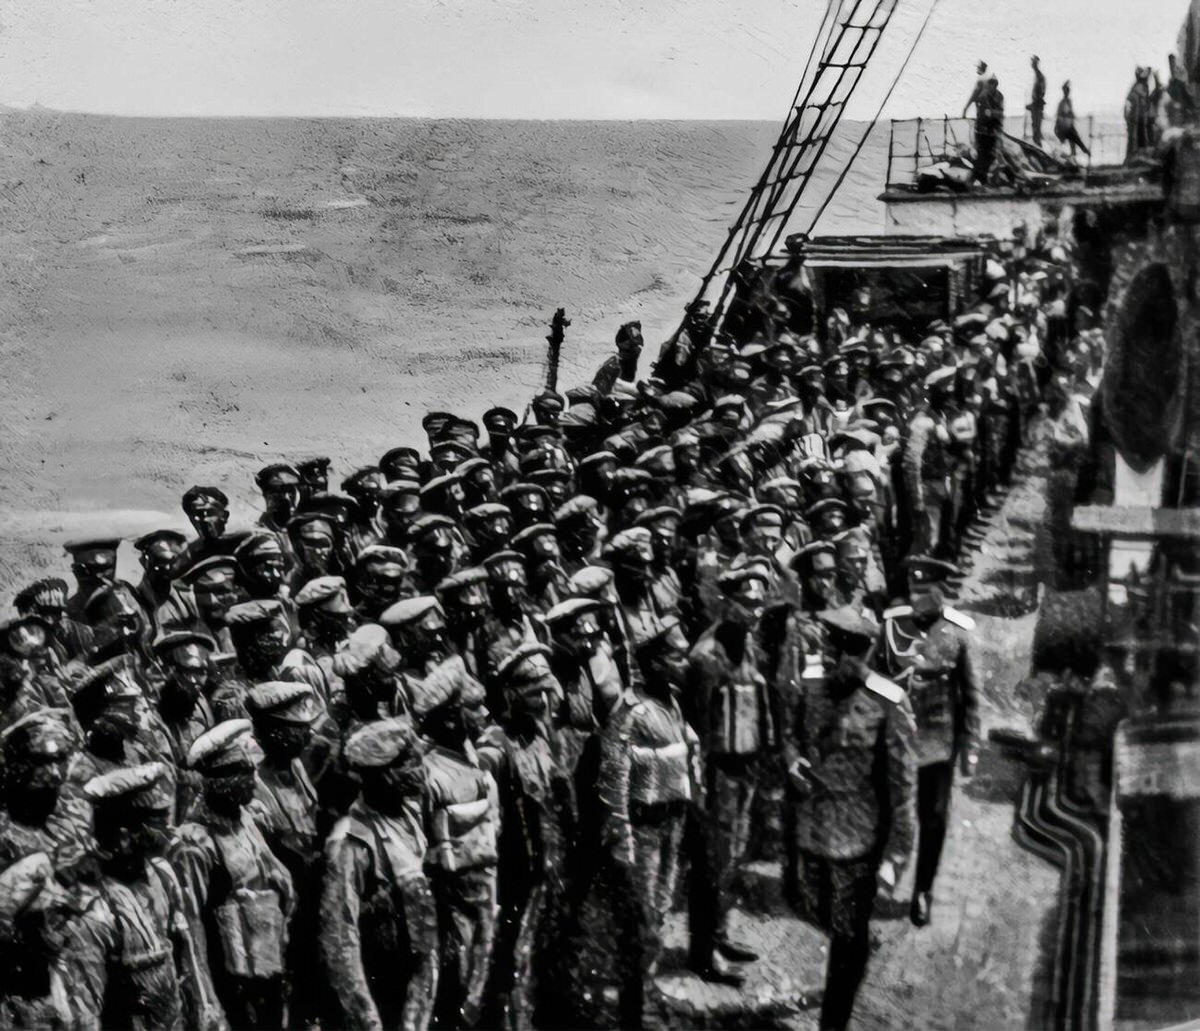

While the muddy trenches of the Western Front define the popular image of World War I, a critical and vast conflict raged across the world’s oceans. Control of the sea lanes was the lifeline for the fighting nations. Britain and Germany engaged in a high-stakes chess match using massive dreadnought battleships and stealthy U-boats to starve each other into submission. This naval struggle stretched from the icy waters of the North Sea to the coast of South America, determining the fate of empires by securing—or cutting off—the flow of food, fuel, and raw materials.
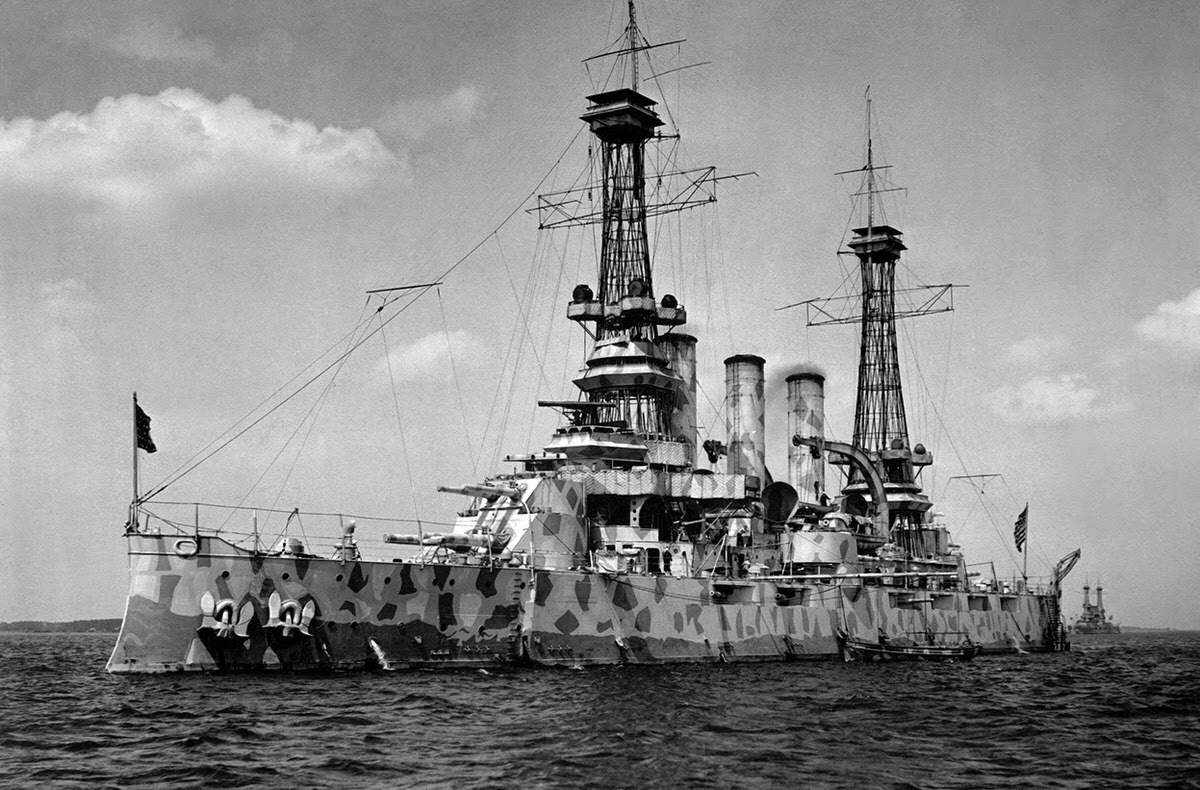
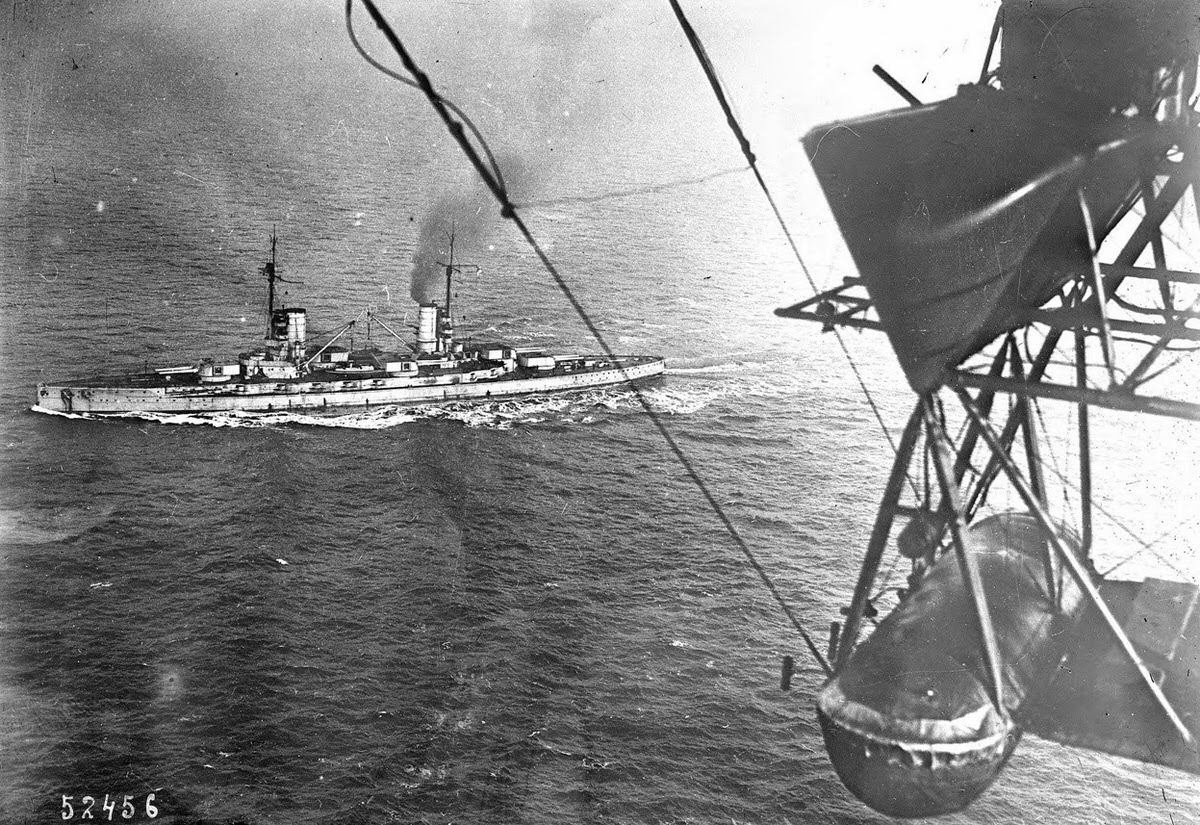
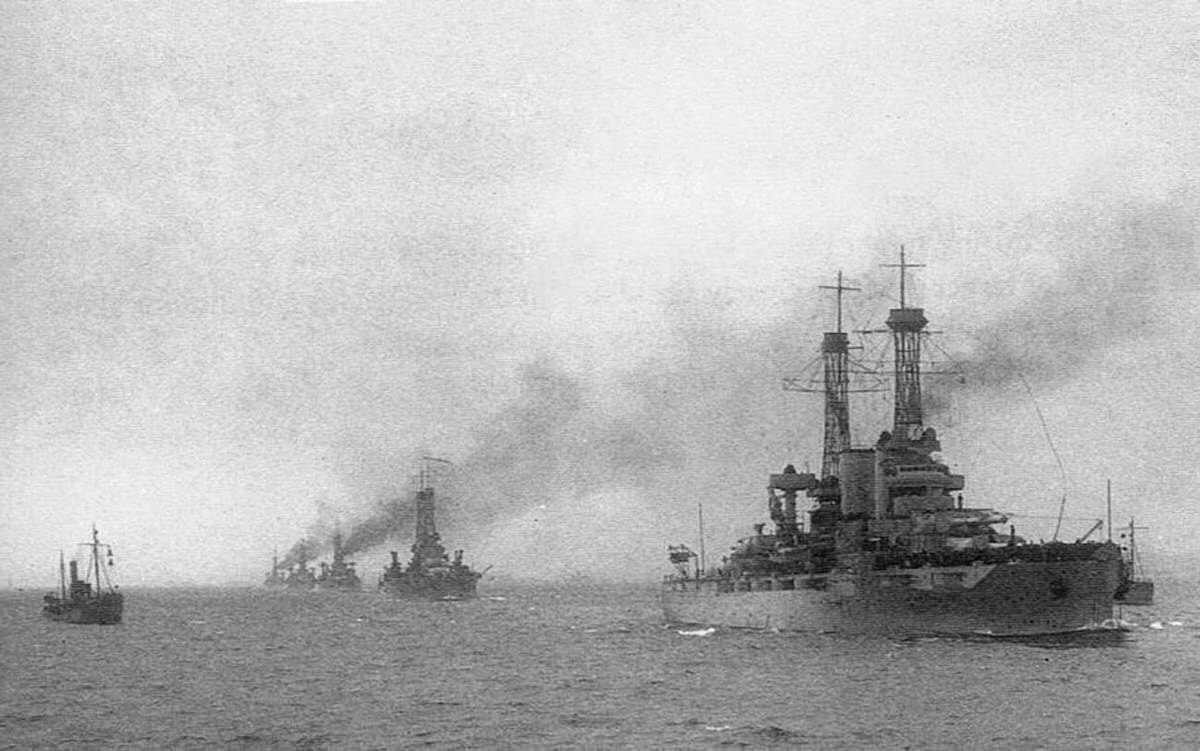
The Naval Arms Race and the Dreadnought
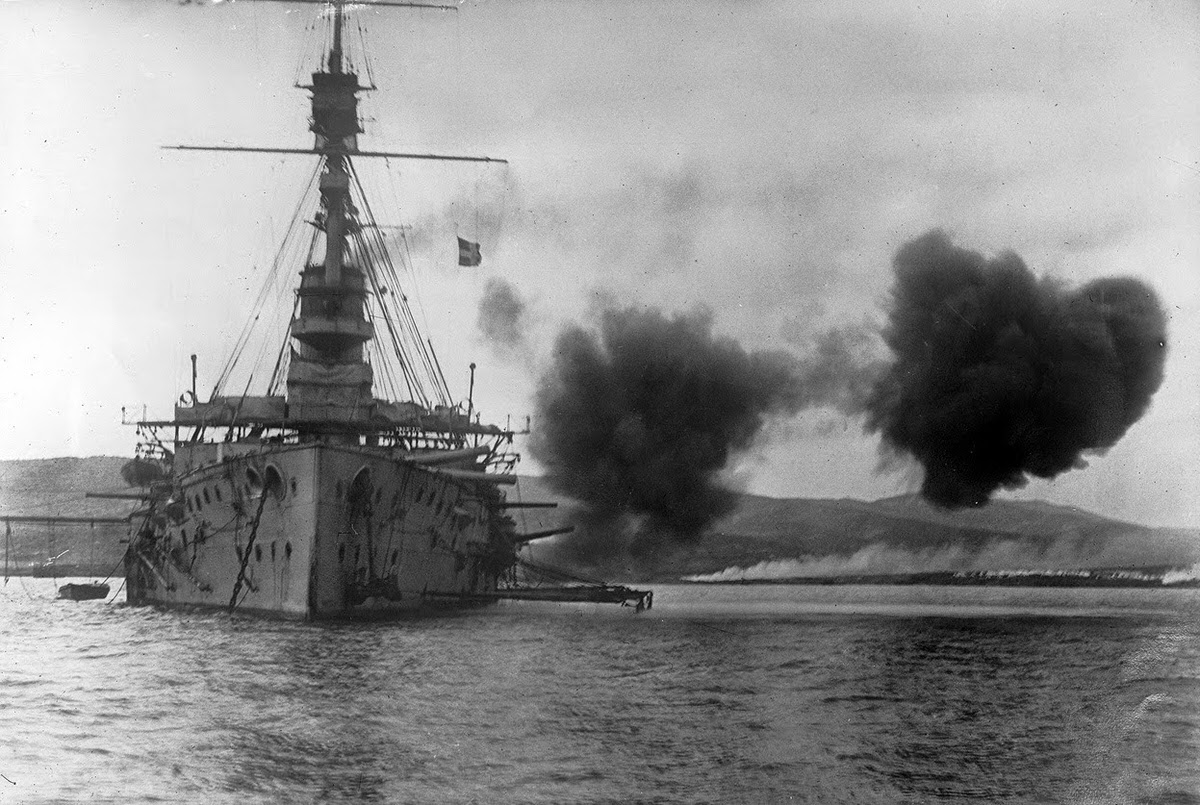
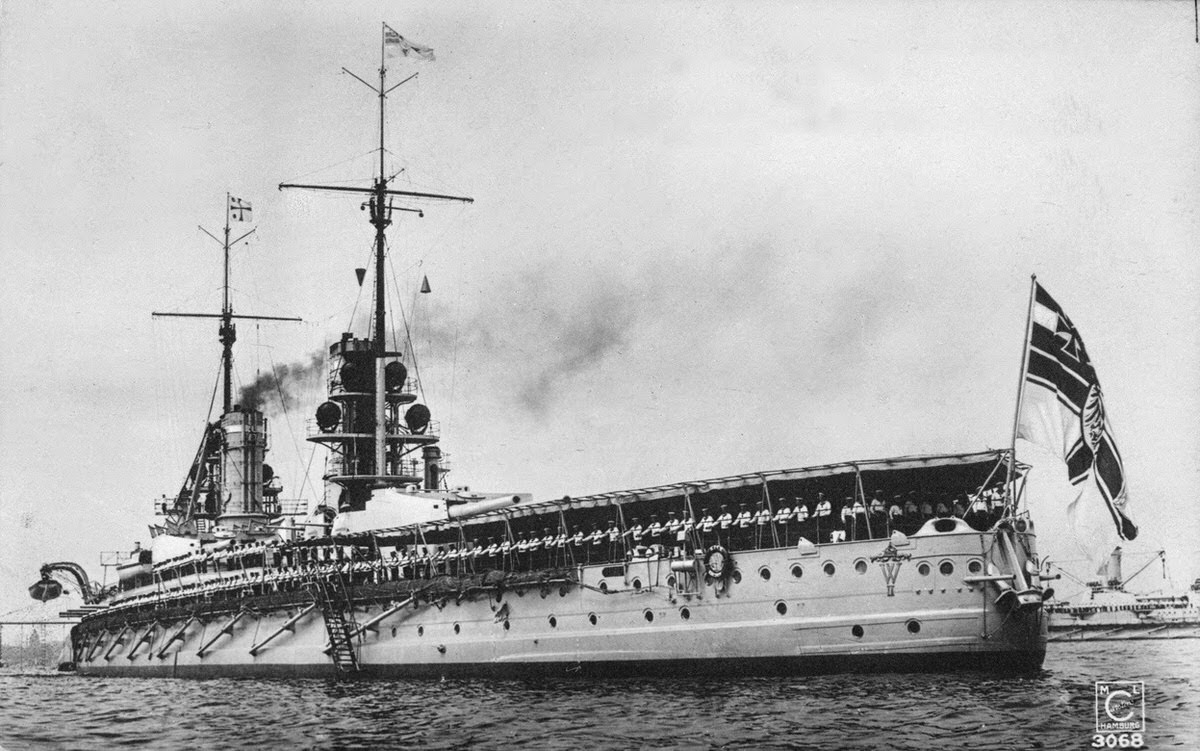
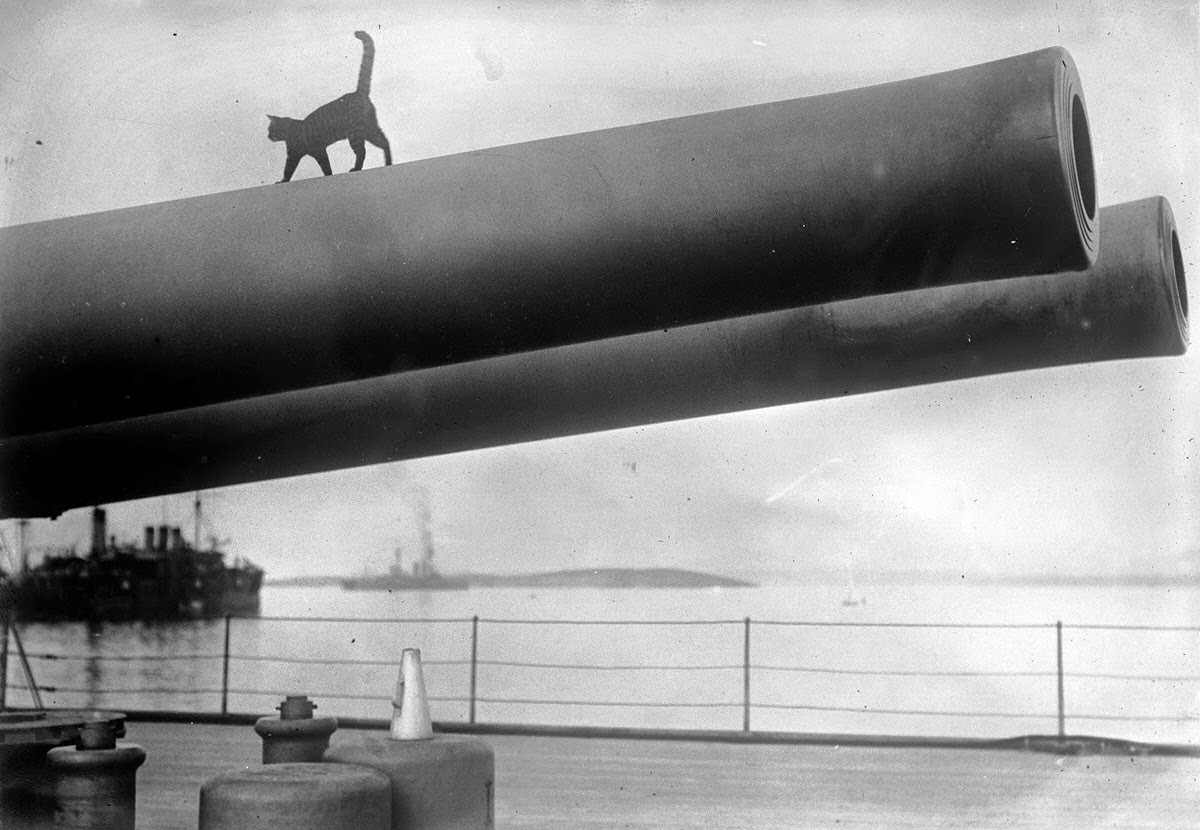
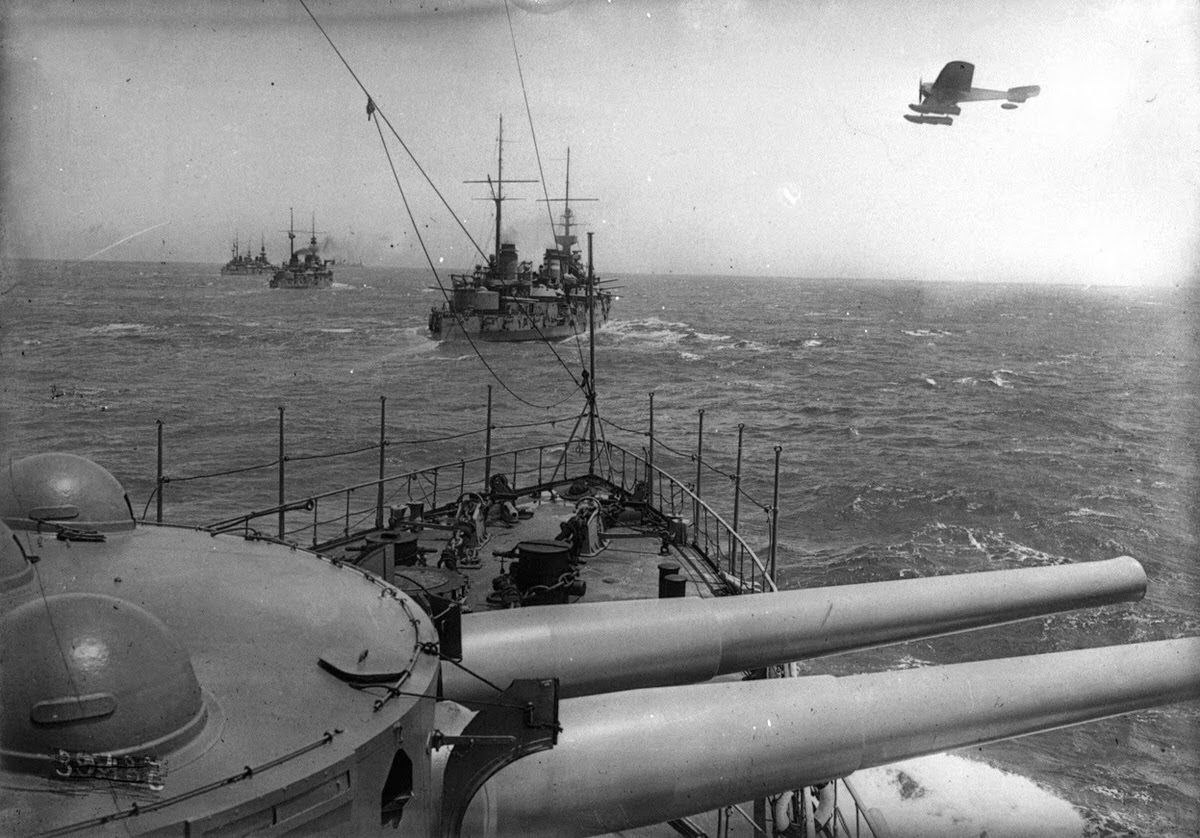
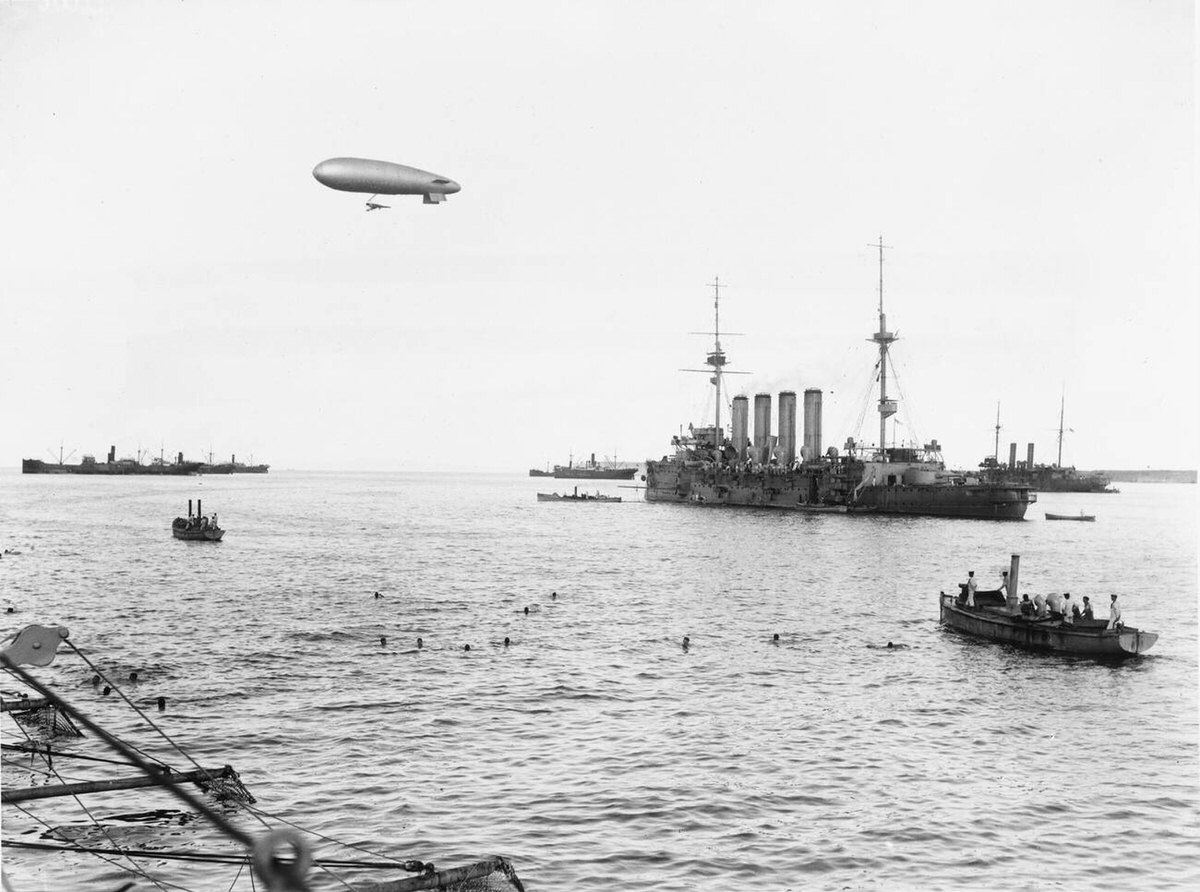
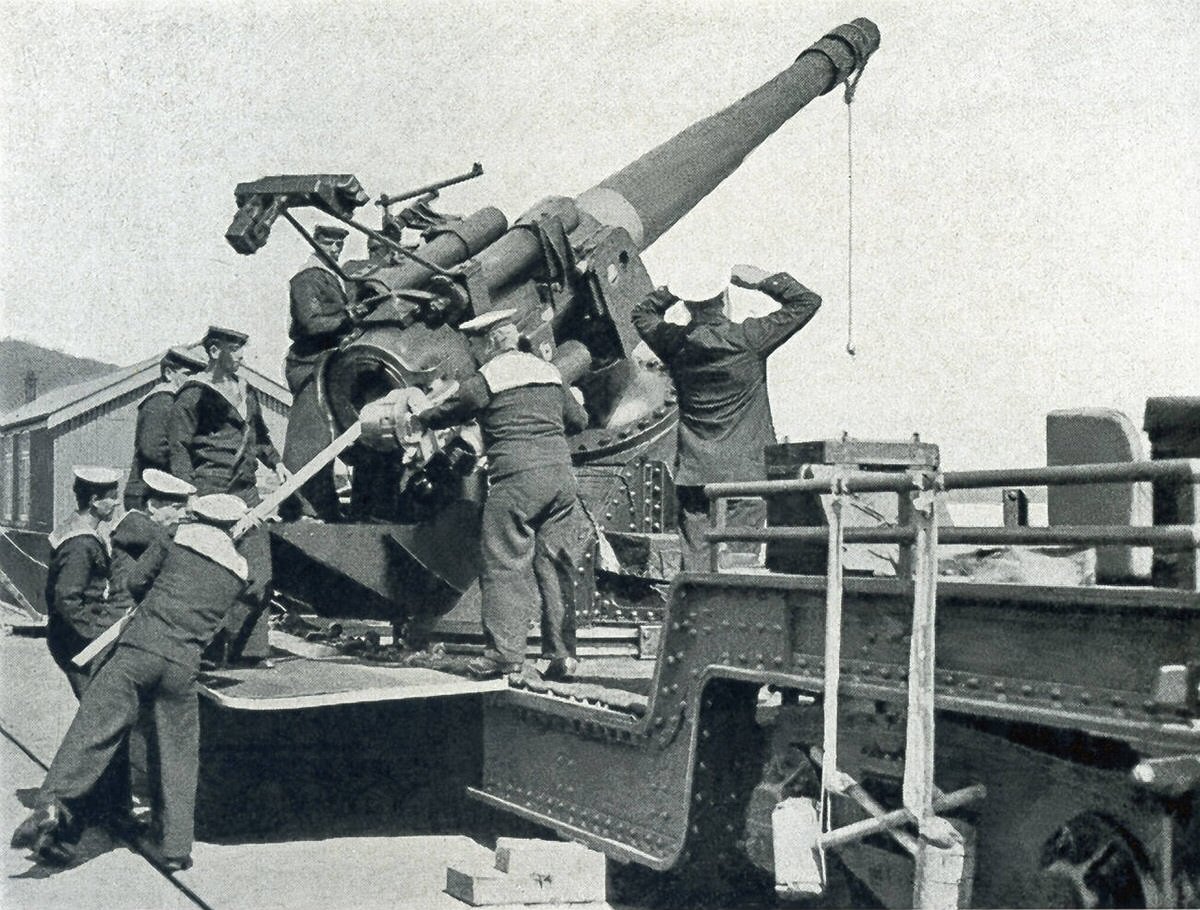
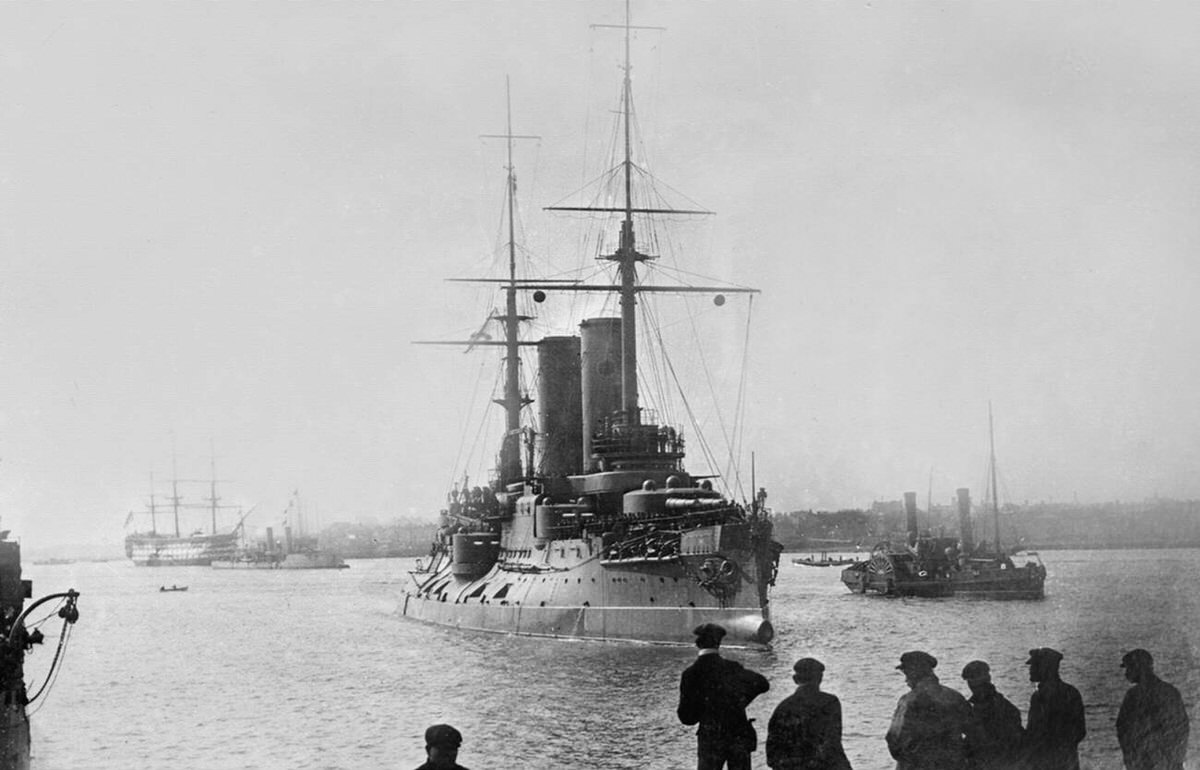
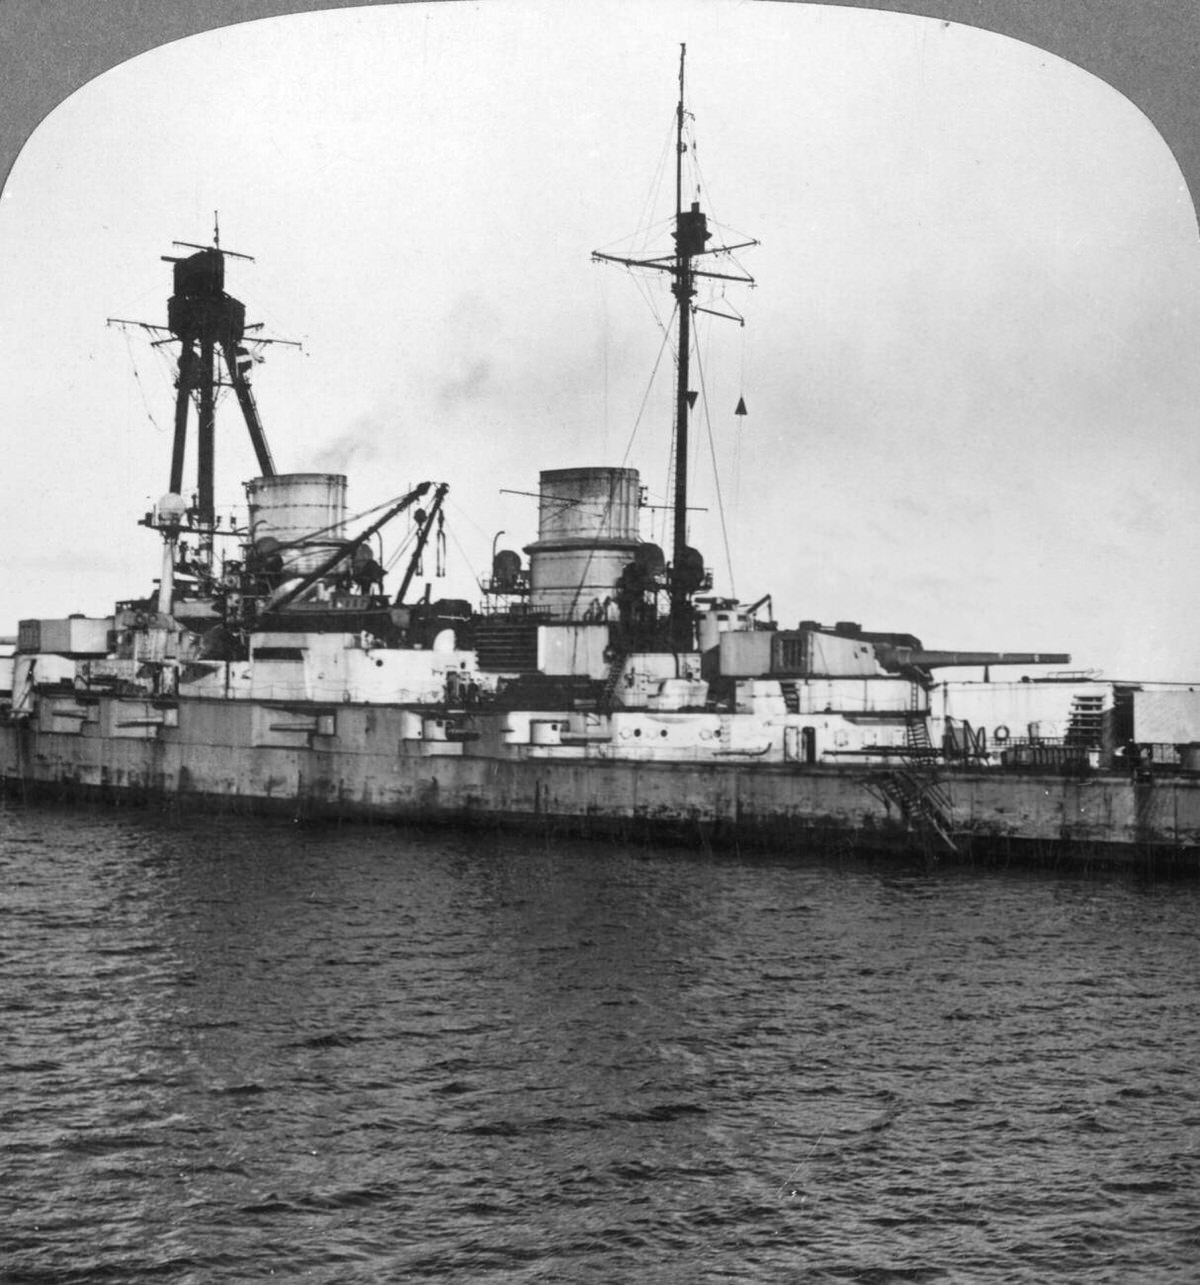
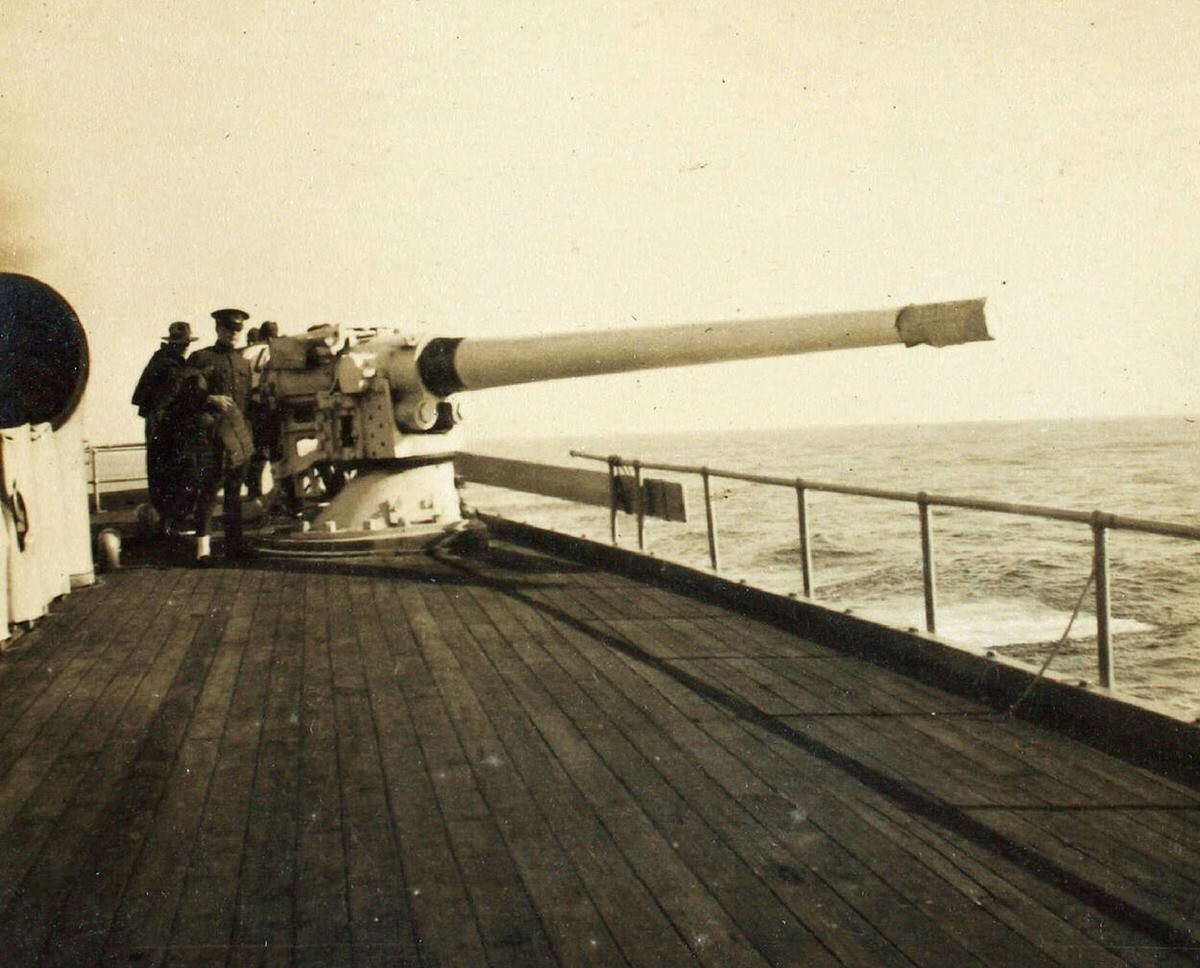
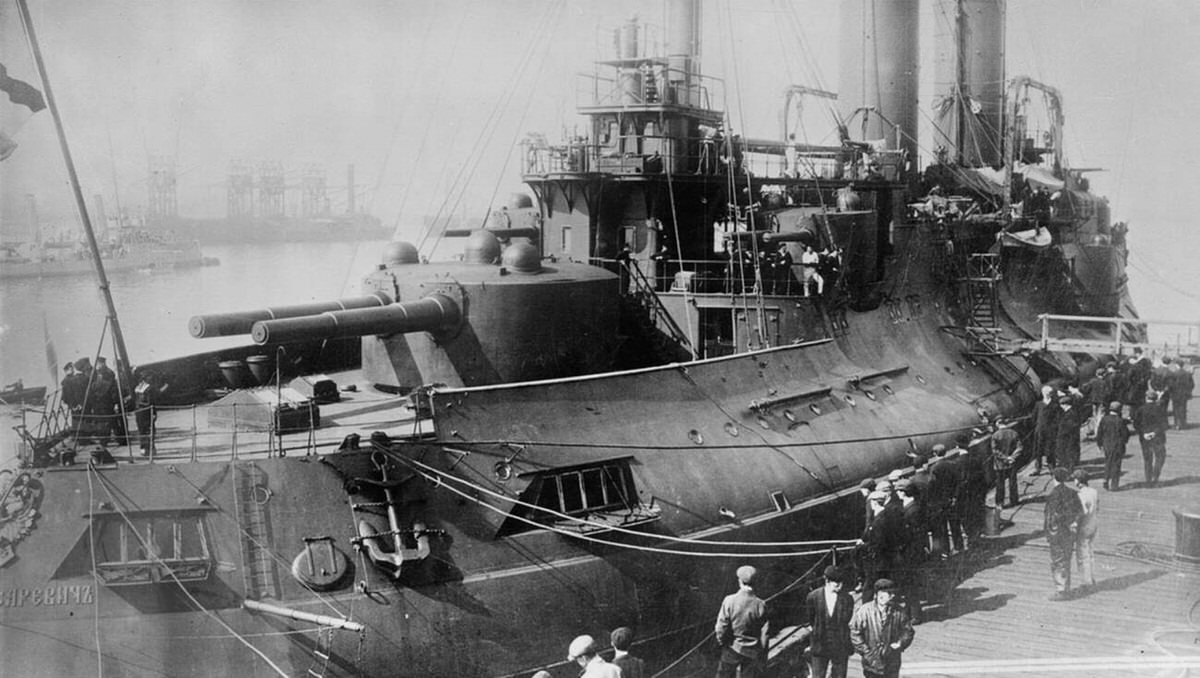
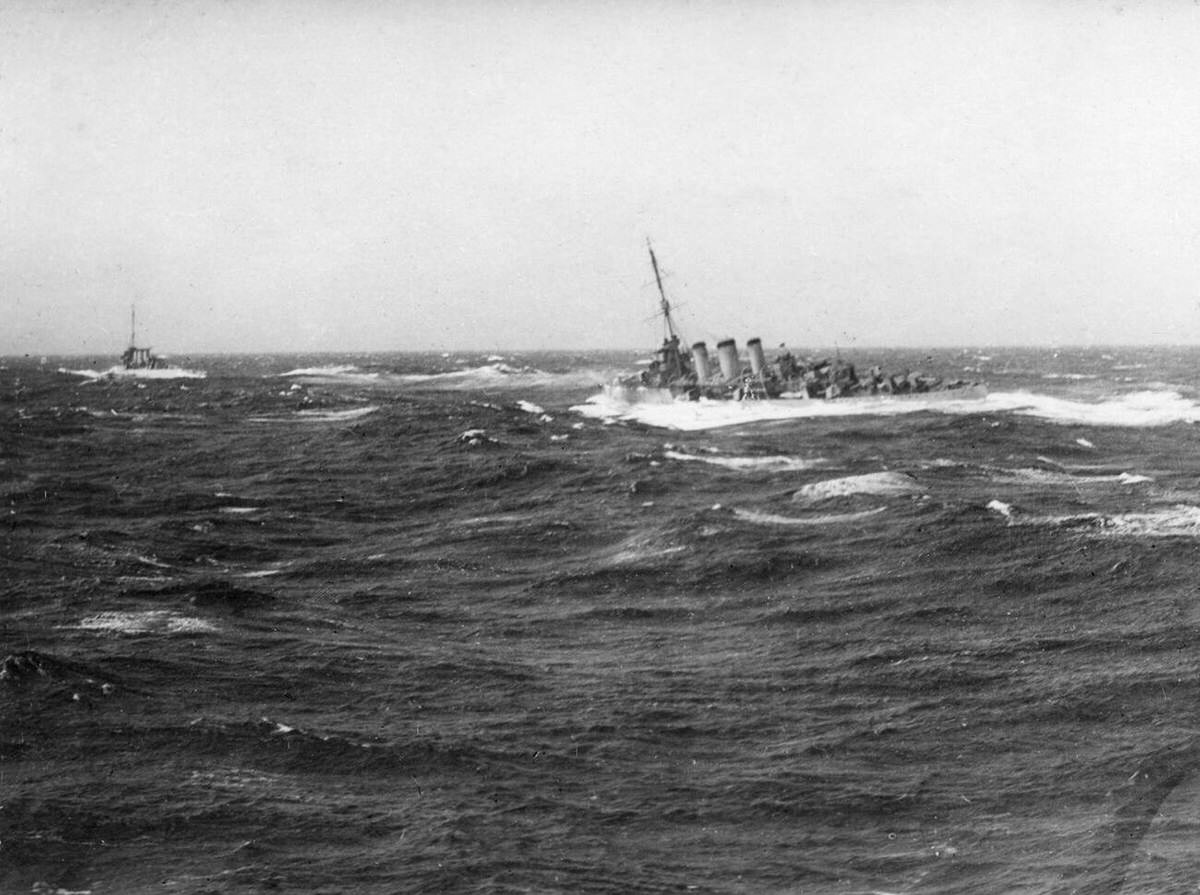
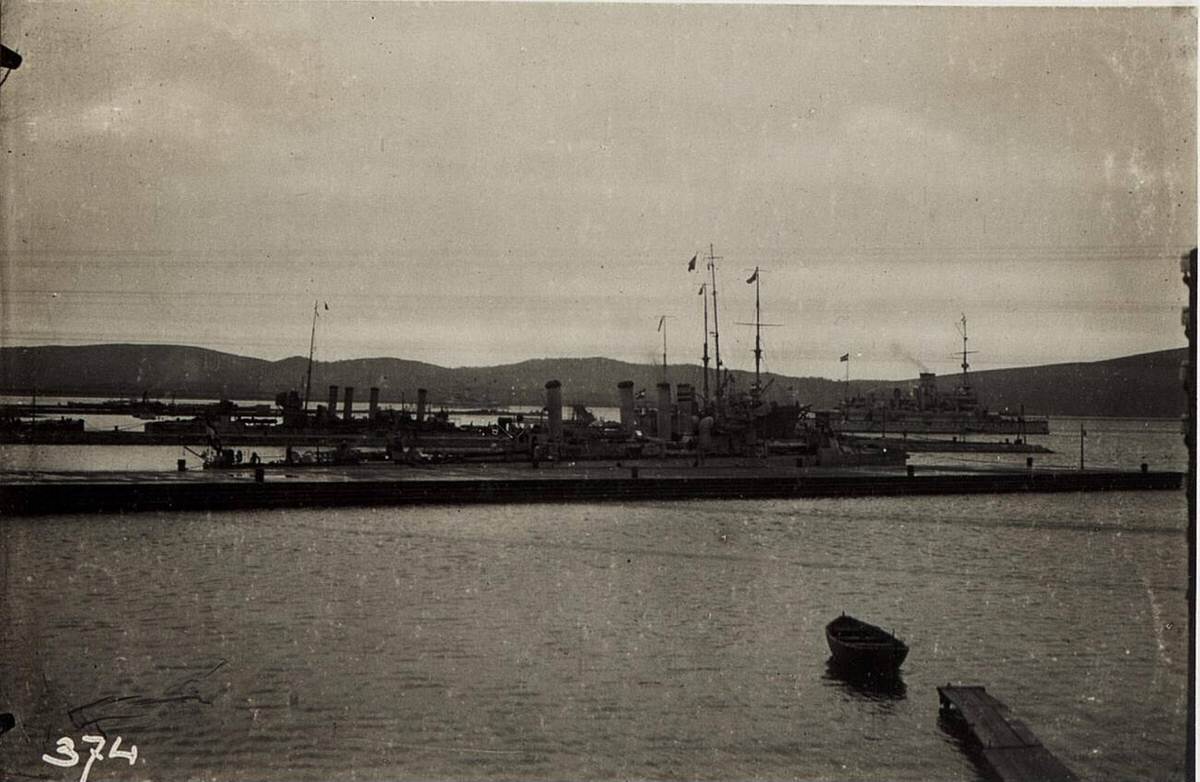
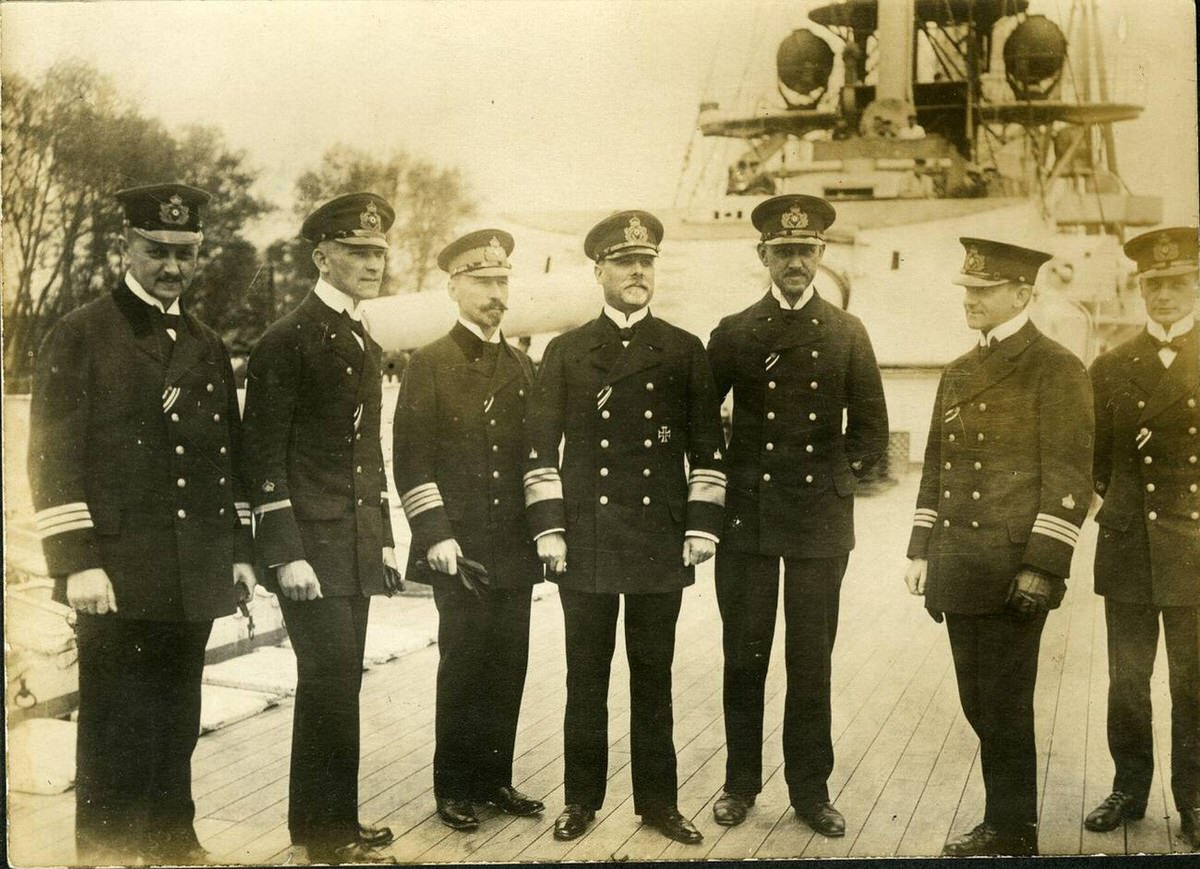
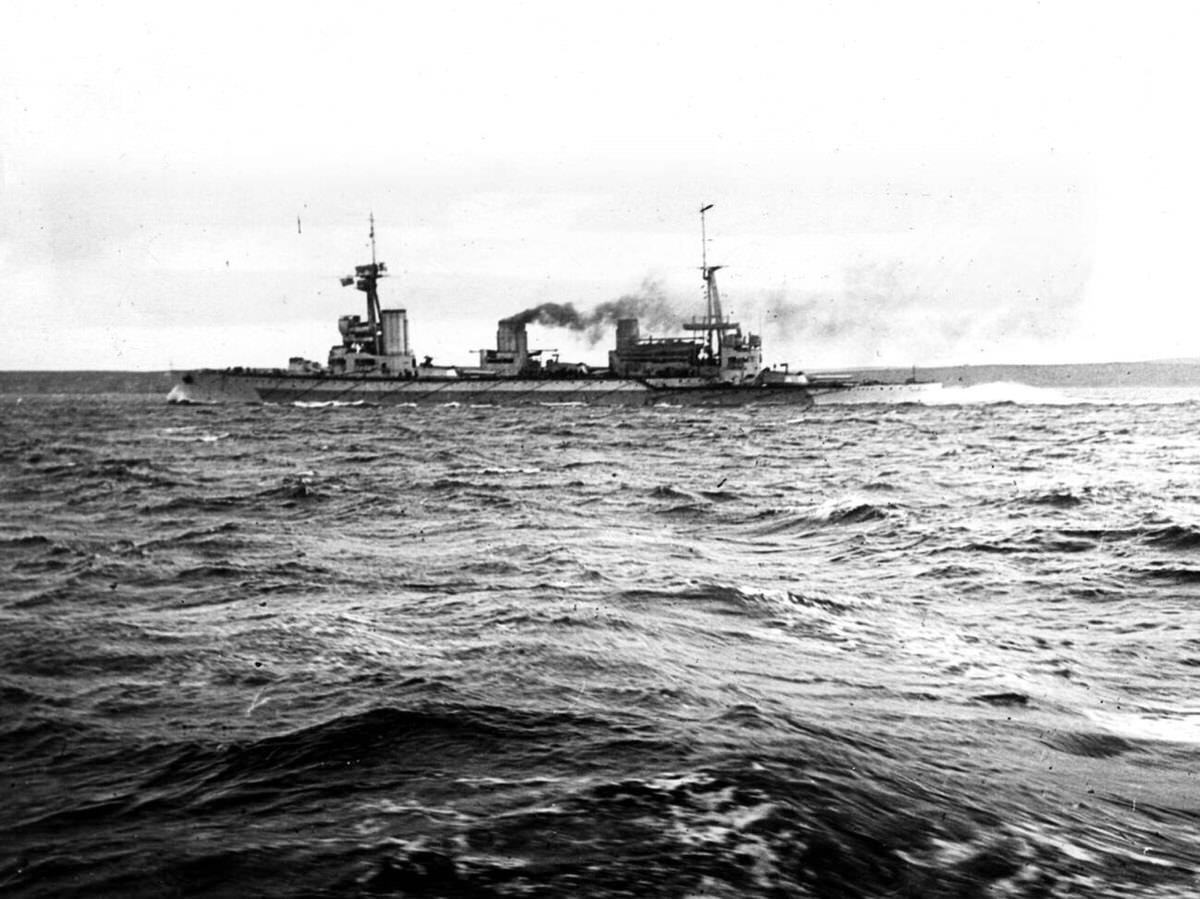
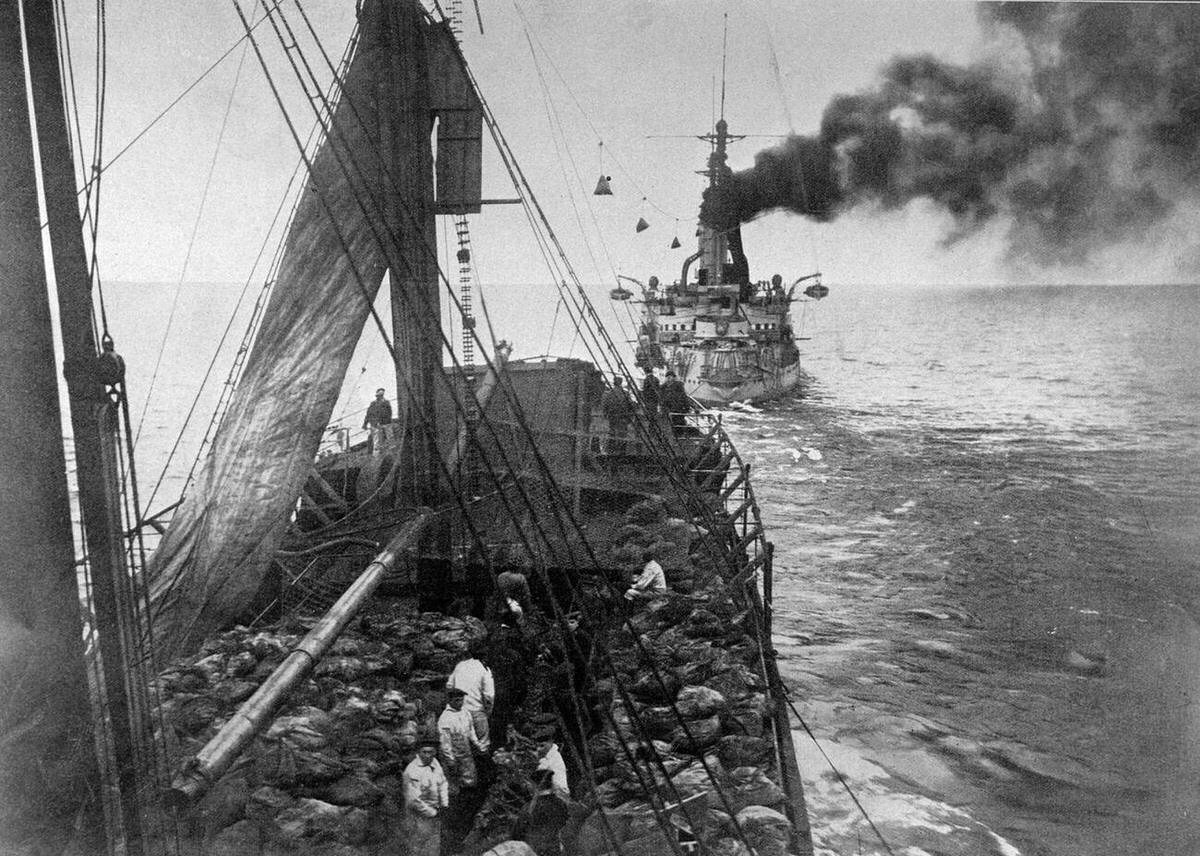
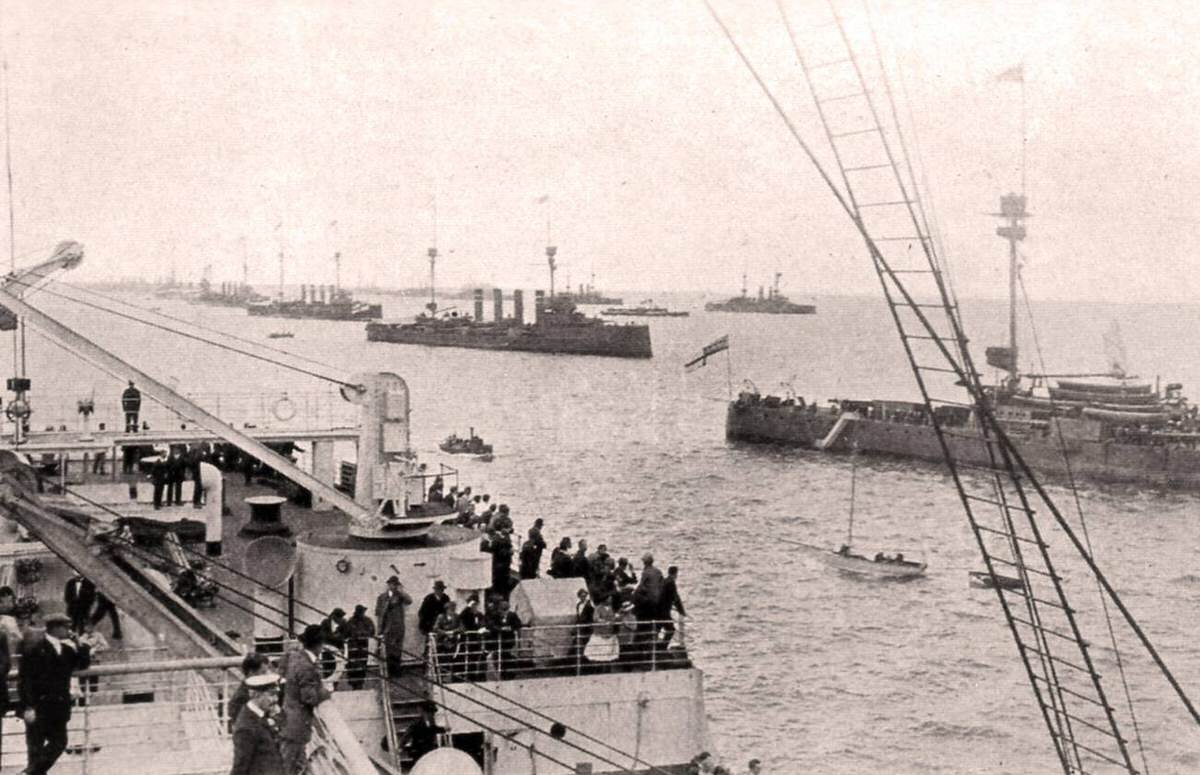
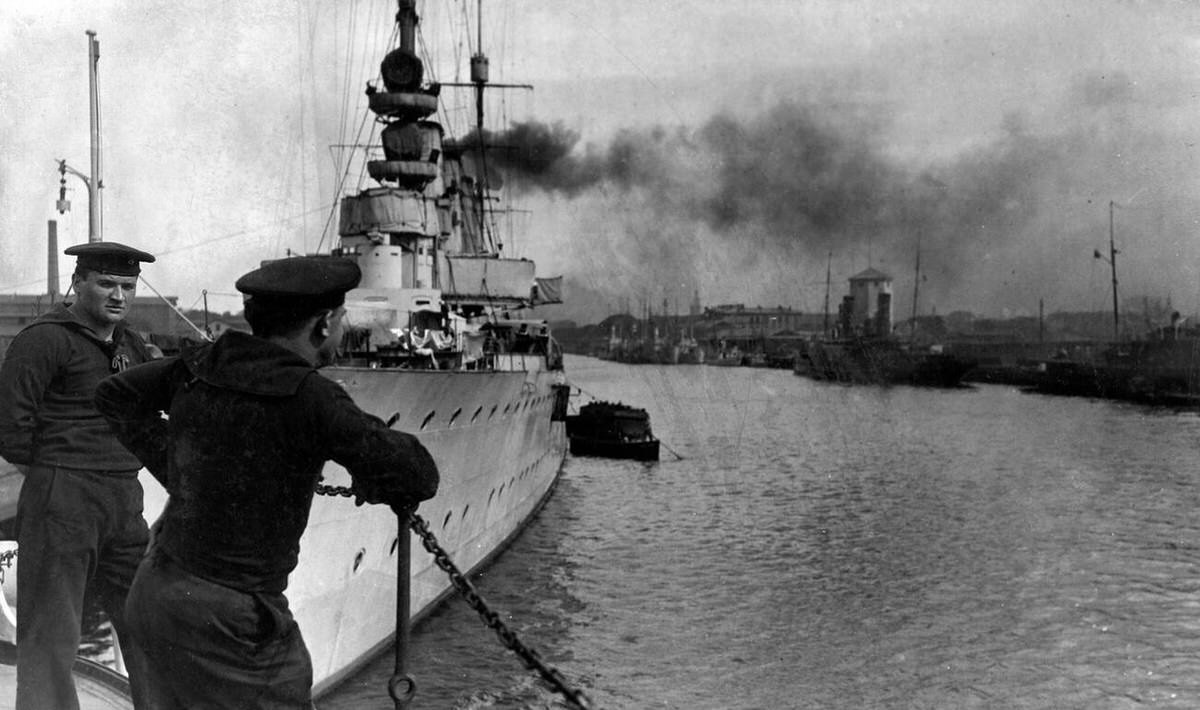
The conflict at sea began in the shipyards years before the actual war started. In 1906, the British Royal Navy launched HMS Dreadnought. This single ship made every other battleship in the world obsolete. It carried ten 12-inch guns, whereas previous battleships carried only four. It used steam turbines instead of piston engines, making it faster and more reliable. This technological leap triggered a fierce building competition between Great Britain and Germany. Germany, led by Kaiser Wilhelm II and Admiral Alfred von Tirpitz, wanted a fleet that could challenge British dominance. By 1914, both nations possessed massive fleets of these steel giants. The British organized their force into the Grand Fleet, based at Scapa Flow in the Orkney Islands. The Germans gathered their ships into the High Seas Fleet, protecting the coast of Germany.
The British Blockade
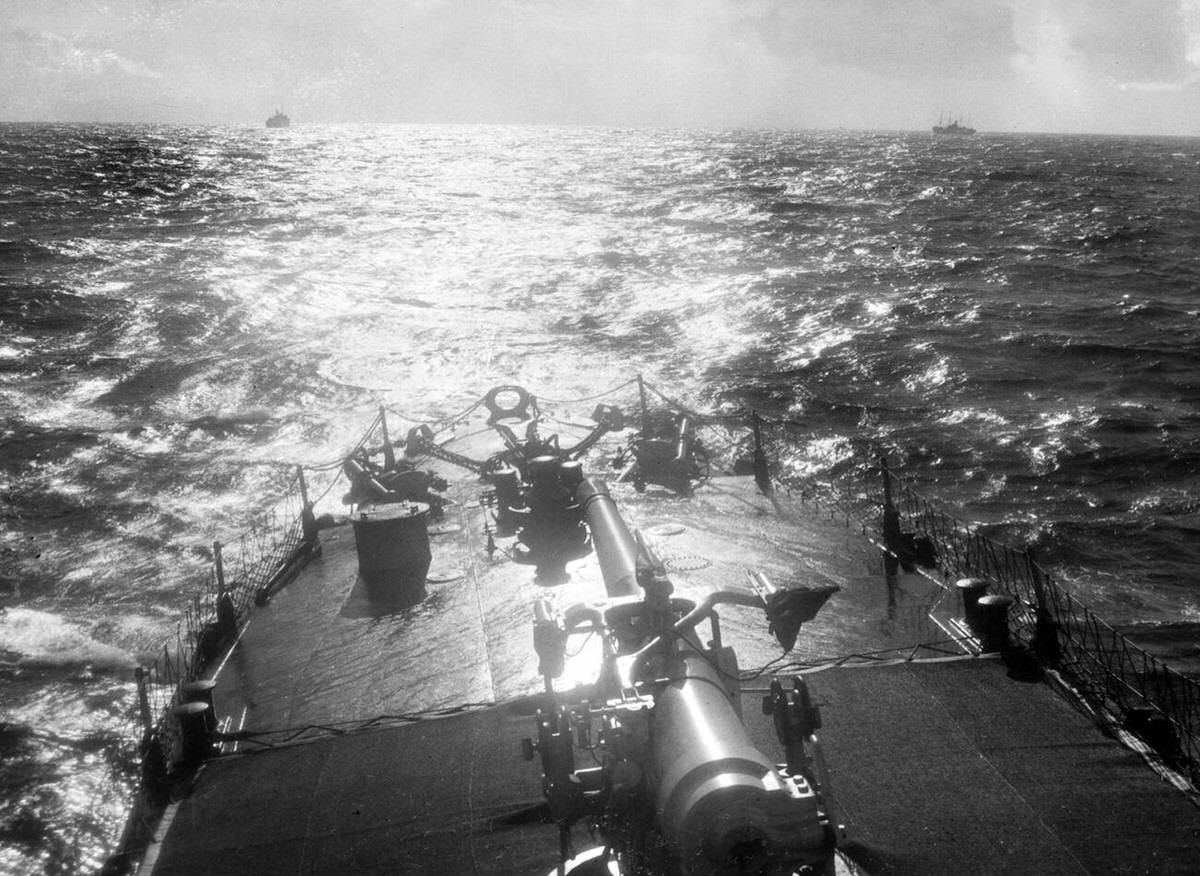
Britain’s primary strategy was economic strangulation. The Royal Navy established a distant blockade immediately after war was declared in August 1914. They did not sit close to the German ports where they would be vulnerable to mines and submarines. Instead, they guarded the exits of the North Sea. The 10th Cruiser Squadron patrolled the rough waters between Scotland and Iceland. These ships intercepted merchant vessels heading for neutral ports in Scandinavia and the Netherlands. They inspected cargo to ensure no contraband—goods that could help the war effort—reached Germany. This list of contraband grew to include food and fertilizer. The blockade slowly cut off Germany’s access to global markets. Over time, this caused severe shortages of food and raw materials among the German population and military.
Read more
The Battle of Heligoland Bight
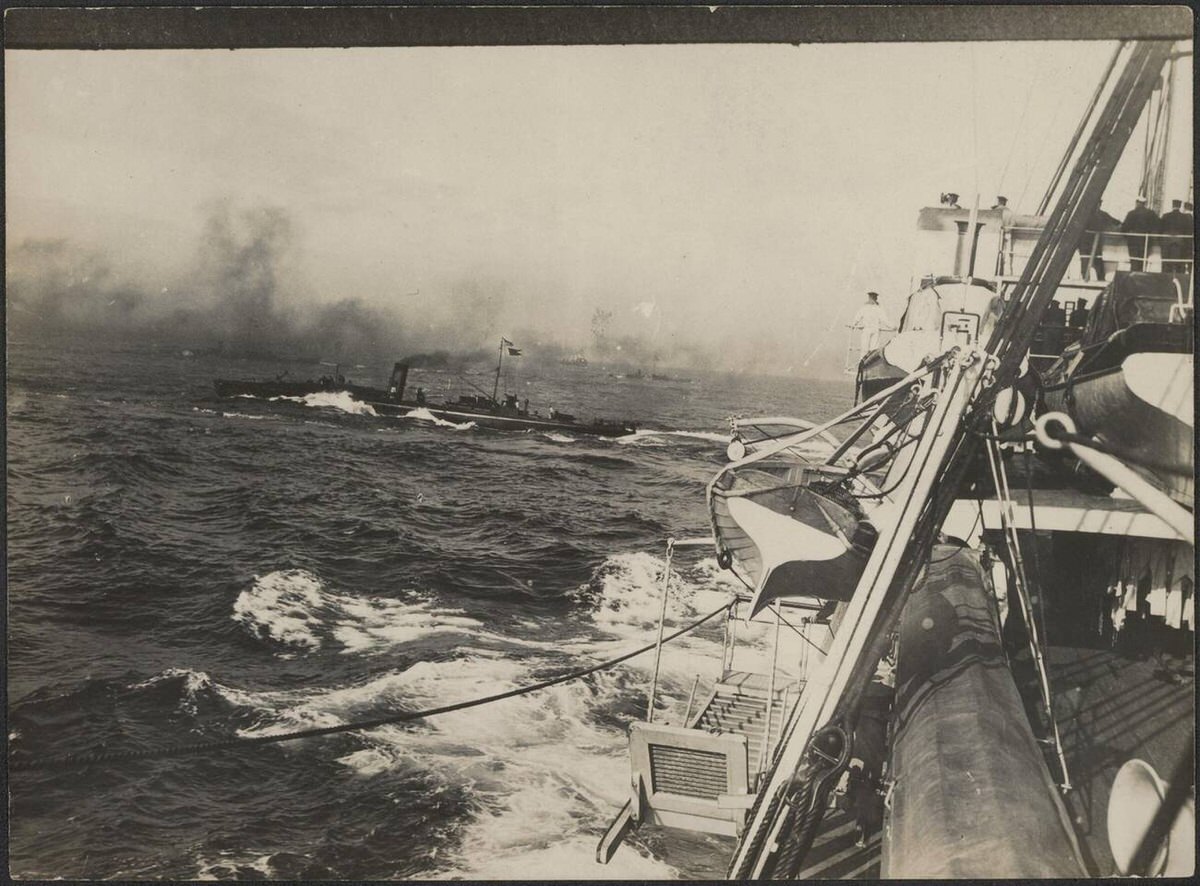
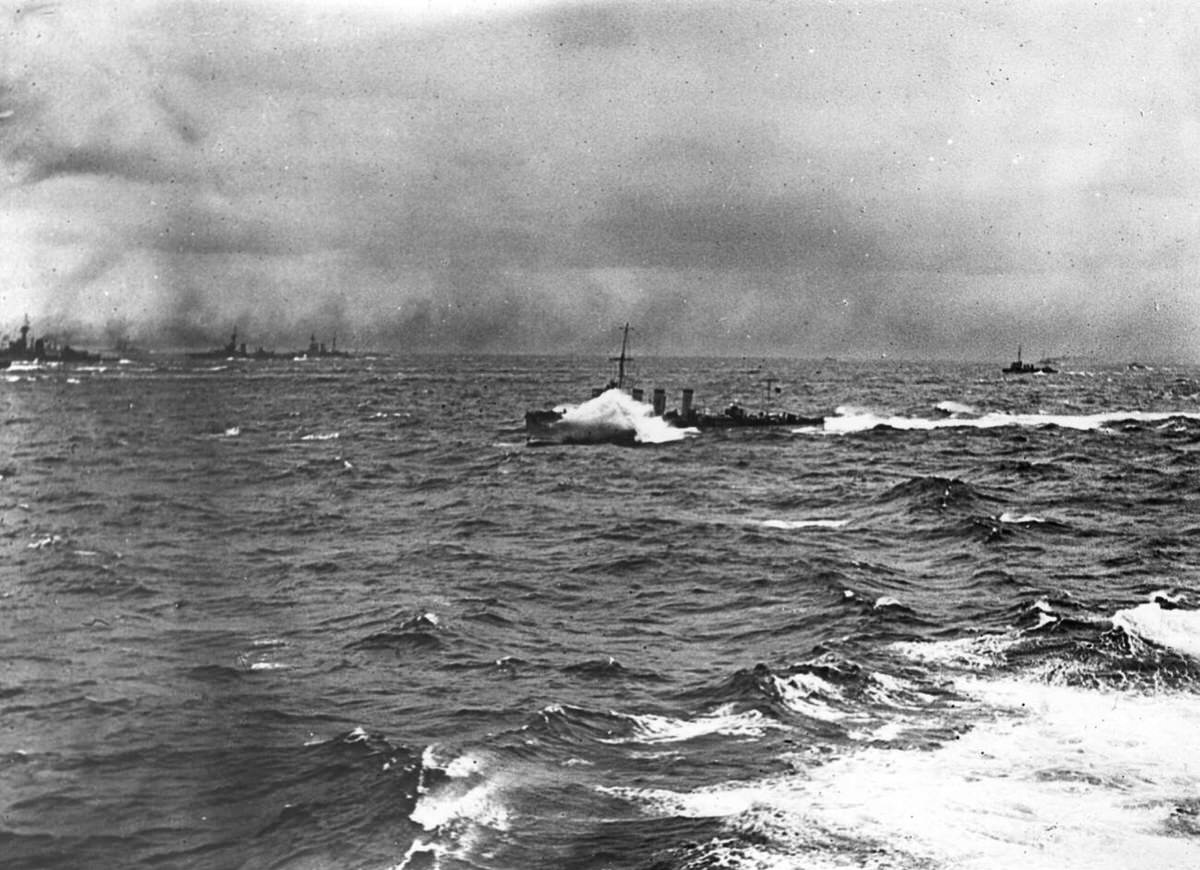
The first major naval engagement occurred on August 28, 1914. British commodores devised a plan to ambush German patrols near the German coast. The British Harwich Force, consisting of light cruisers and destroyers, sailed into the Heligoland Bight to lure German ships out to sea. When the Germans responded with their own light cruisers, deeper British forces sprang the trap. Vice Admiral David Beatty arrived with his squadron of heavy battlecruisers. Battlecruisers were as large and heavily armed as battleships but carried less armor to achieve higher speeds. Beatty’s ships, including HMS Lion, used their massive 13.5-inch guns to sink three German light cruisers and one destroyer. The German navy was stunned by the loss. Kaiser Wilhelm II ordered his fleet to avoid risky actions, keeping his capital ships safe in port for the time being.
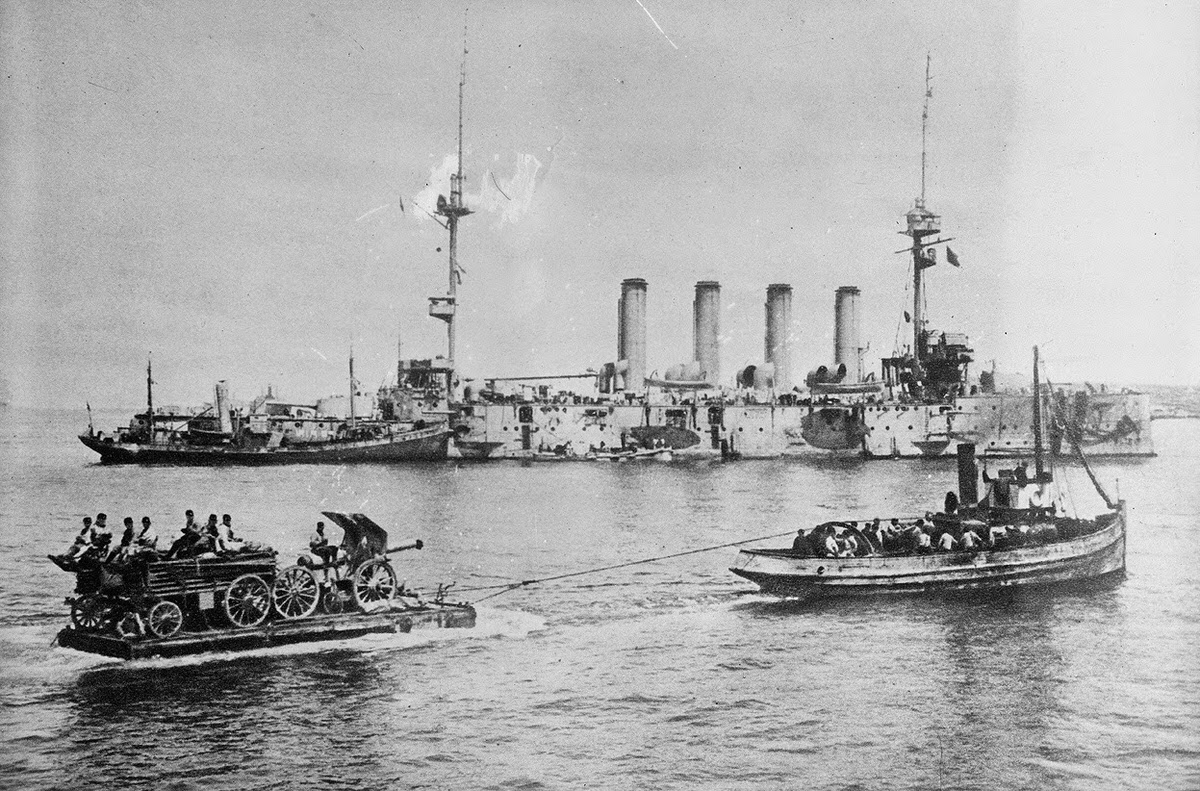
The Global War: Coronel and the Falklands
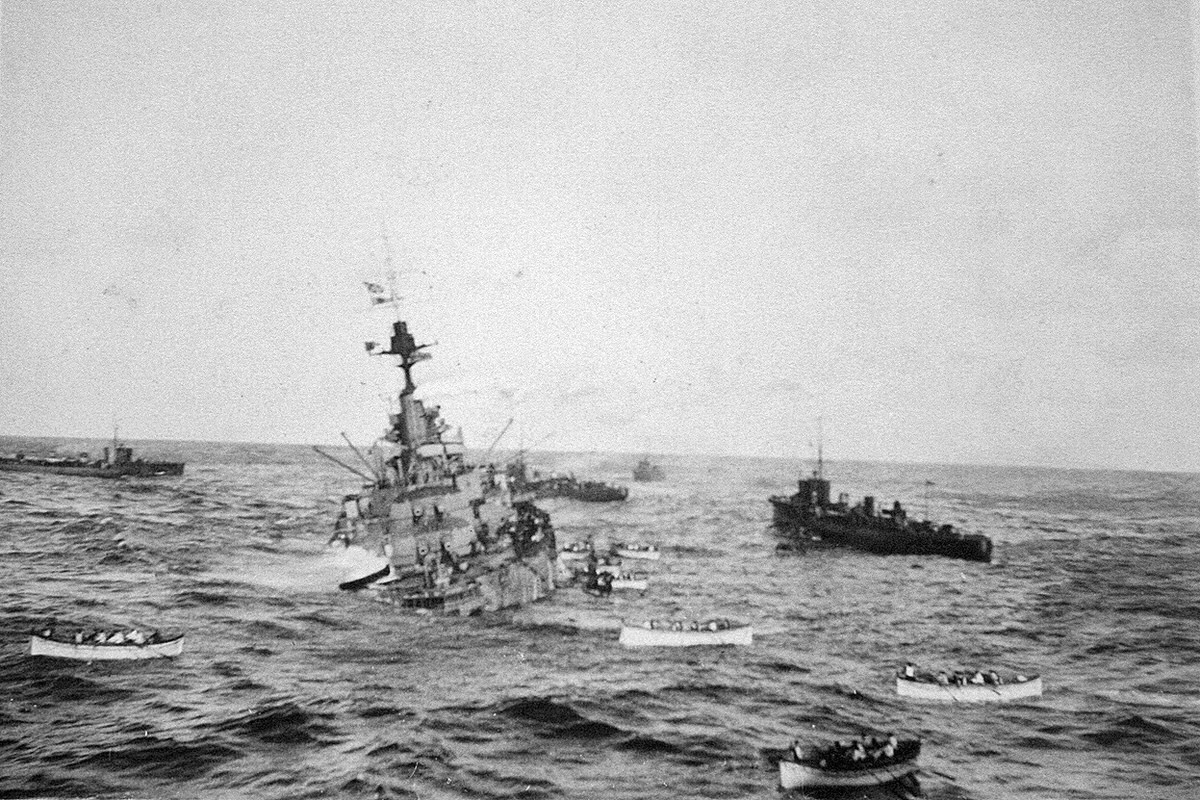
The war at sea extended far beyond the cold waters of the North Sea. Germany had a squadron of cruisers stationed in East Asia under Vice Admiral Maximilian von Spee. When the war began, Spee knew his base in China was indefensible. He decided to cross the Pacific Ocean to return to Germany, raiding commerce along the way. On November 1, 1914, Spee’s squadron encountered a weaker British force off the coast of Chile near Coronel. The German gunners were efficient and accurate. They sank two British armored cruisers, HMS Good Hope and HMS Monmouth, with all hands lost. It was the first British naval defeat in a century.
The British Admiralty reacted with fury. They detached two powerful battlecruisers, HMS Invincible and HMS Inflexible, from the Grand Fleet and sent them to the South Atlantic to hunt Spee down. On December 8, 1914, Spee approached the Falkland Islands to destroy a British radio station. He did not know the British battlecruisers had arrived the day before. The British ships chased the German squadron down. The battlecruisers used their superior speed and longer gun range to destroy Spee’s ships from a safe distance. Four German ships were sunk, including Spee’s flagship, the Scharnhorst. This victory secured the ocean trade routes for the Allies.
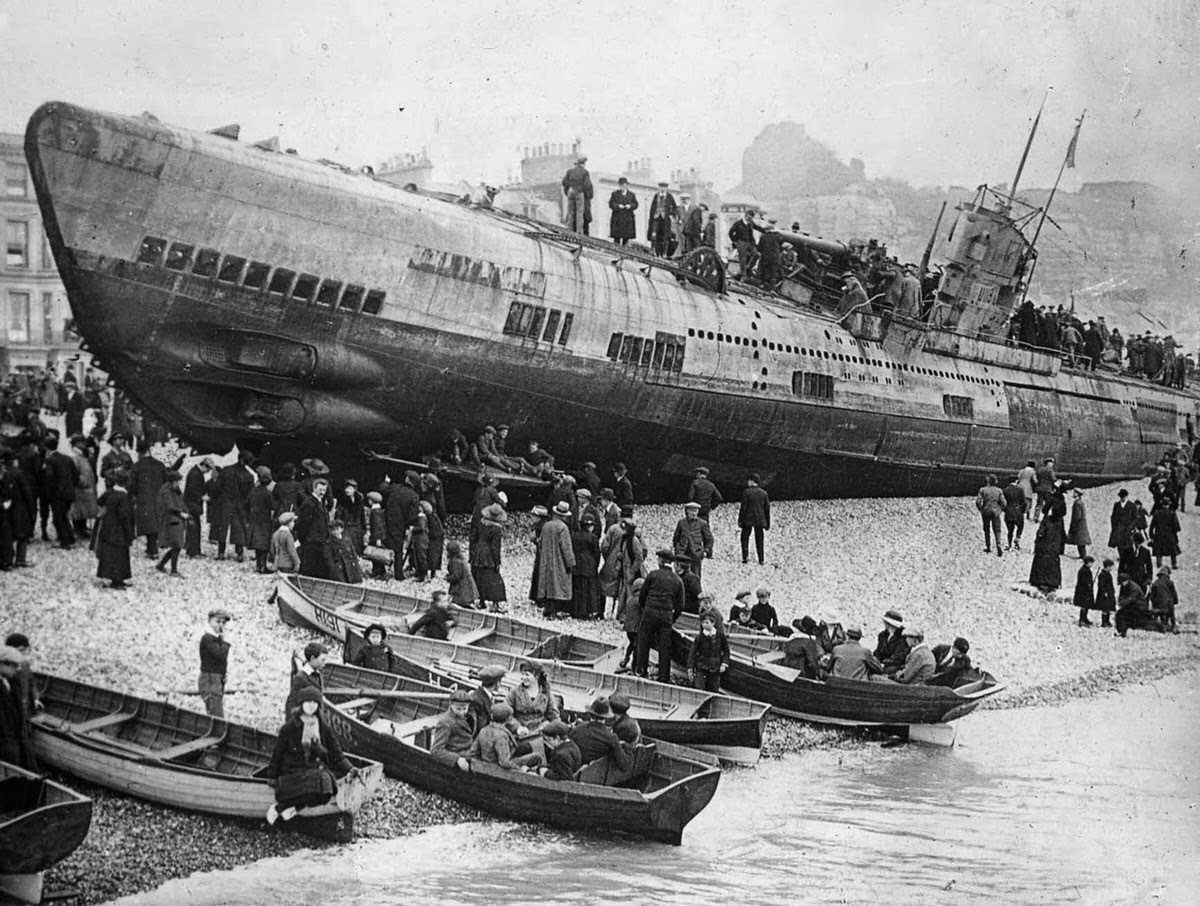
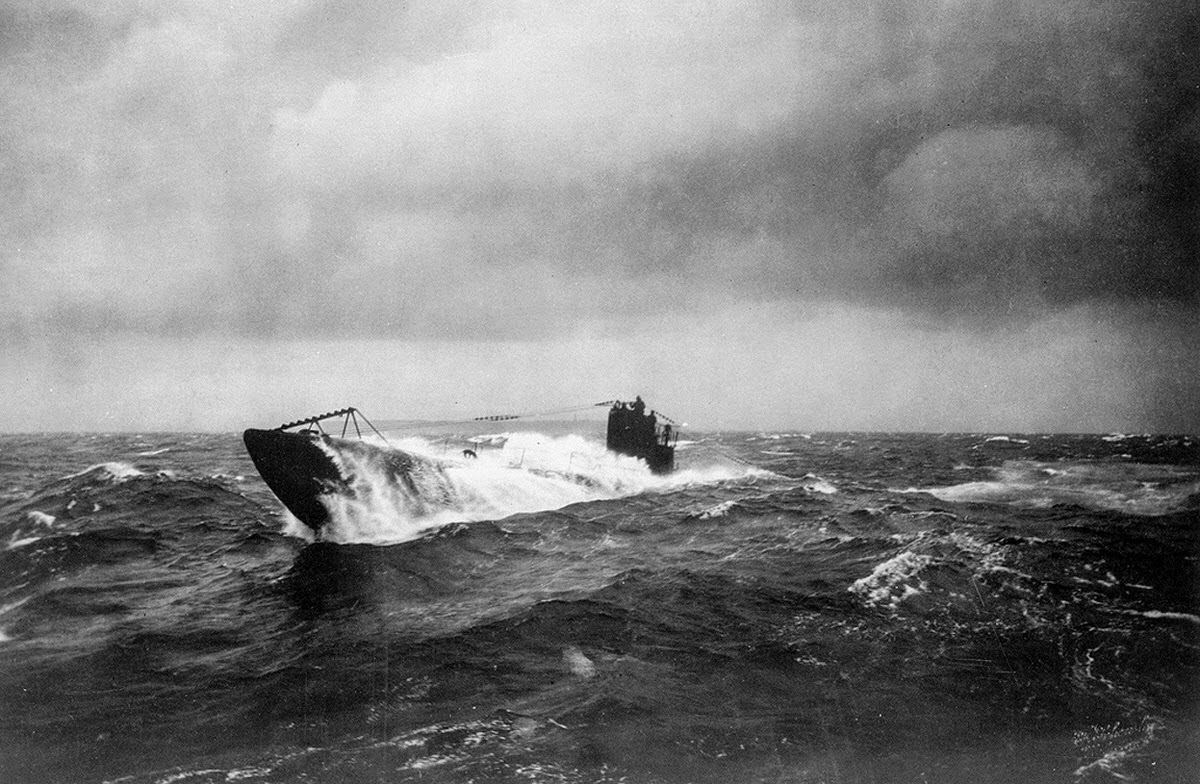
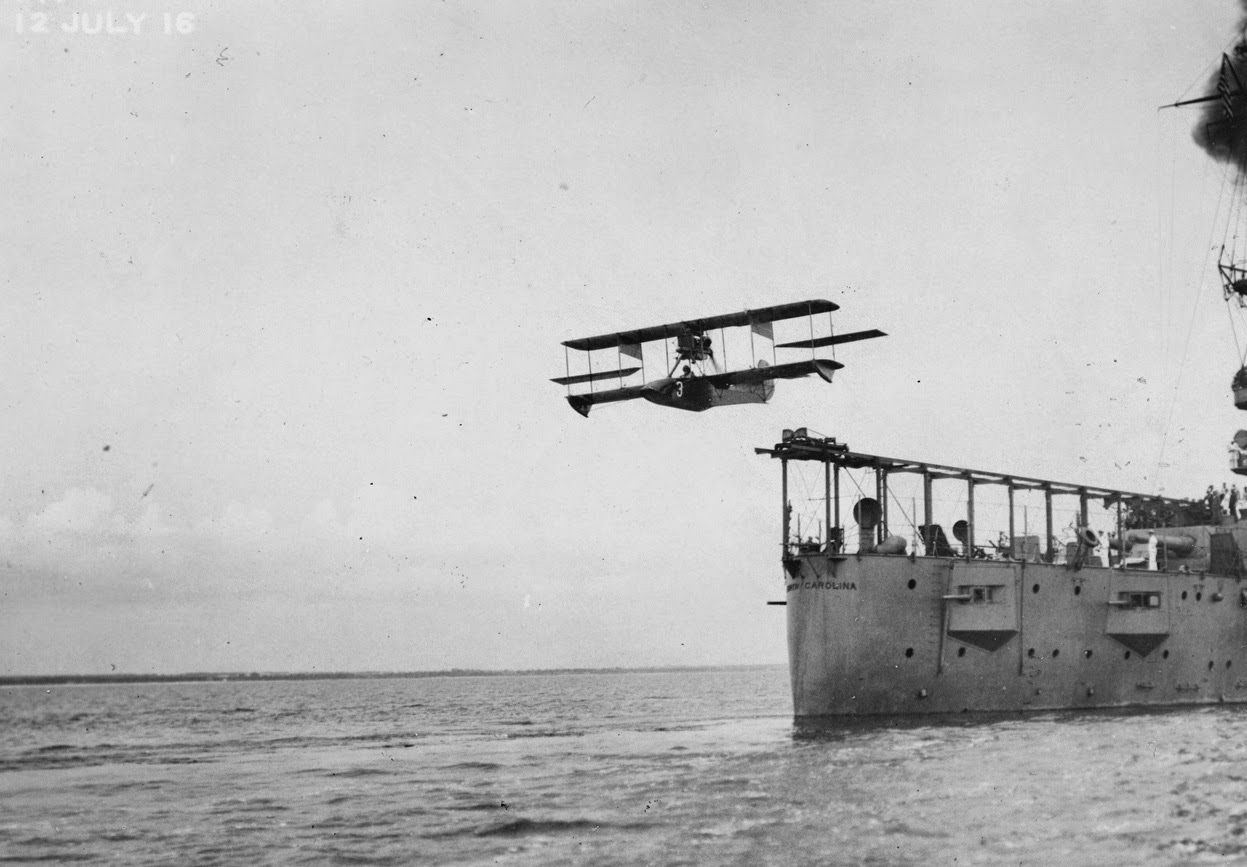
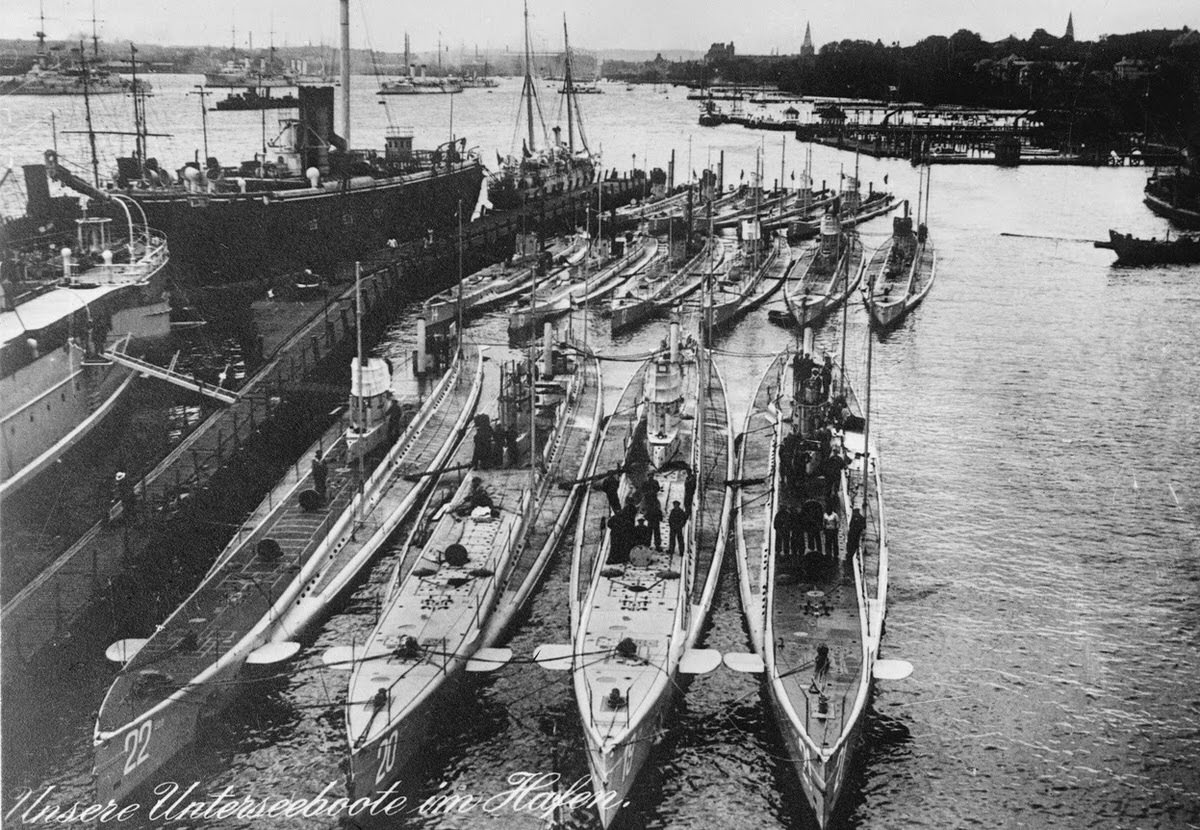
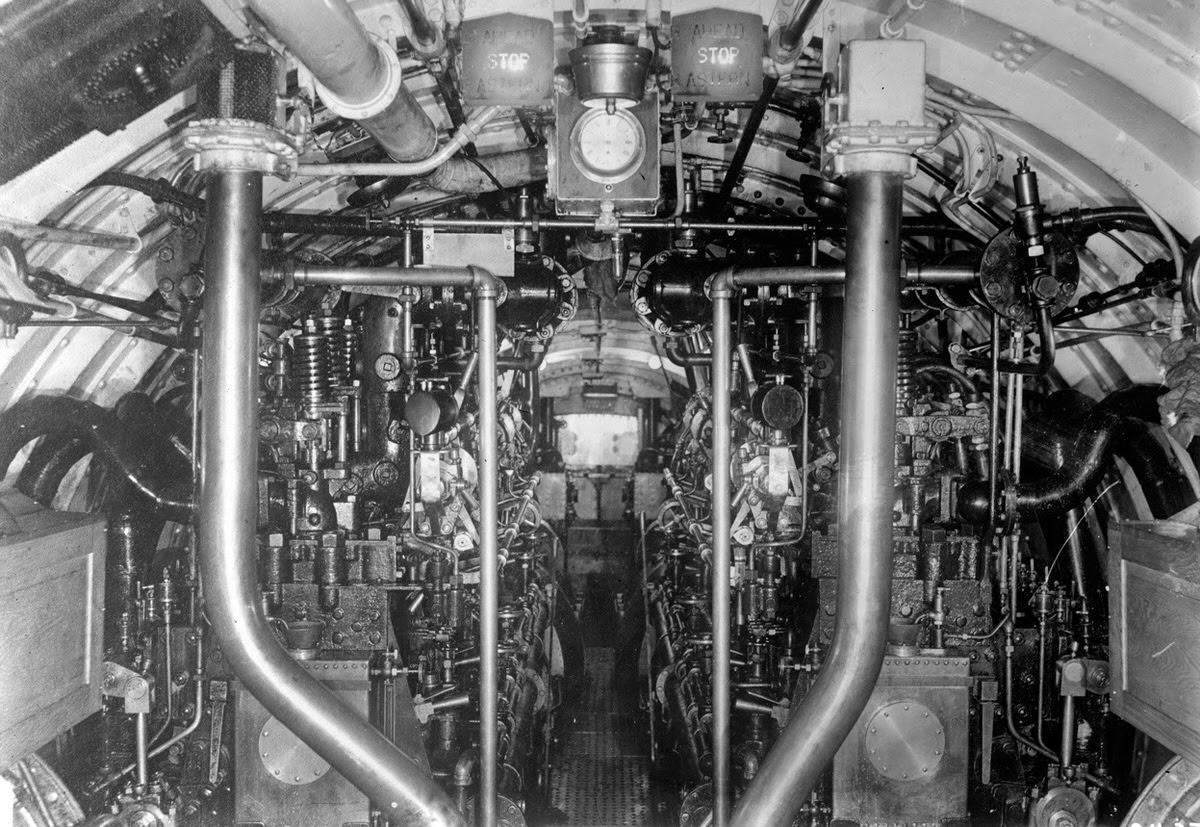
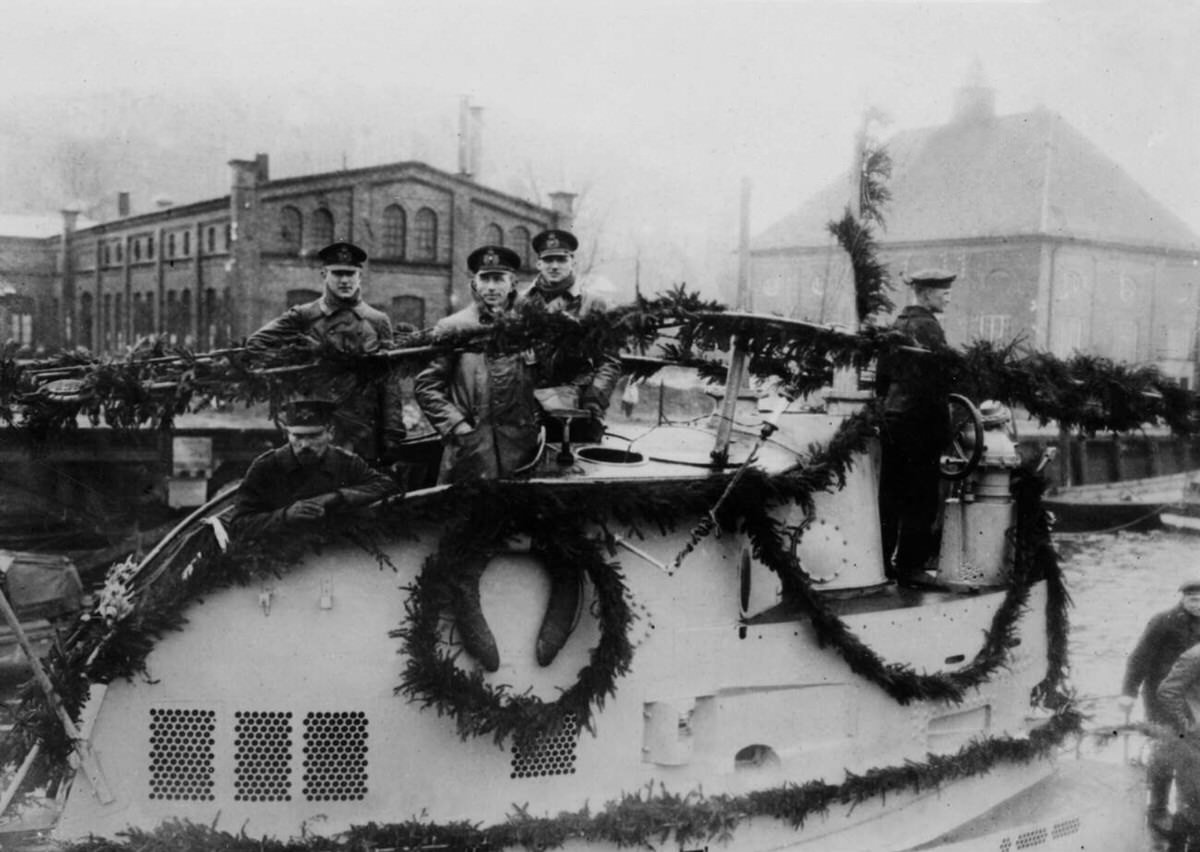
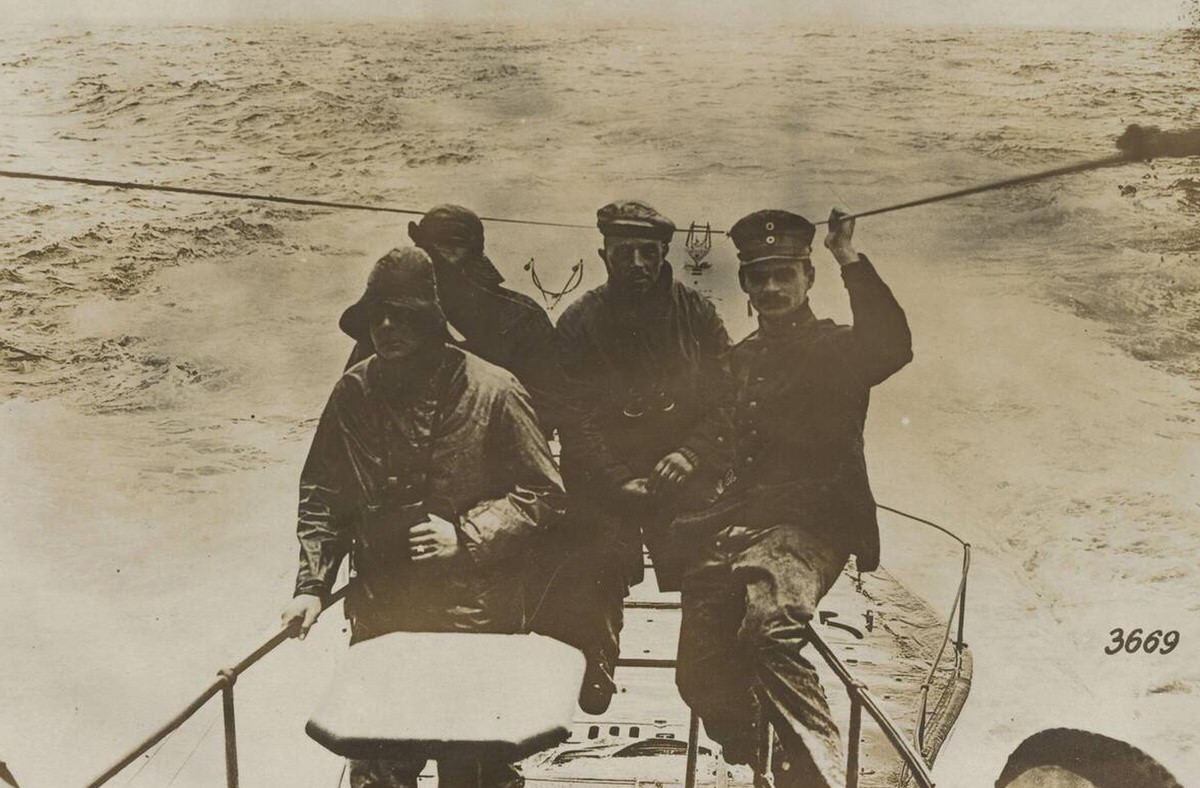
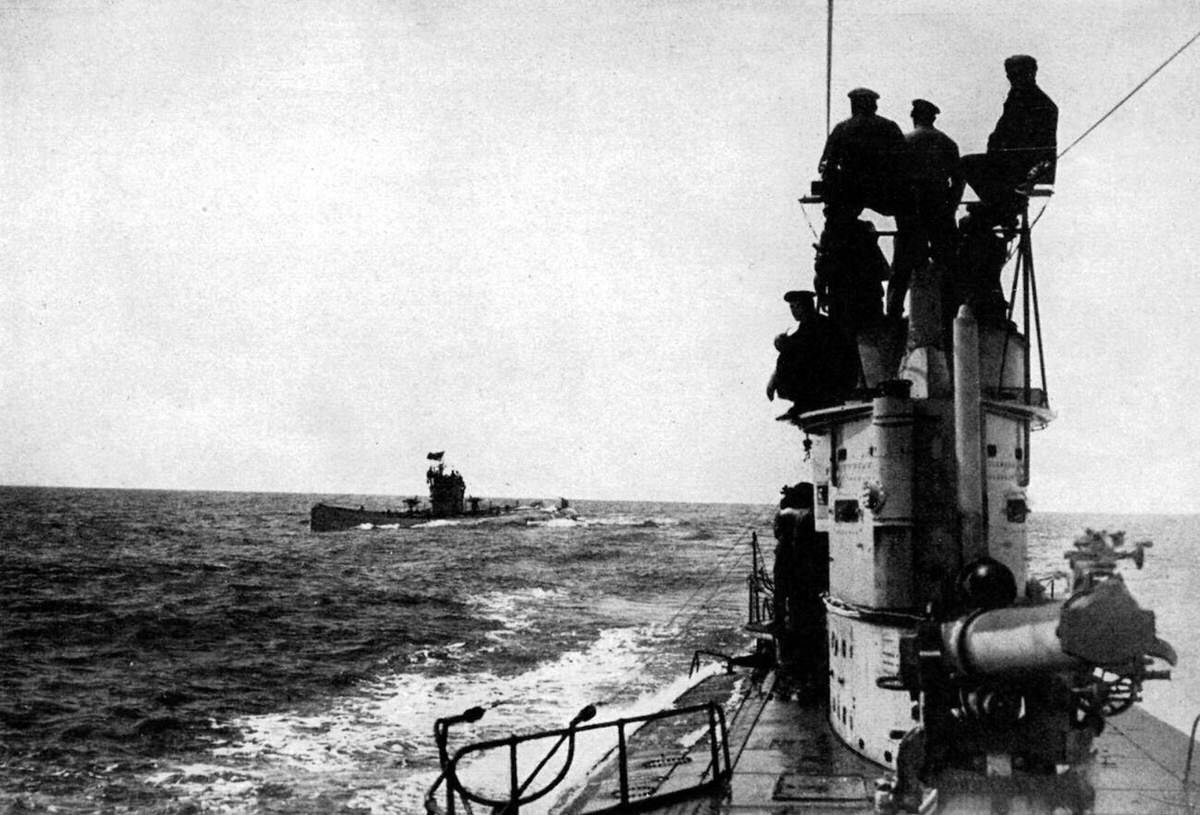
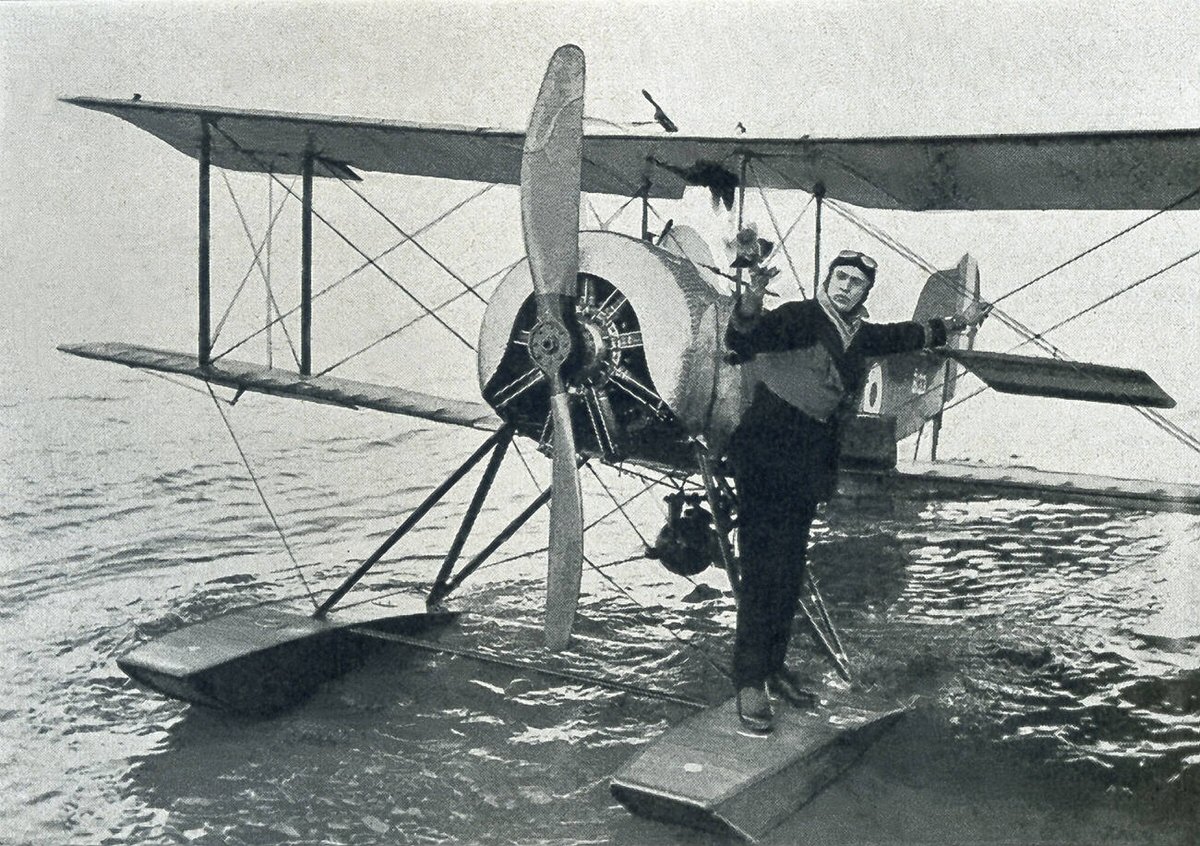
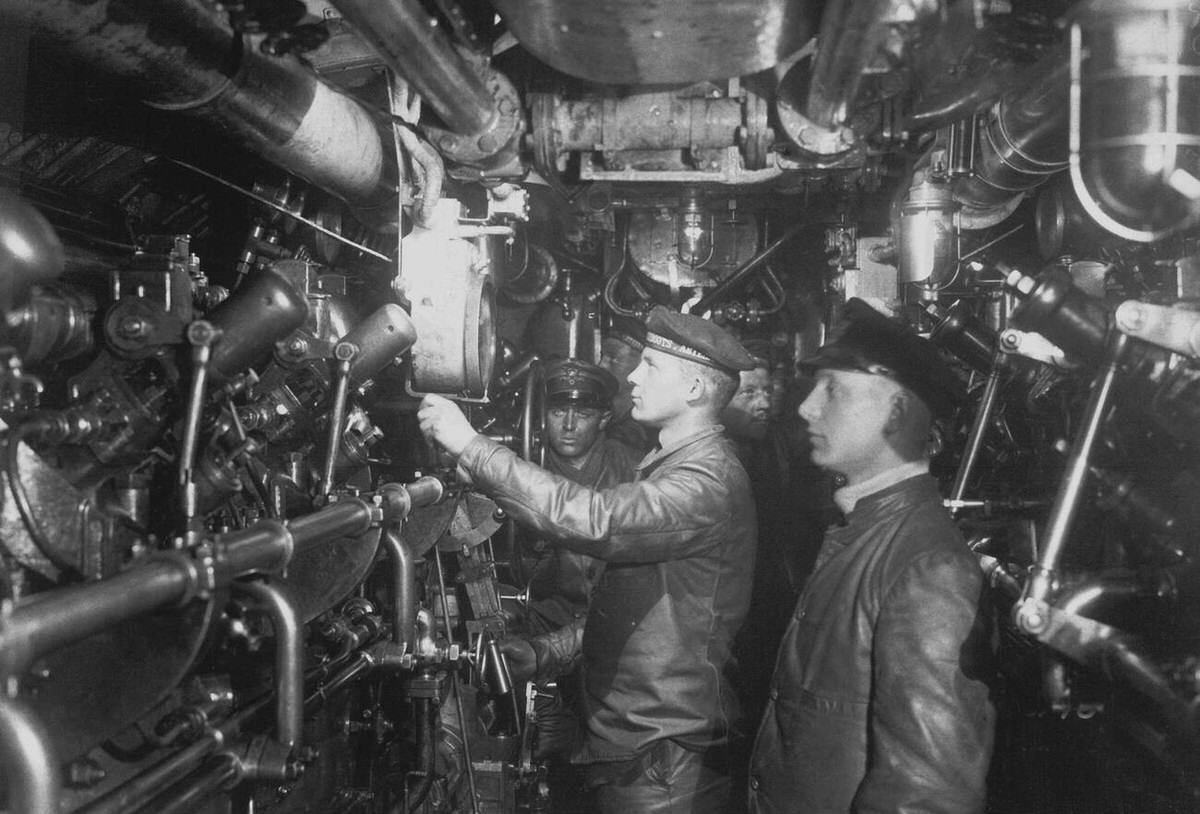
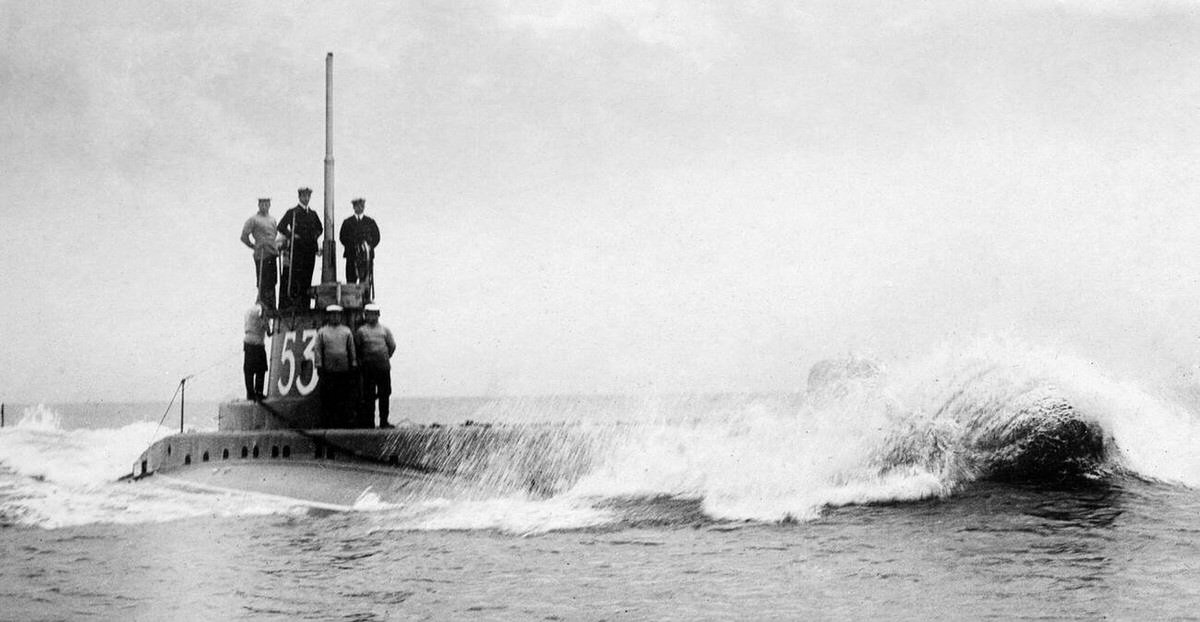
The U-boat Threat
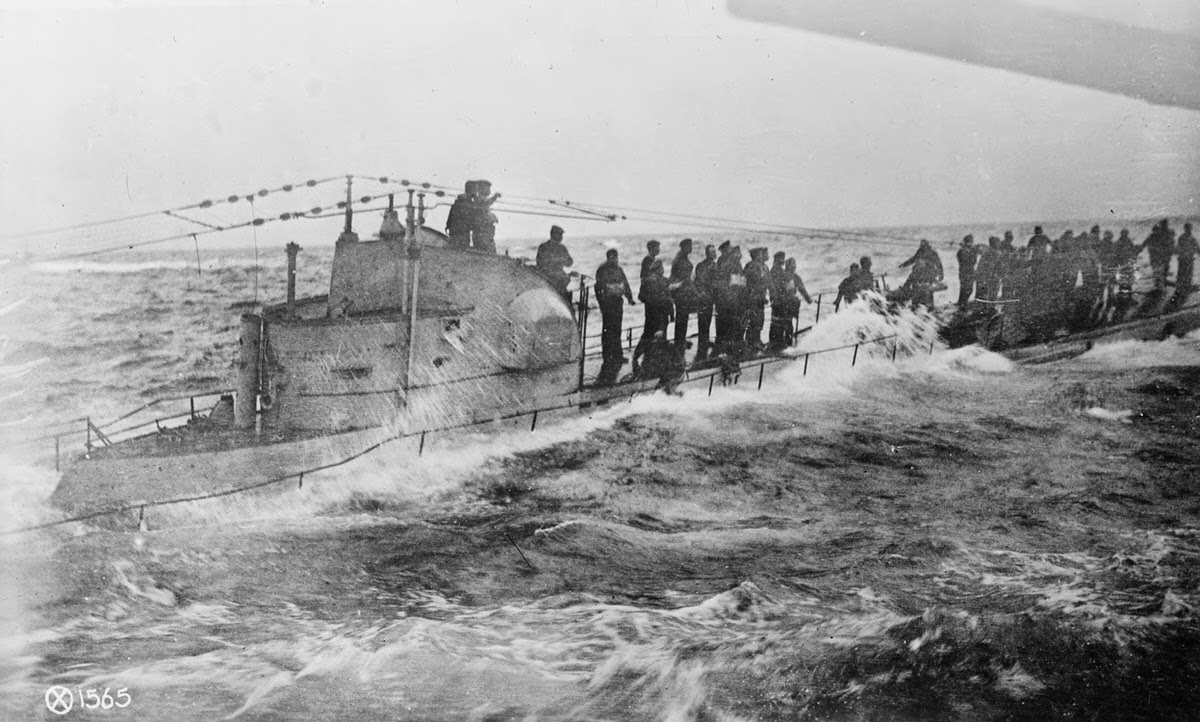
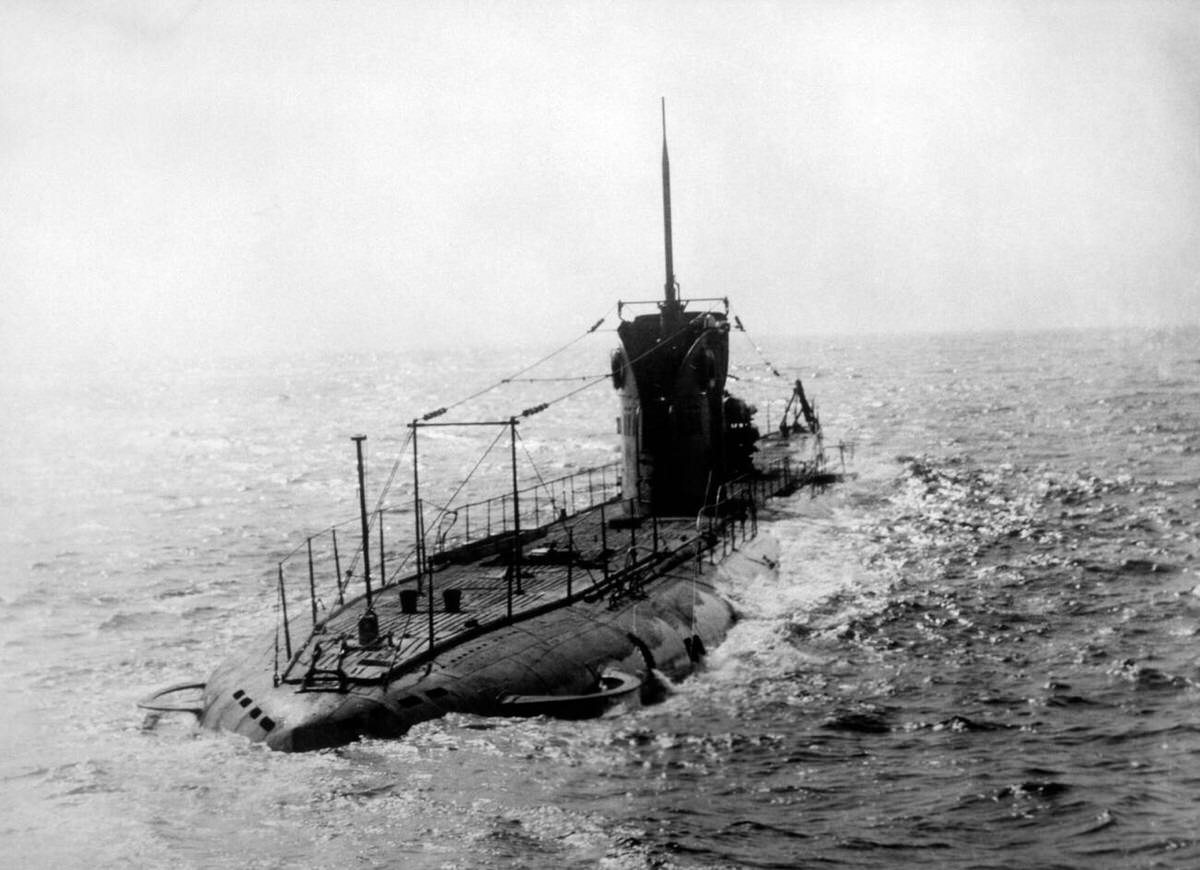
Germany realized its surface fleet could not break the British blockade directly. They turned to a new weapon: the Unterseeboot, or U-boat.
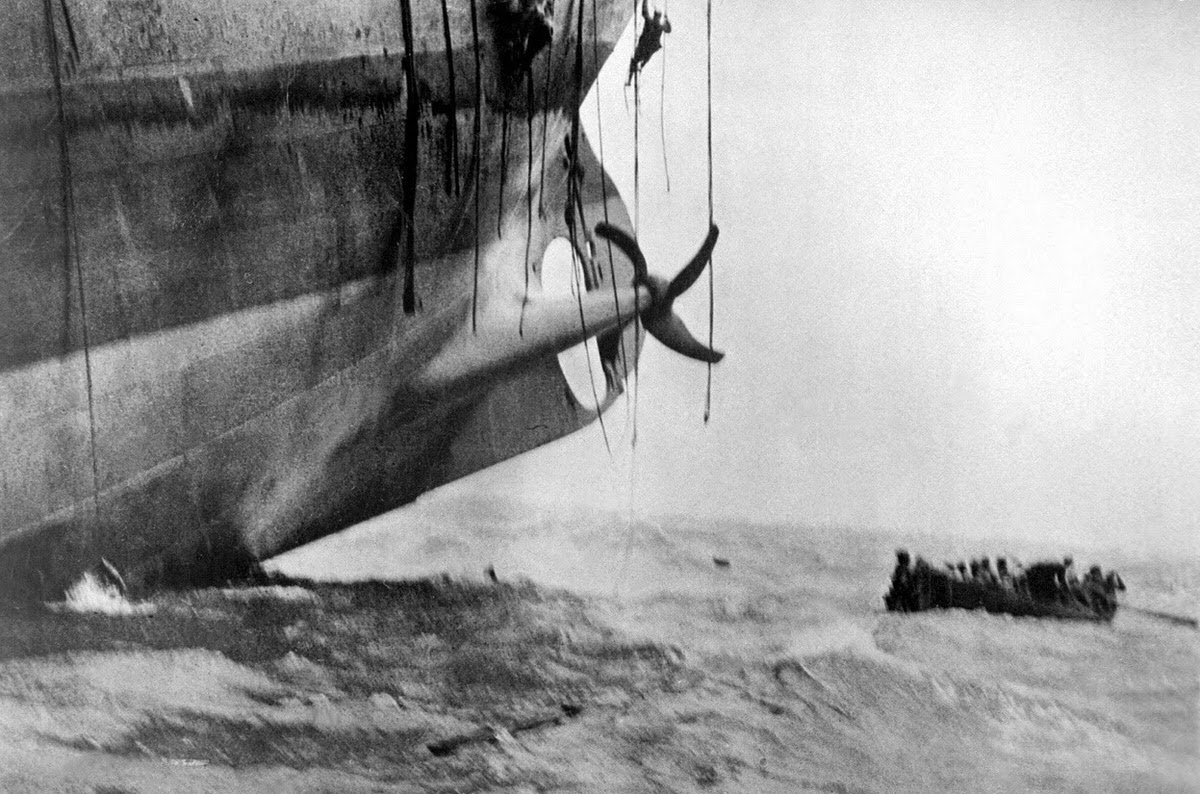
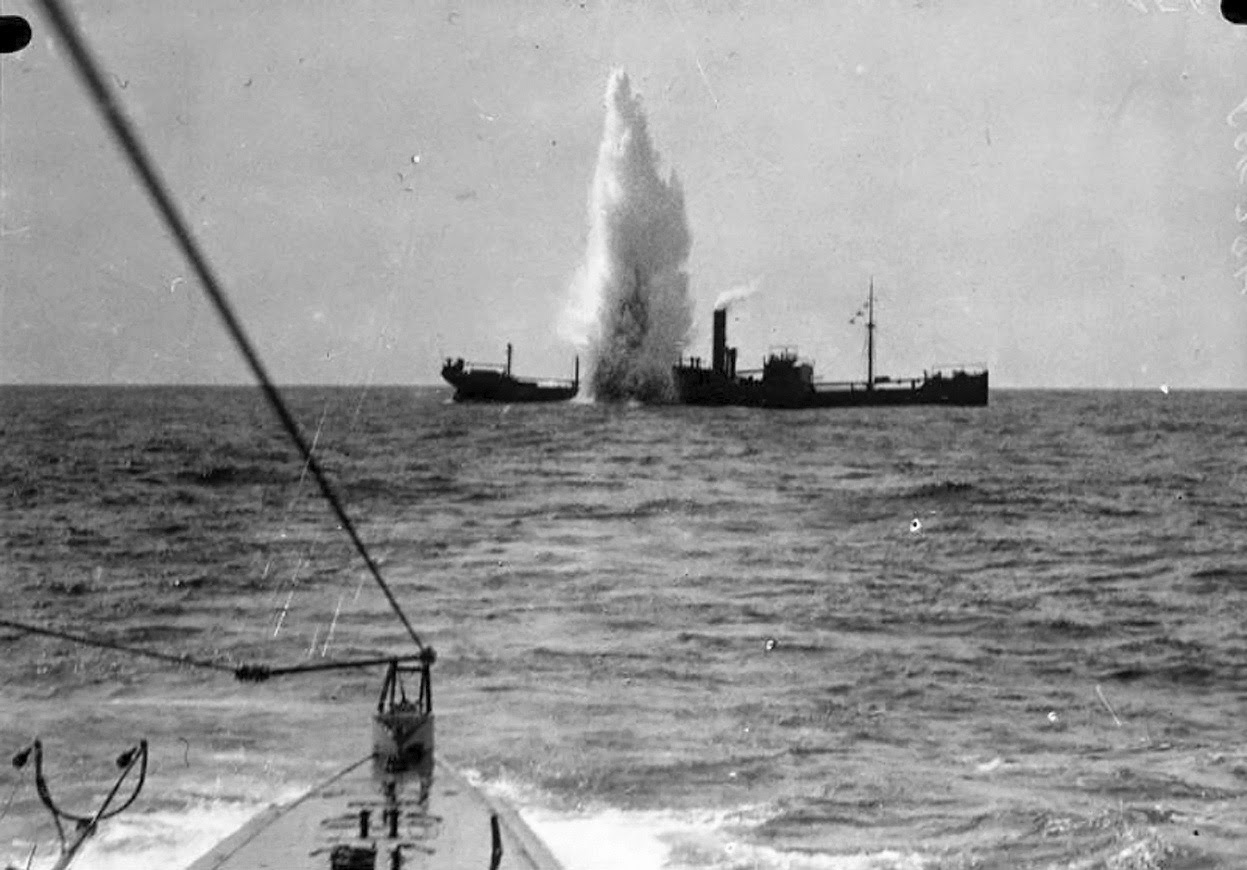
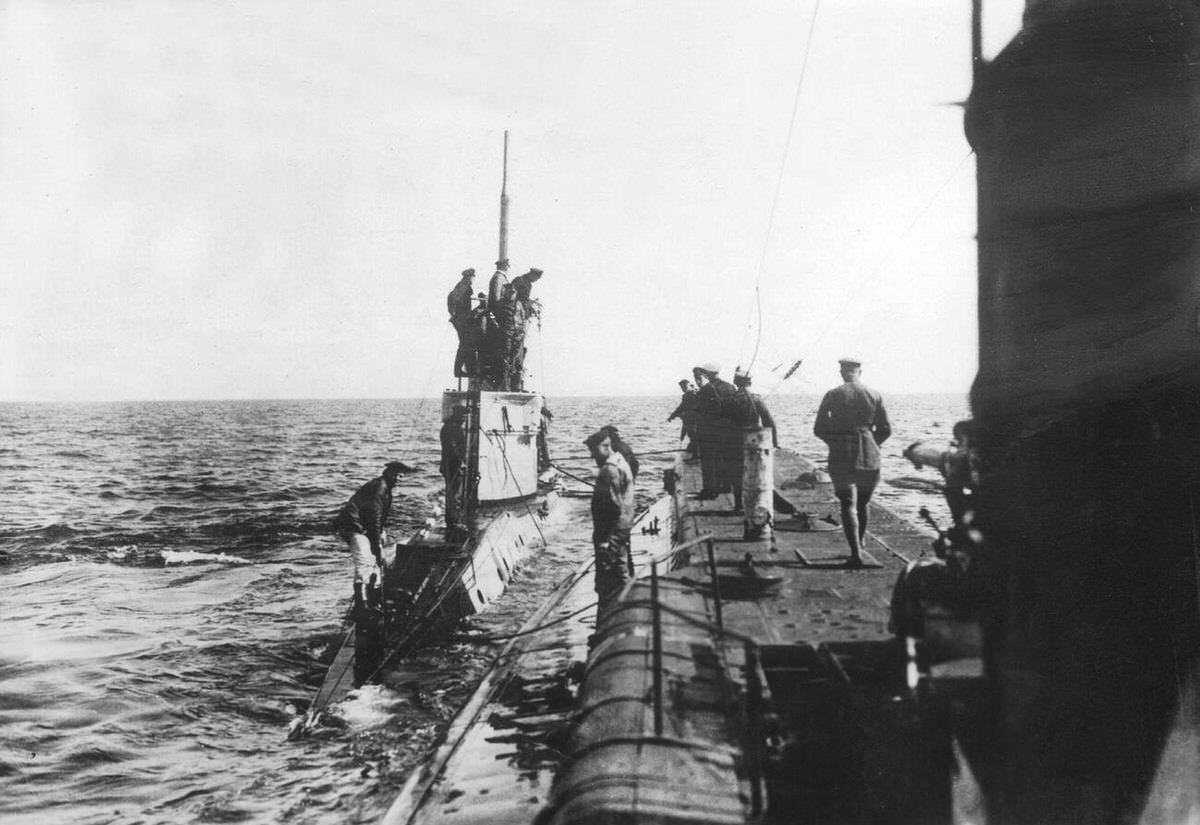
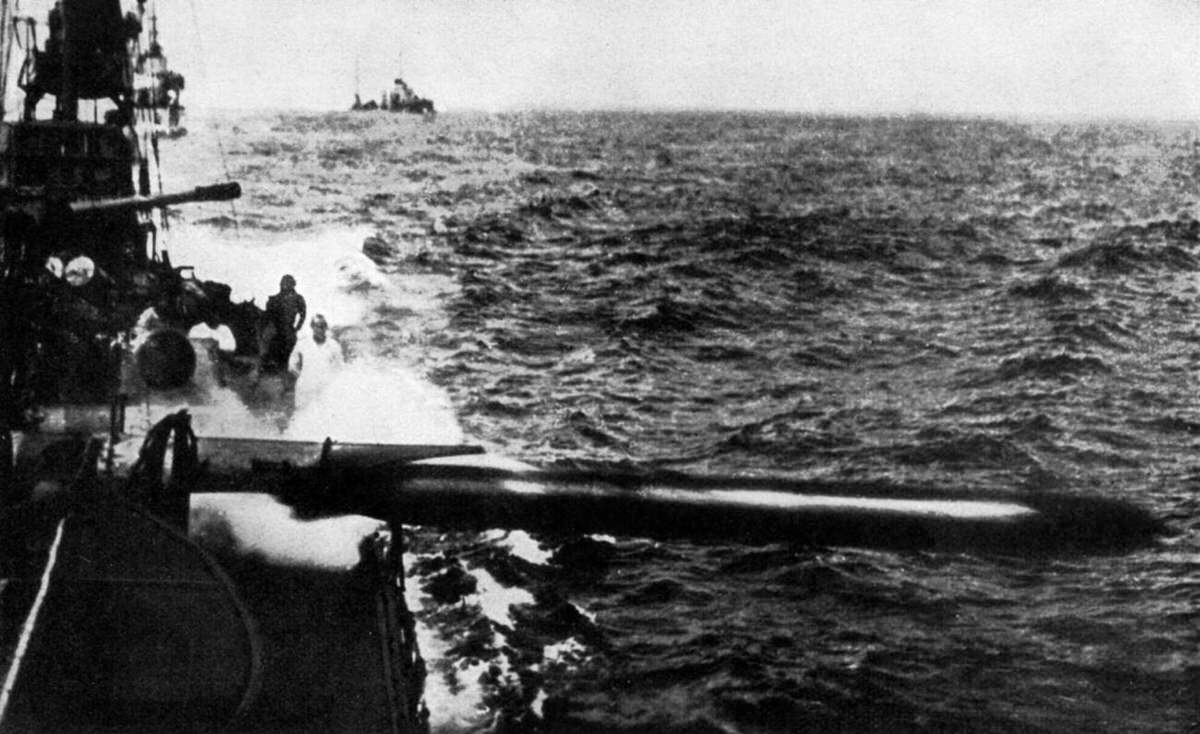
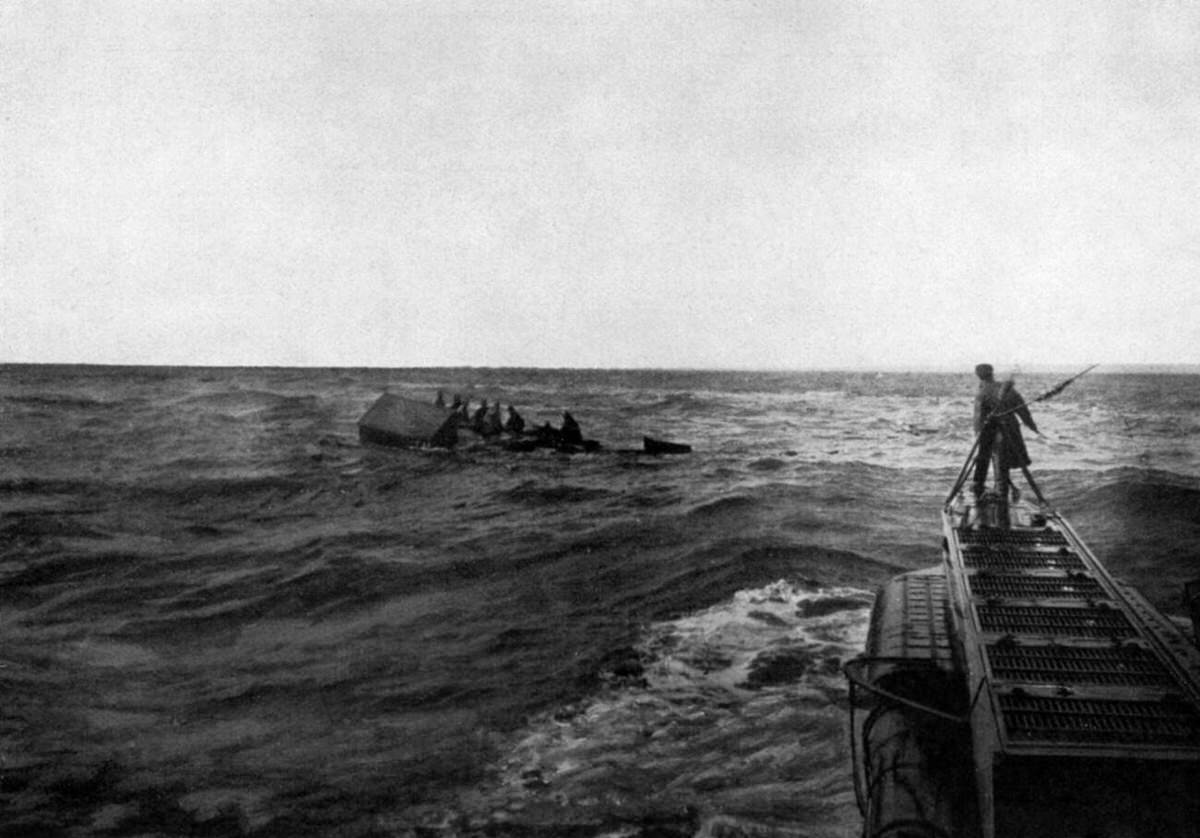
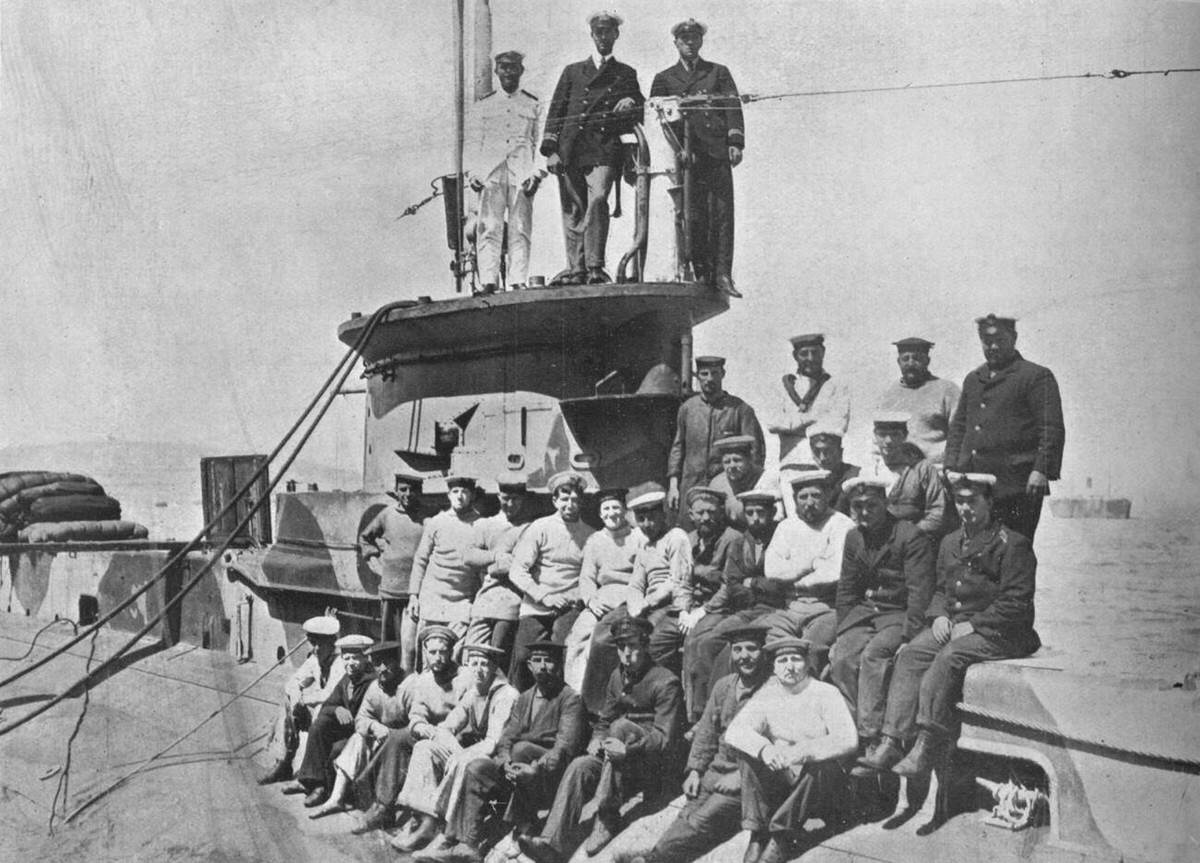
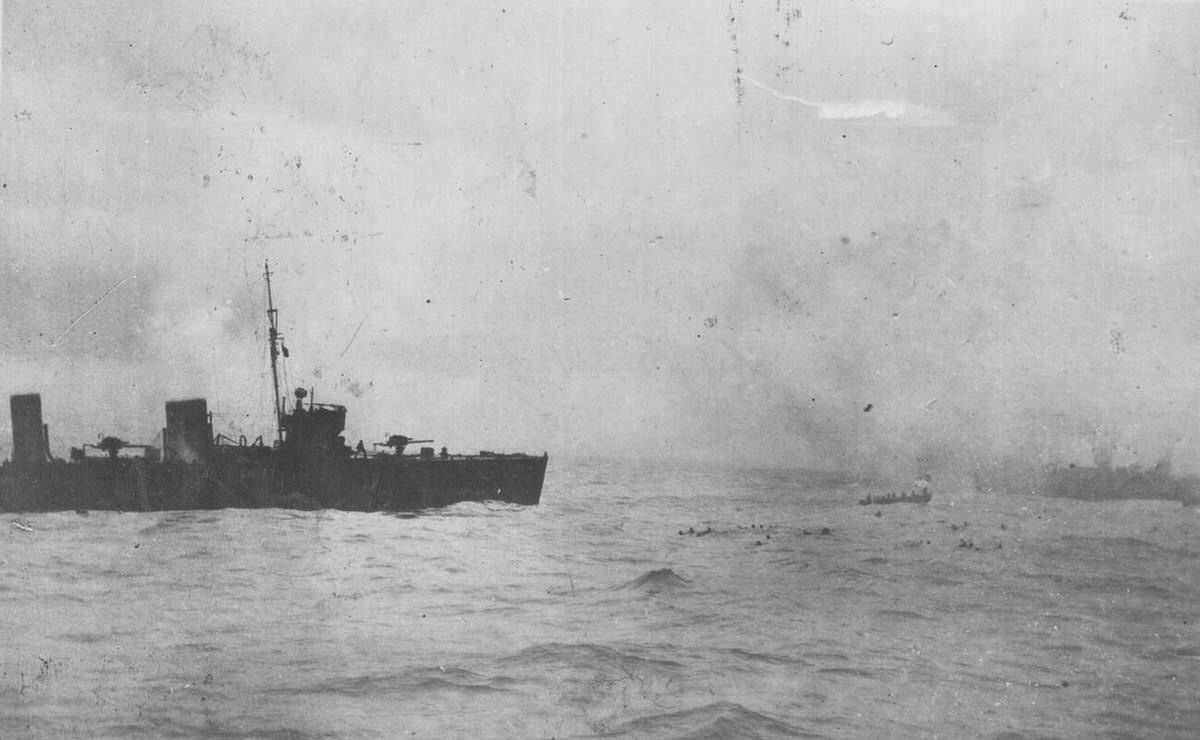
Early in the war, U-boats demonstrated their lethal potential. On September 22, 1914, a single submarine, U-9, sank three British armored cruisers in less than an hour. The U-boat used stealth to approach targets and fired torpedoes powered by compressed air. The Royal Navy had few defenses against this underwater threat. They relied on ramming or gunfire, but they first had to spot the periscope.
Germany announced a submarine blockade of the British Isles. They declared the waters around Britain a war zone where they would sink merchant ships without warning. This policy, known as unrestricted submarine warfare, aimed to starve Britain into submission. However, it carried a high diplomatic risk. On May 7, 1915, the U-20 torpedoed the British ocean liner RMS Lusitania off the coast of Ireland. The ship sank in 18 minutes, killing 1,198 people, including 128 Americans. The outrage in the United States forced Germany to suspend unrestricted attacks to keep America out of the war.
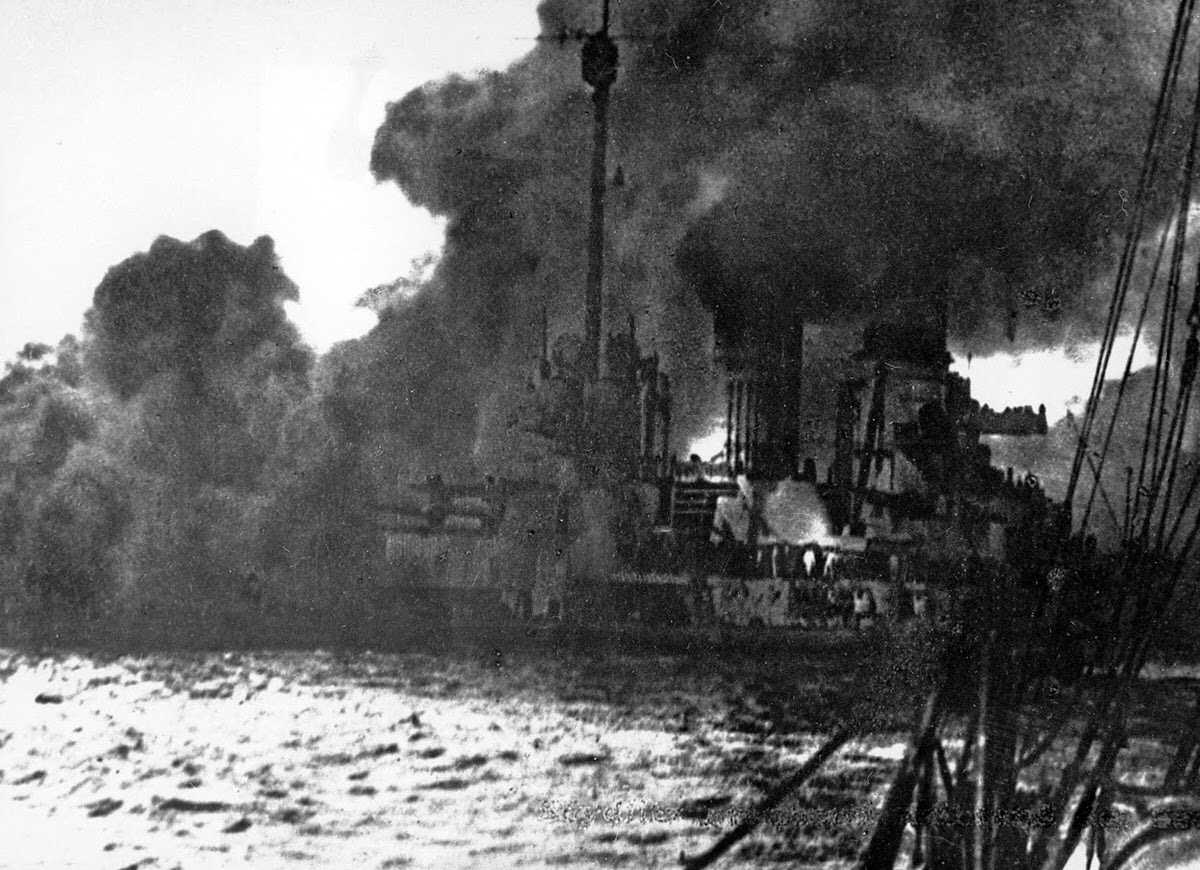
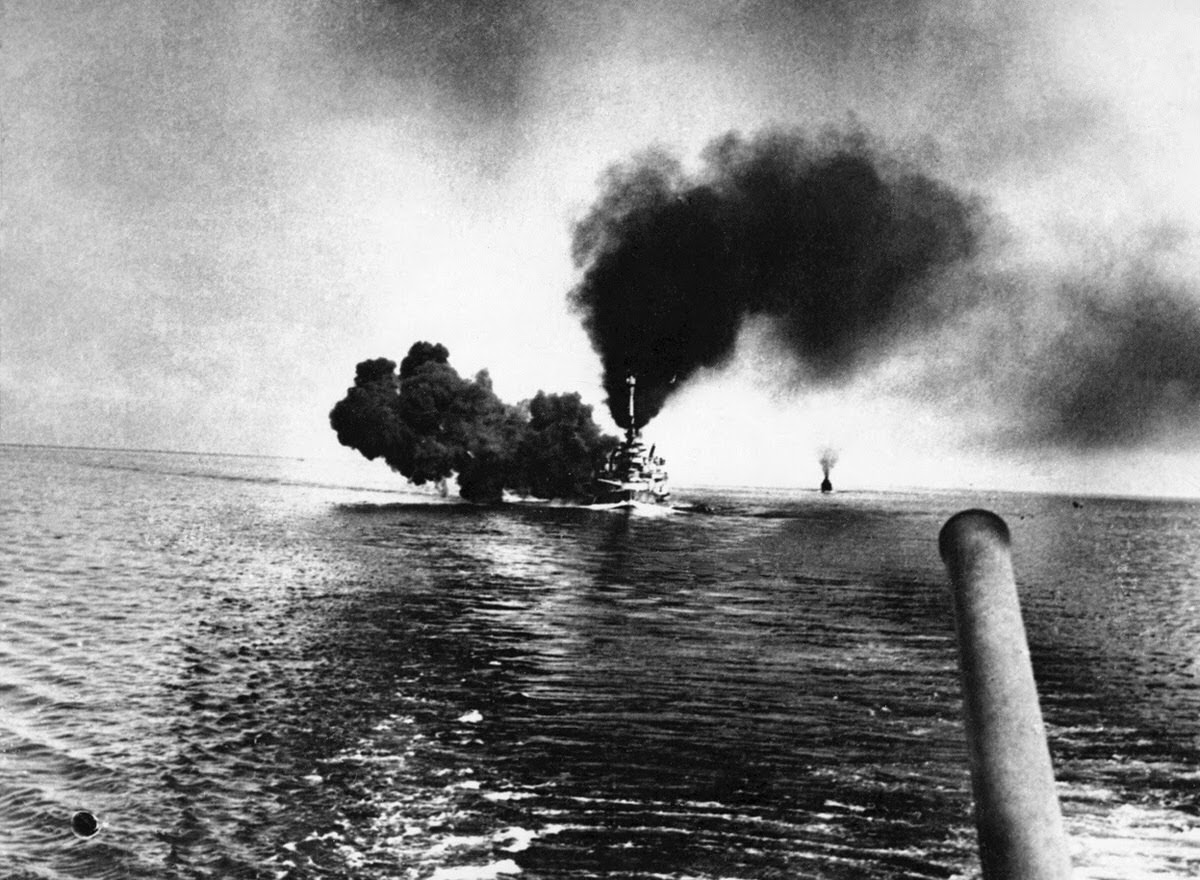
The Battle of Jutland: The Trap
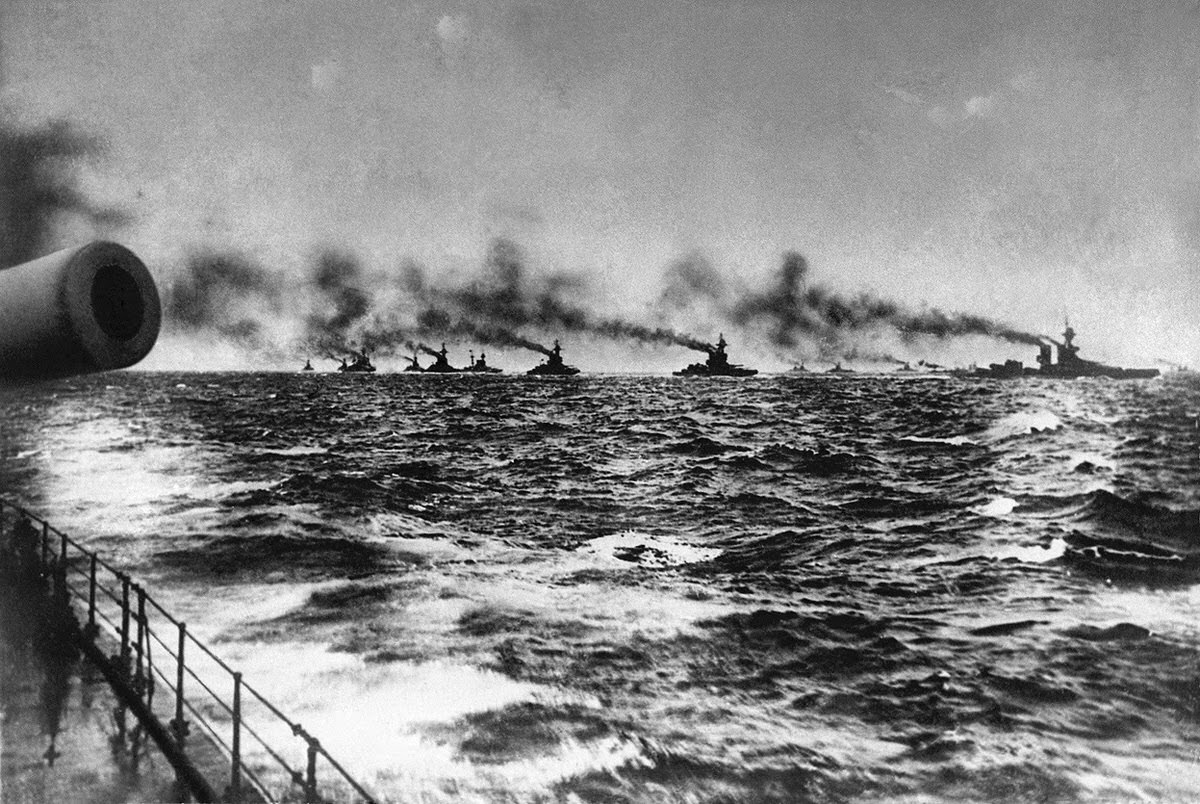
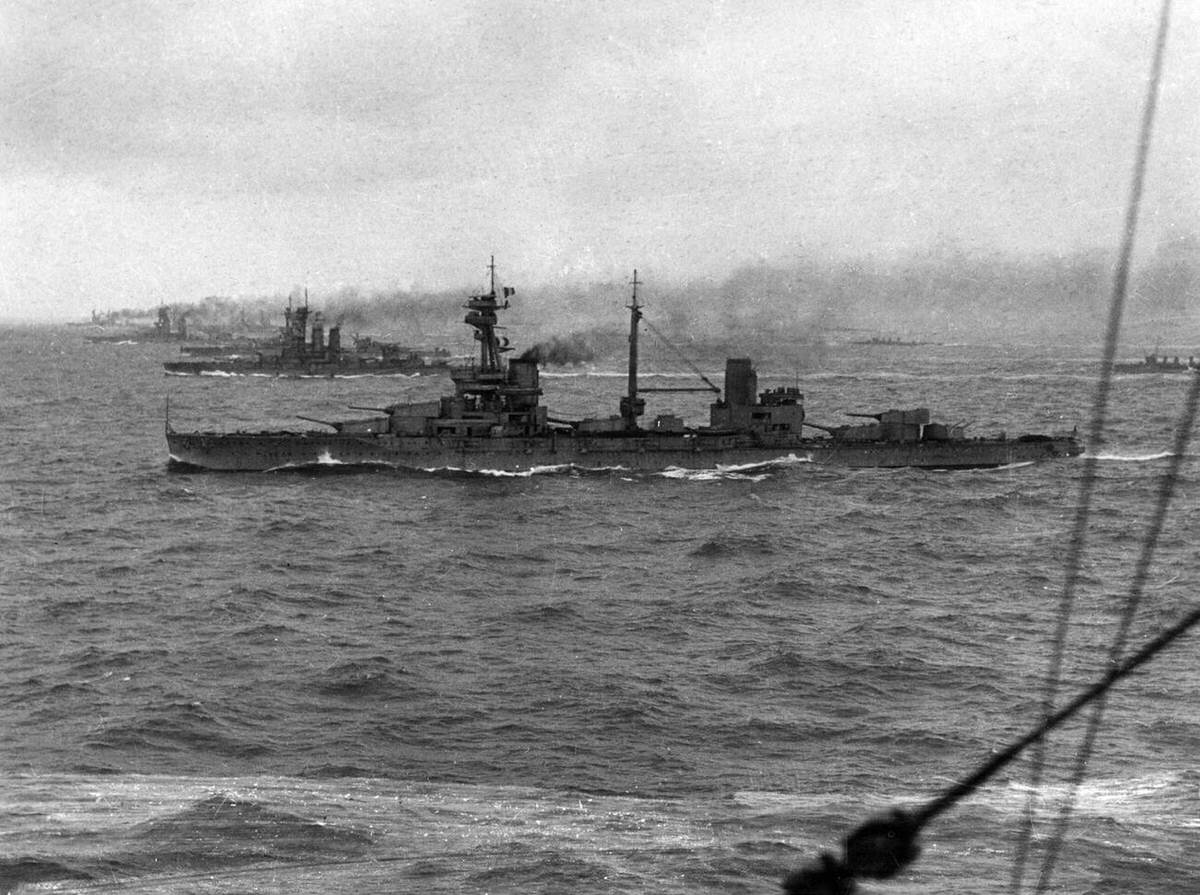
The only full-scale clash of battleships occurred on May 31, 1916, near the coast of Denmark. The German commander, Vice Admiral Reinhard Scheer, planned to lure a portion of the British fleet into a trap. He sent his battlecruisers under Vice Admiral Franz Hipper to act as bait. He hoped to draw out Admiral Beatty’s British battlecruiser fleet and destroy it with the main body of the German High Seas Fleet before the rest of the British navy could arrive.
However, British intelligence had cracked the German radio codes. Admiral John Jellicoe, commander of the Grand Fleet, knew Scheer was coming out. He sailed with his entire force to meet the Germans.
The Battle of Jutland: The Engagement
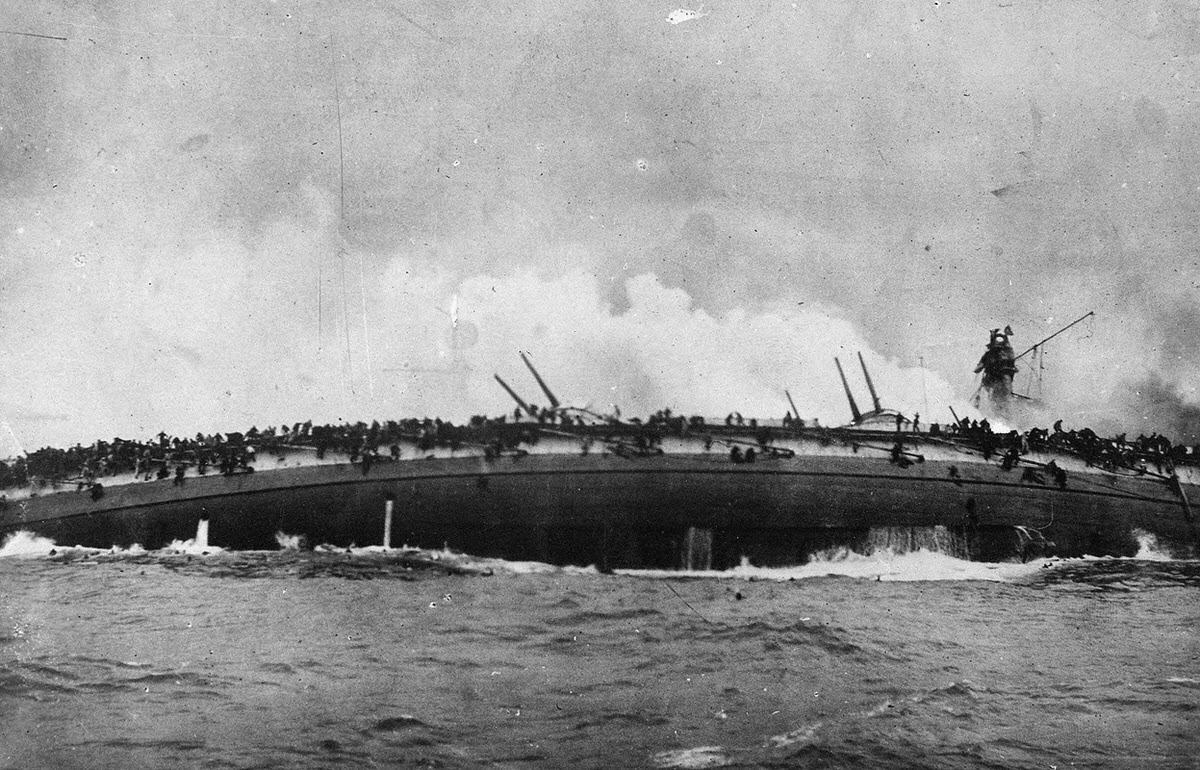
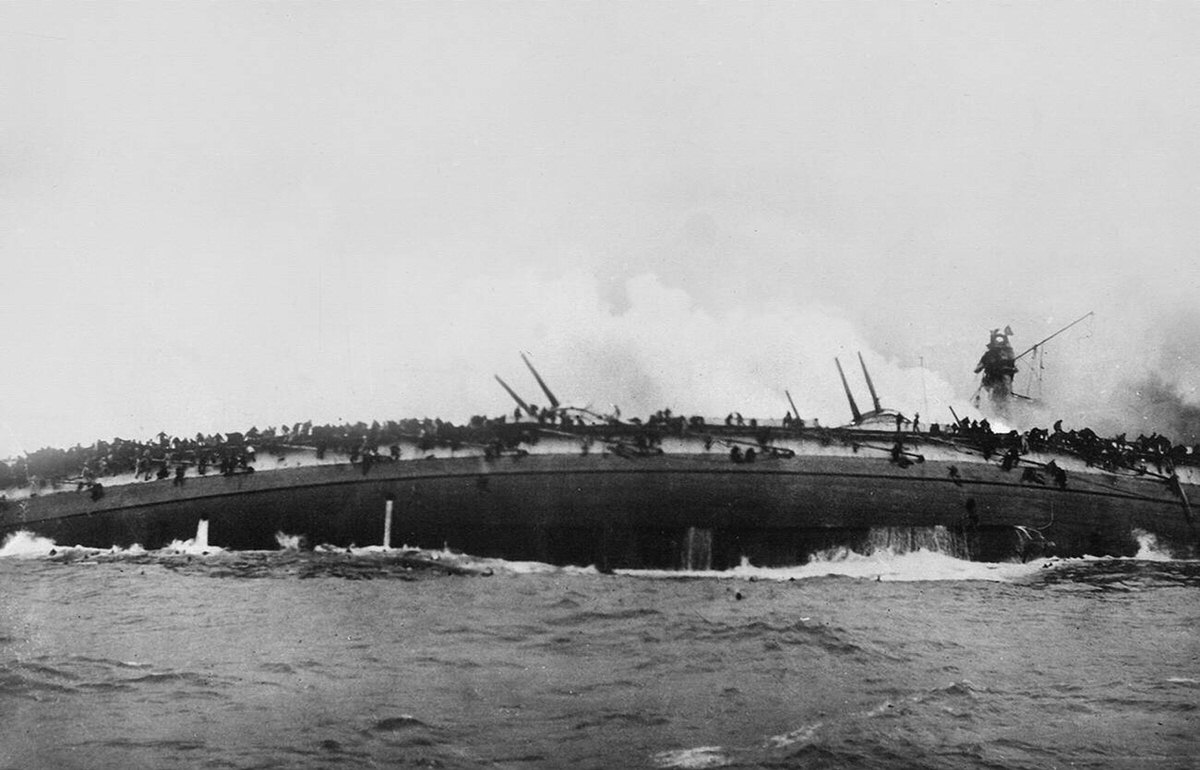
The battle began with a duel between the battlecruiser squadrons. Beatty engaged Hipper, but the German gunnery was superior. German shells struck the British battlecruiser HMS Indefatigable, igniting the cordite propellant for its guns. The ship exploded and sank. Twenty minutes later, HMS Queen Mary suffered a similar fate, disintegrating in a massive fireball. Beatty famously remarked to his flag captain, “There seems to be something wrong with our bloody ships today.”
Beatty turned north, drawing the German fleet toward Jellicoe’s incoming battleships. When the fleets met, Jellicoe executed a masterstroke of naval maneuvering called “crossing the T.” He arranged his line of battleships so they could fire broadsides—all their guns at once—at the leading German ships. The Germans could only fire their forward guns in response. The British fire was devastating. Scheer realized he was sailing into a wall of steel and fire. He executed a desperate 180-degree combat turn to escape into the mist.
Night fell, and confusion reigned. Small clashes between destroyers and cruisers occurred in the dark. Scheer managed to navigate his fleet through the rear of the British formation and returned to Germany. The British lost more ships and men, totaling 14 ships and over 6,000 sailors. The Germans lost 11 ships and 2,500 men. Germany claimed a tactical victory because they inflicted more damage. However, the strategic victory belonged to Britain. The German fleet never again challenged the British in a major battle. They remained trapped in their ports for the rest of the war.
The Return of Unrestricted Warfare
By 1917, the war on the Western Front was a stalemate. Germany was suffering under the British blockade. The German High Command decided to resume unrestricted submarine warfare in February 1917. They calculated they could sink enough shipping to starve Britain before the United States could mobilize its army. They knew this would bring America into the war, but they believed they could win quickly.
Initially, the strategy worked. In April 1917 alone, U-boats sank over 800,000 tons of Allied shipping. Britain had only weeks of food reserves left. The U-boats operated in “wolf packs” or singly, patrolling the approaches to British ports. They attacked tankers, cargo ships, and troop transports. The Allies tried to counter this with Q-ships—heavily armed merchant ships with concealed guns intended to lure U-boats to the surface. However, these were not enough to stop the losses.
The Convoy System
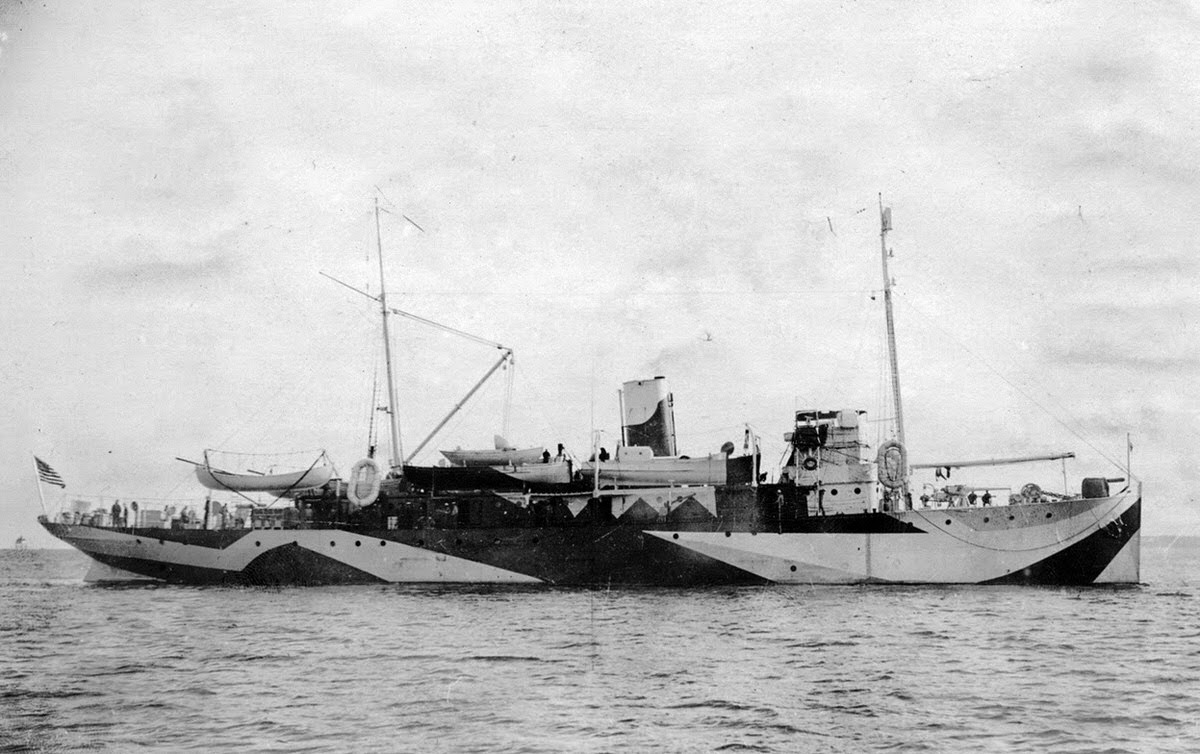
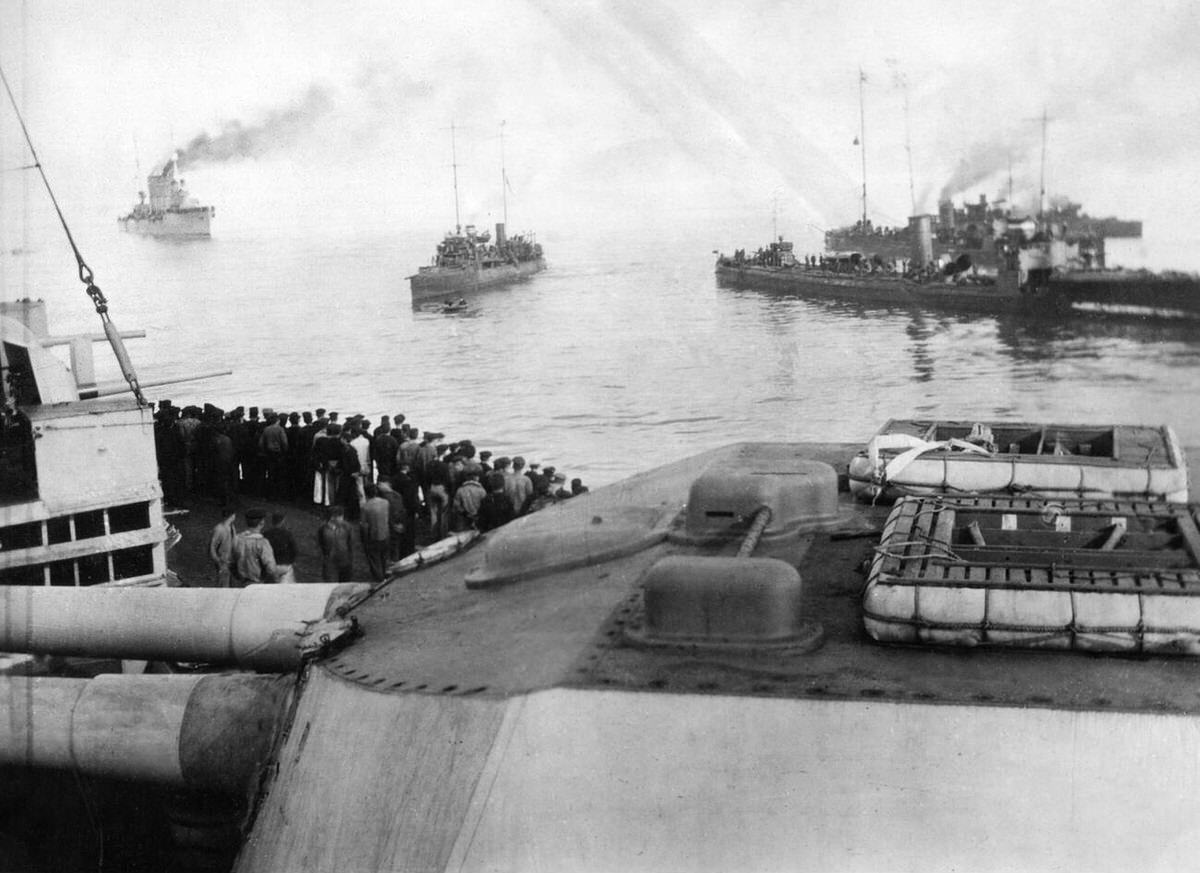
The solution to the U-boat crisis was the convoy system. The British Admiralty initially resisted this idea, fearing that grouping ships together would make them easier targets. They were wrong. Under pressure from Prime Minister David Lloyd George, they adopted the system in mid-1917. Merchant ships gathered in groups and crossed the Atlantic protected by warships.
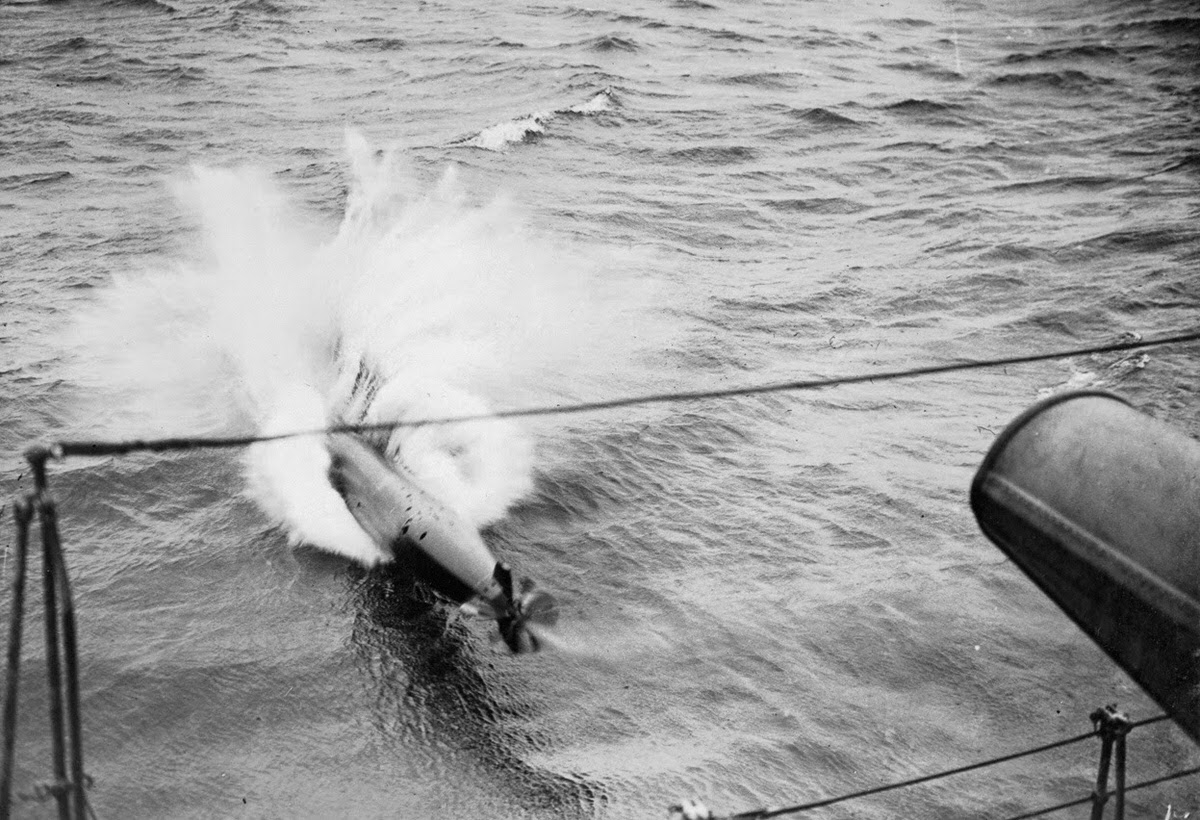
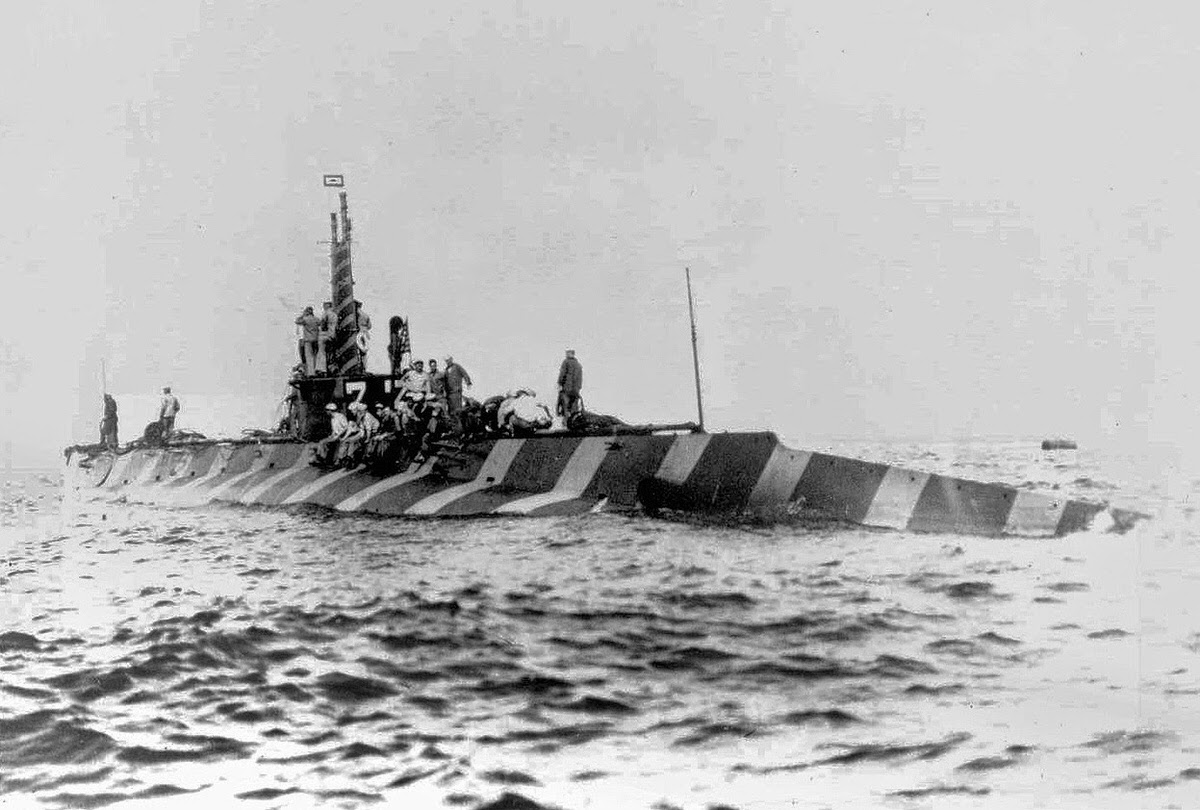
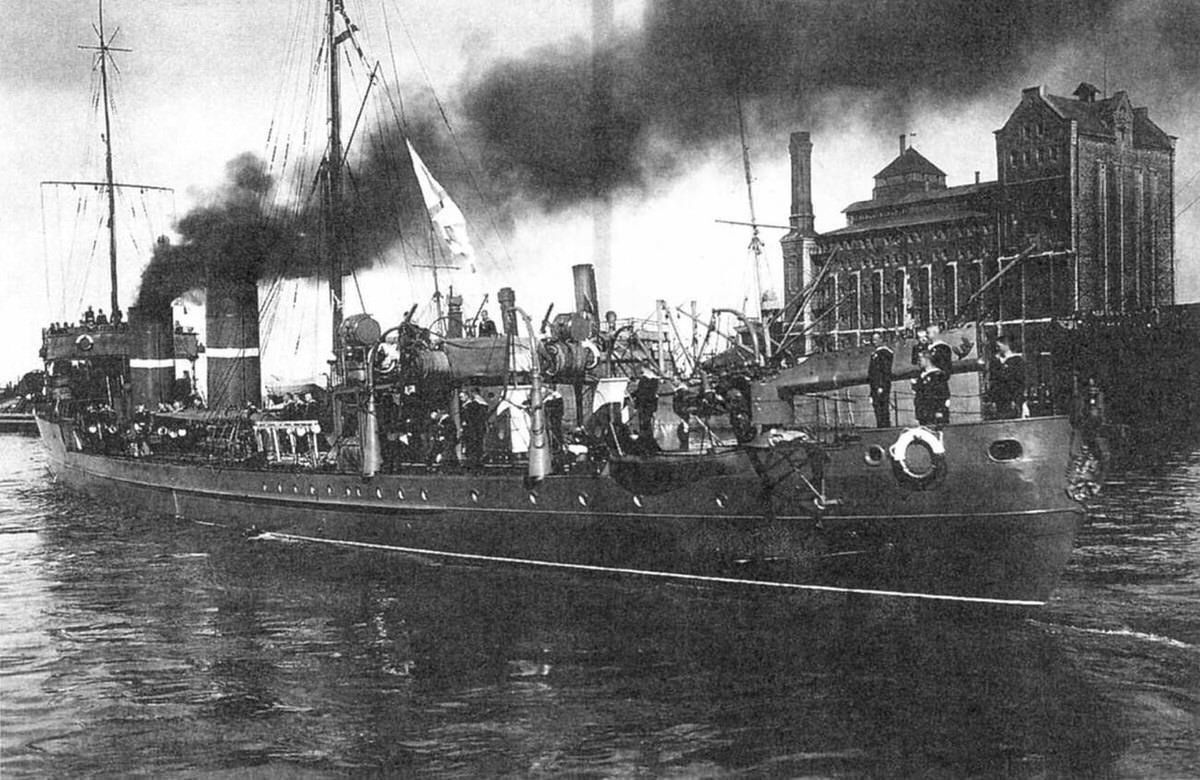
Destroyers were the key to the convoy’s success. These small, fast warships were equipped with hydrophones to listen for submarine engines. They carried depth charges, canisters filled with explosives that could be set to detonate at specific depths. When a destroyer detected a U-boat, it raced to the spot and dropped a pattern of depth charges. The shockwaves crushed the submarine’s hull or forced it to the surface where it could be destroyed by gunfire.
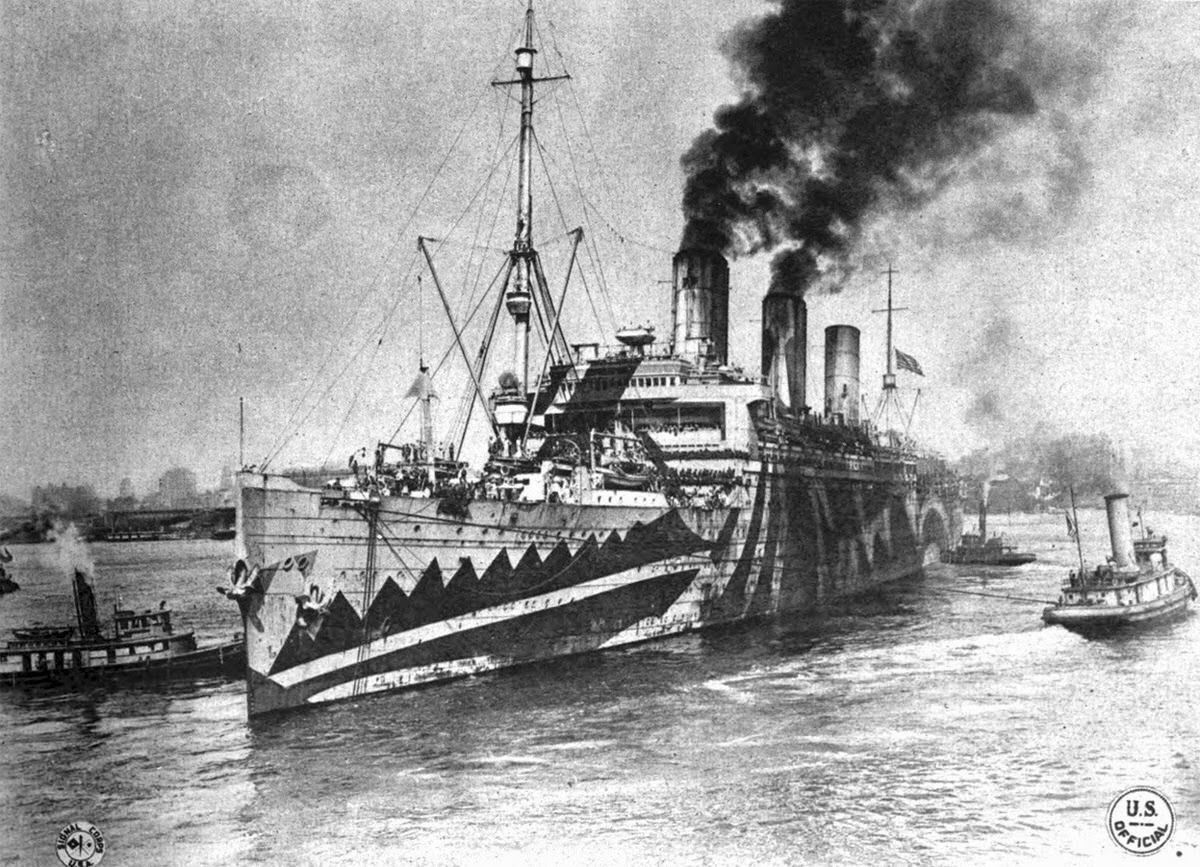
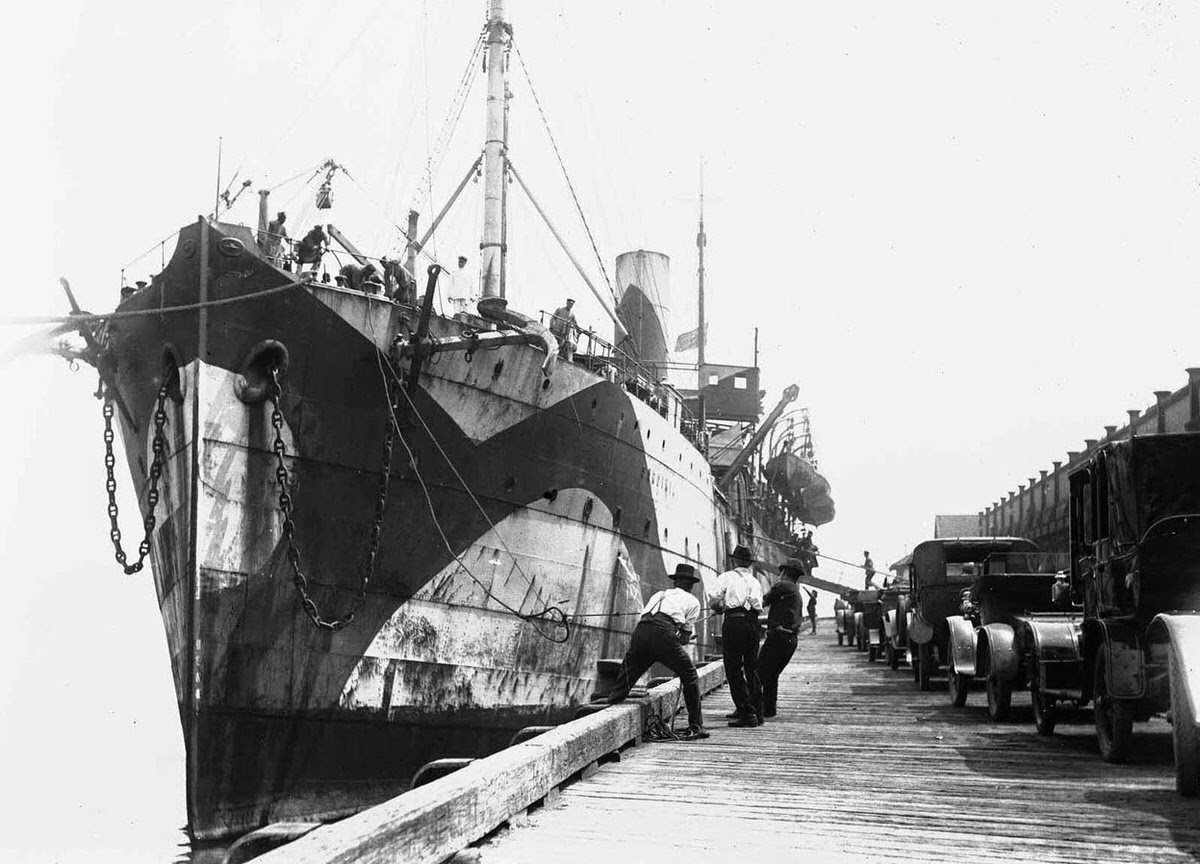
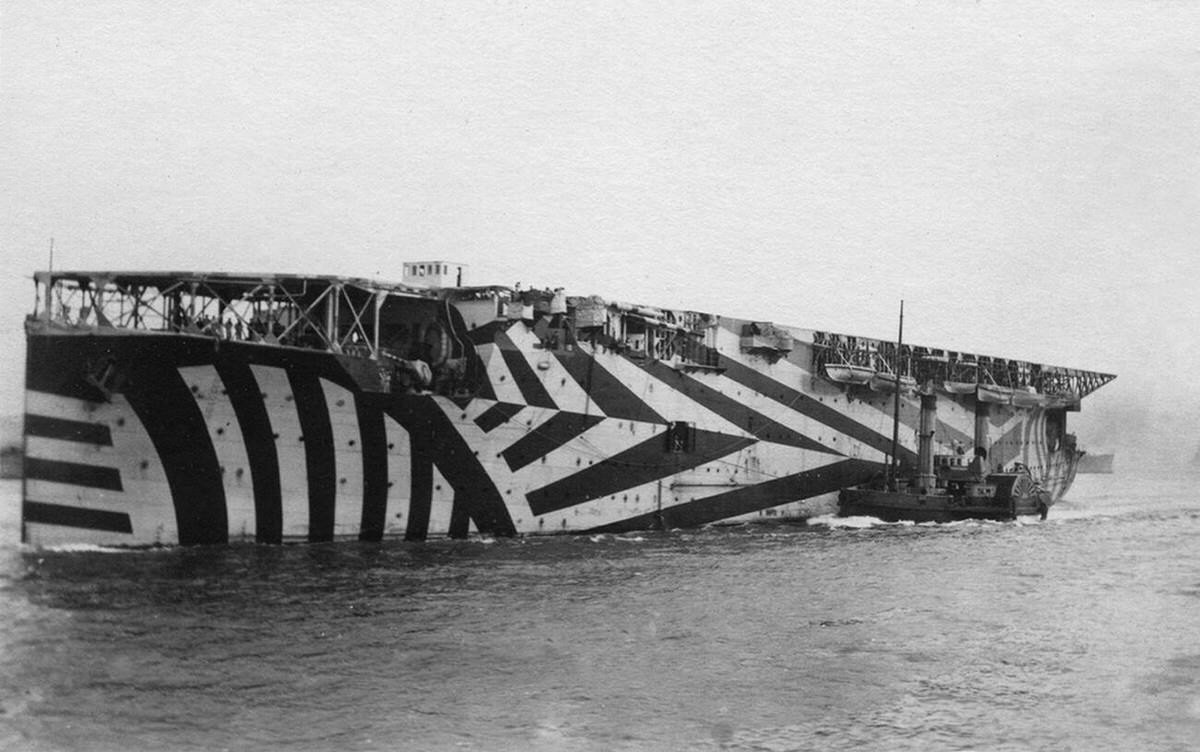
The convoy system also utilized “dazzle camouflage.” Ships were painted in contrasting geometric shapes and bold colors. This did not hide the ship, but it broke up its outline. It made it difficult for a U-boat commander looking through a periscope to determine the ship’s heading and speed. This caused them to miss their torpedo shots. With convoys in place, shipping losses dropped dramatically, and American troops and supplies began to flow safely into Europe.
The Raid on Zeebrugge
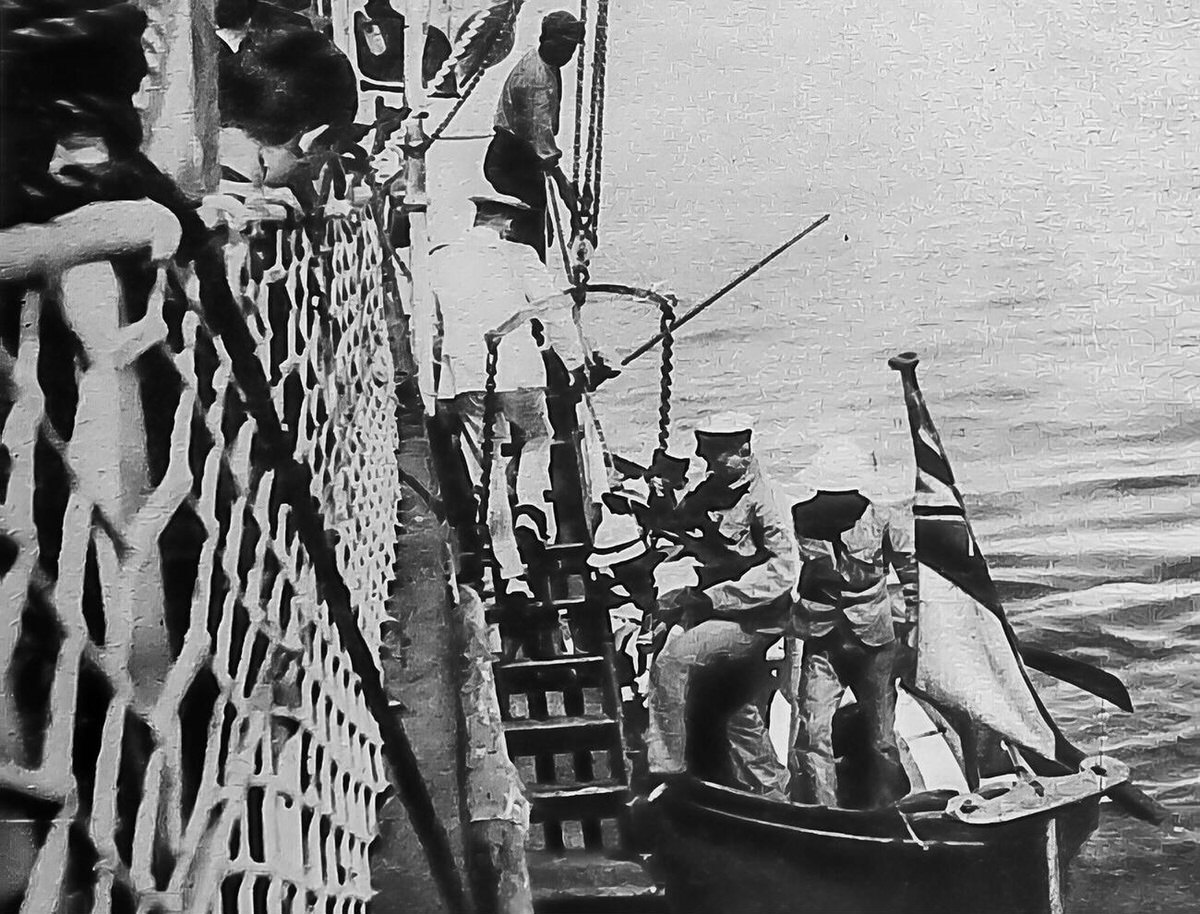
The British Royal Navy remained aggressive until the end. One of the most daring operations was the raid on Zeebrugge in April 1918. The Belgian port of Zeebrugge was a major base for German U-boats and destroyers. The British planned to sink obsolete cruisers in the channel entrance to block the German ships from leaving port.
Under the cover of a smoke screen, the cruiser HMS Vindictive landed marines on the “Mole,” a mile-long sea wall protecting the harbor. The fighting was fierce and close-quarters. While the marines created a diversion, three blockships steamed into the canal entrance and scuttled themselves. The mission was only partially successful, as the Germans dredged a channel around the sunken ships within days. However, it proved the Royal Navy’s willingness to take extreme risks to contain the German threat.
The End of the High Seas Fleet
By late 1918, Germany was collapsing. The army was retreating on the Western Front, and the population was starving due to the blockade. In a final act of desperation, the German naval command ordered the High Seas Fleet to sail out for a suicide mission against the British Grand Fleet. They hoped to restore the navy’s honor, even if it meant total destruction.
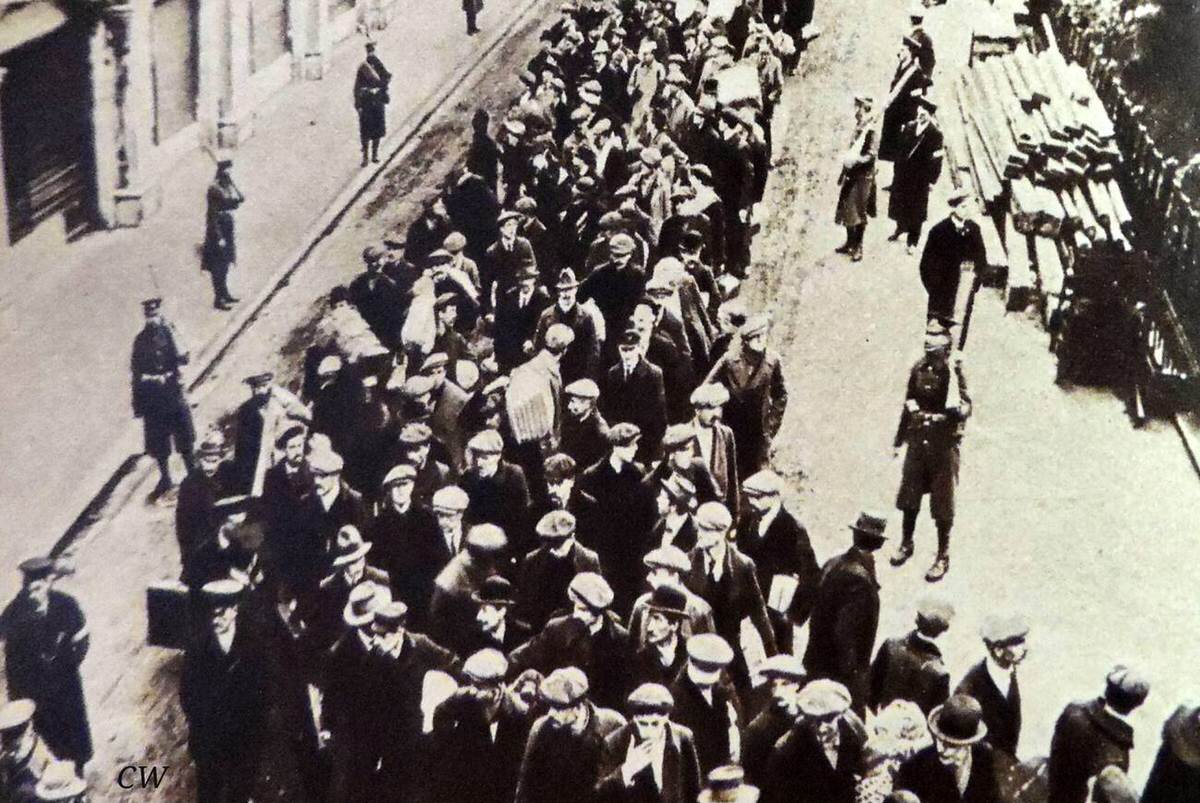
The sailors refused. They knew the war was lost and did not want to die for a futile cause. On October 29, 1918, crews at the Wilhelmshaven naval base mutinied. The revolt spread quickly to the city of Kiel and then throughout Germany. Workers and soldiers joined the sailors, leading to the German Revolution. This internal collapse forced the Kaiser to abdicate and led directly to the armistice on November 11, 1918.
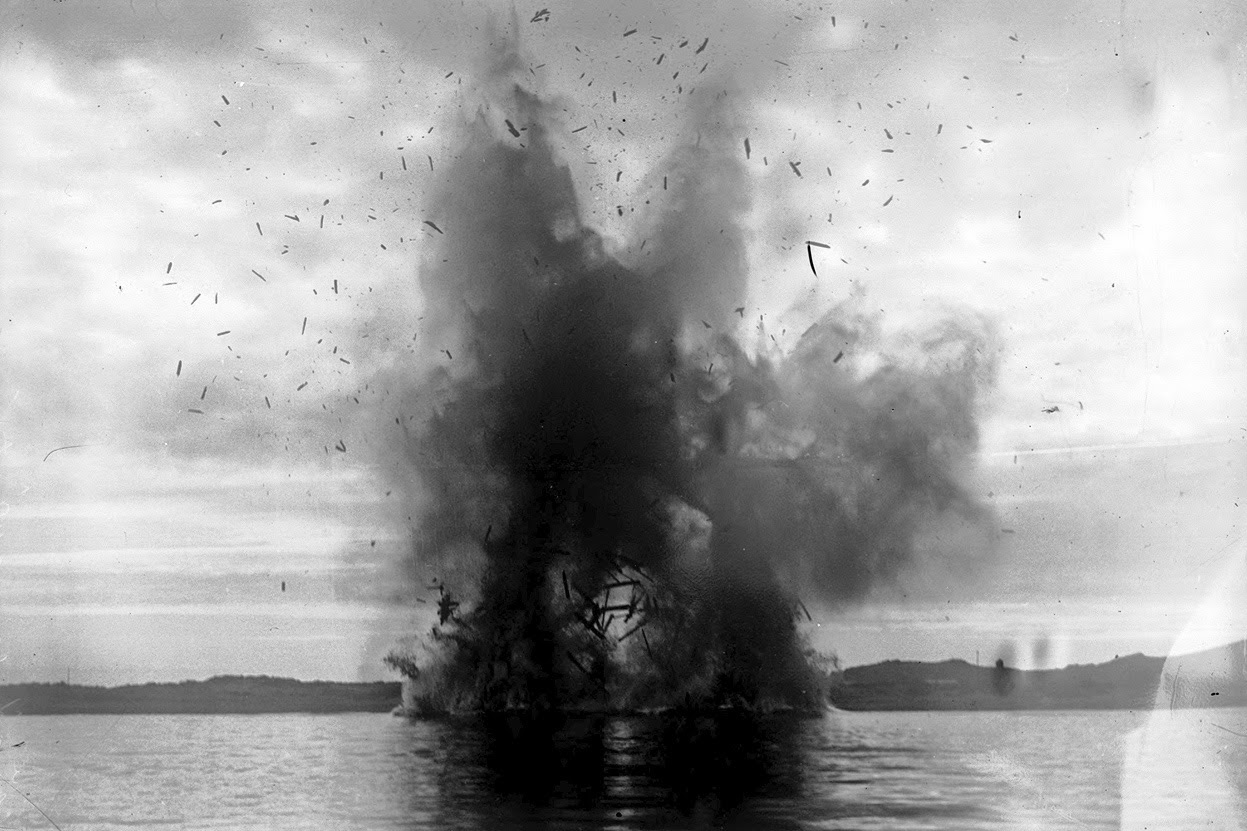
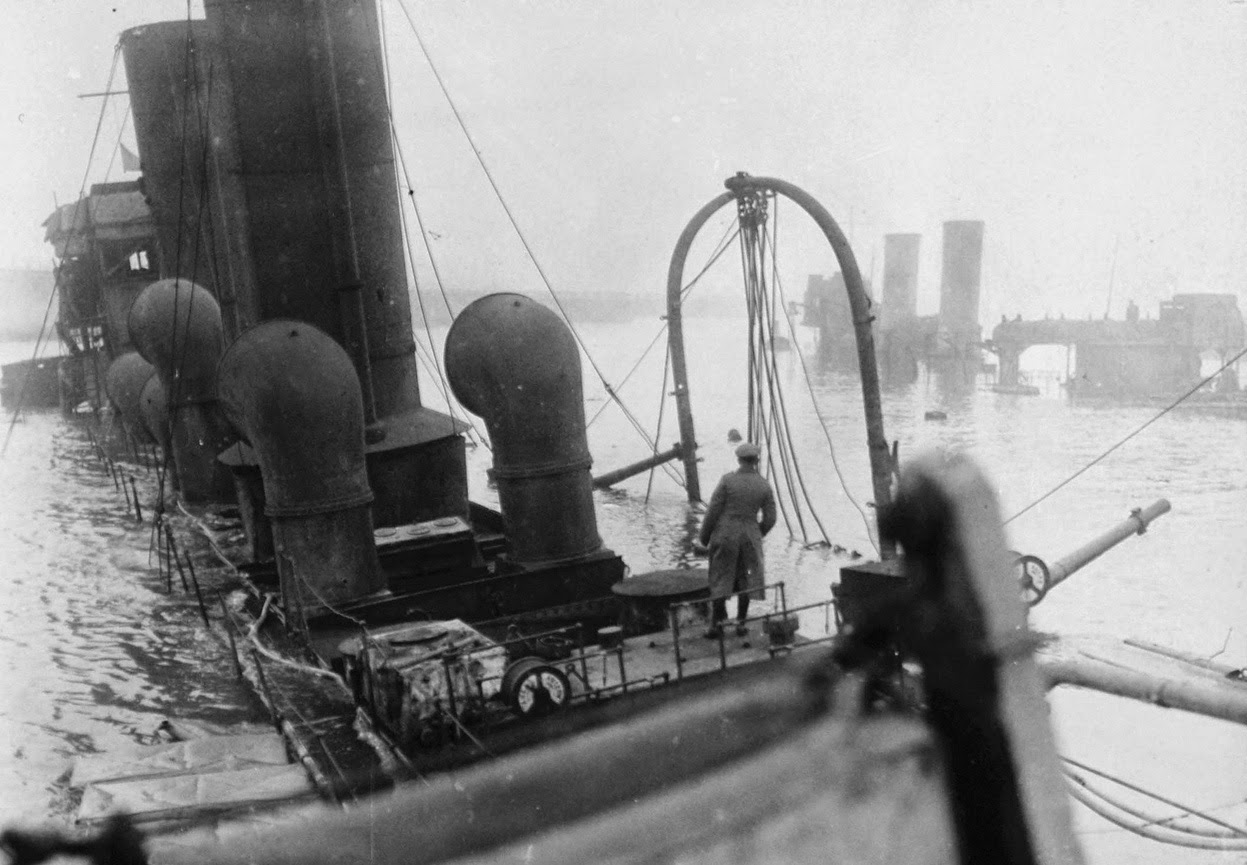
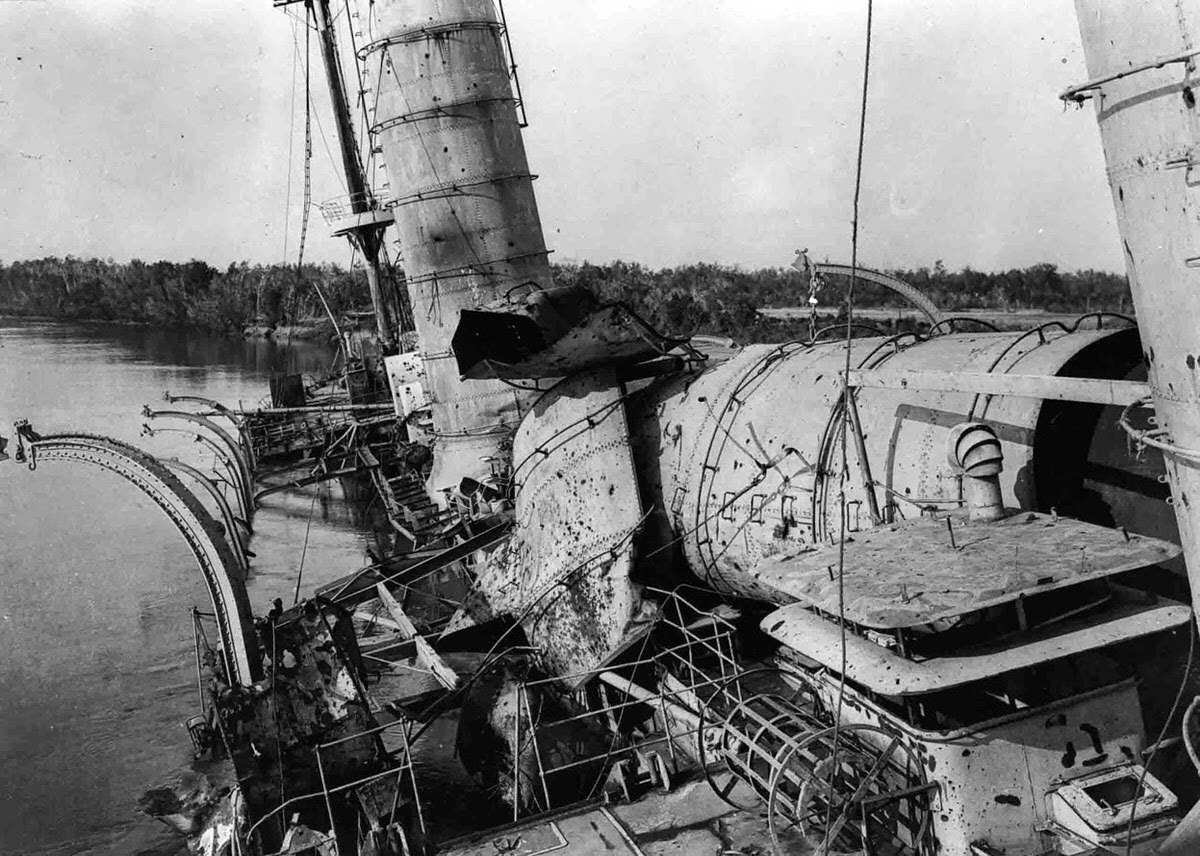
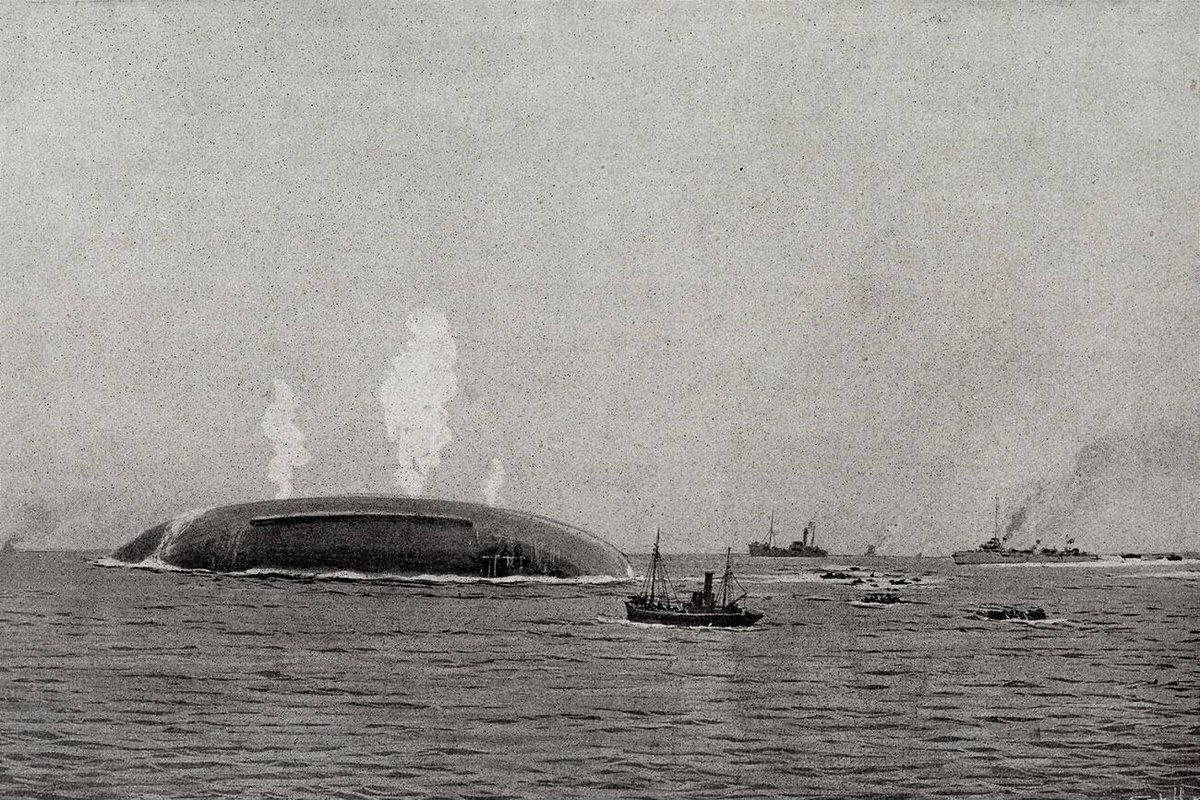
Following the armistice, the Allies interned the German High Seas Fleet at Scapa Flow. For months, the German ships sat at anchor under British guard. On June 21, 1919, the German commander, Rear Admiral Ludwig von Reuter, feared the British would seize his ships. He sent a secret signal to his fleet: “Paragraph Eleven. Confirm.” This was the code to scuttle the ships. German sailors opened seacocks and smashed valves. One by one, the mighty dreadnoughts and battlecruisers capsized and sank to the bottom of the harbor. It was the final, defiant act of the naval war.